Store-bought floor cleaners often come with harsh chemicals, artificial fragrances, and high price tags. The good news? You can make your own DIY floor cleaners at home using simple ingredients you probably already have in your kitchen.
These homemade solutions are safe, eco-friendly, budget-friendly, and just as effective as commercial cleaners.
Whether you have hardwood, tile, laminate, vinyl, or natural stone, the following seven recipes will help you clean your floors the natural way—without toxic residue.
Things to Know Before Using DIY Floor Cleaners
- Always test first: Try any new cleaner on a small hidden area of your floor.
- Avoid excess water: Too much moisture can damage hardwood and laminate floors.
- Store properly: Keep homemade cleaners in airtight spray bottles. Use glass bottles for recipes with essential oils.
- Pet & child safety: Stick to mild, non-toxic ingredients like vinegar, baking soda, and castile soap.
7 Best DIY Floor Cleaner Recipes

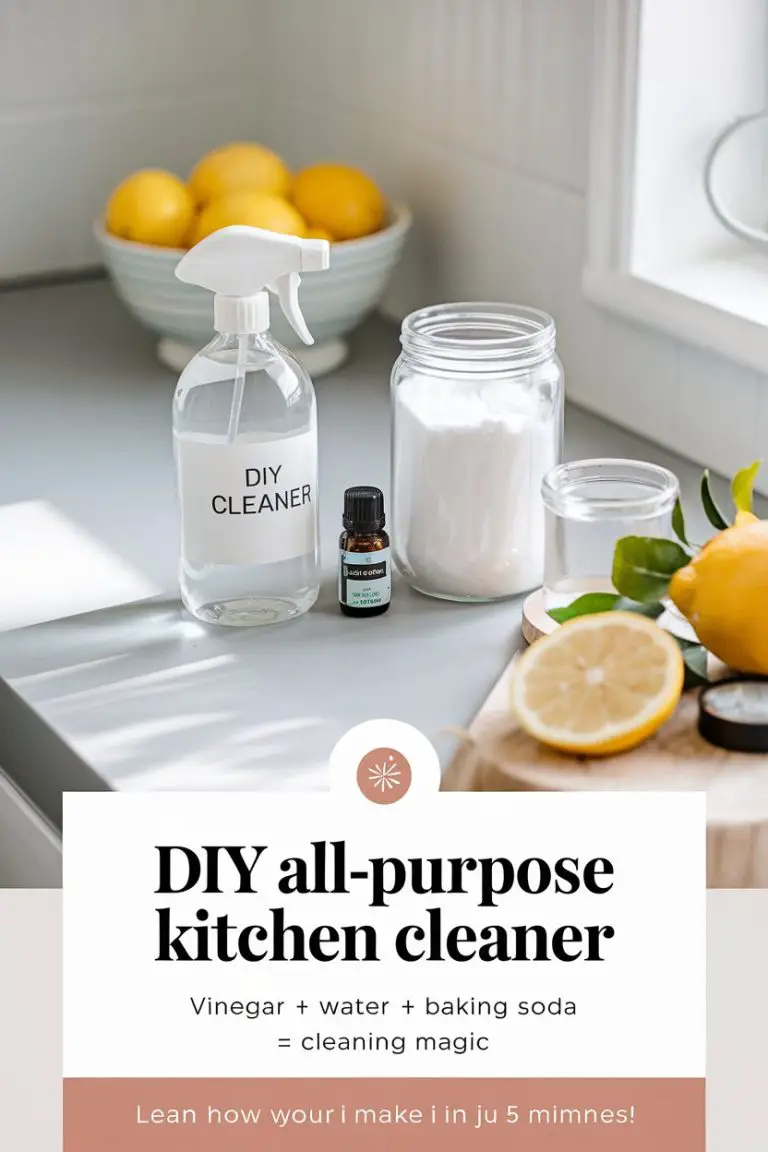
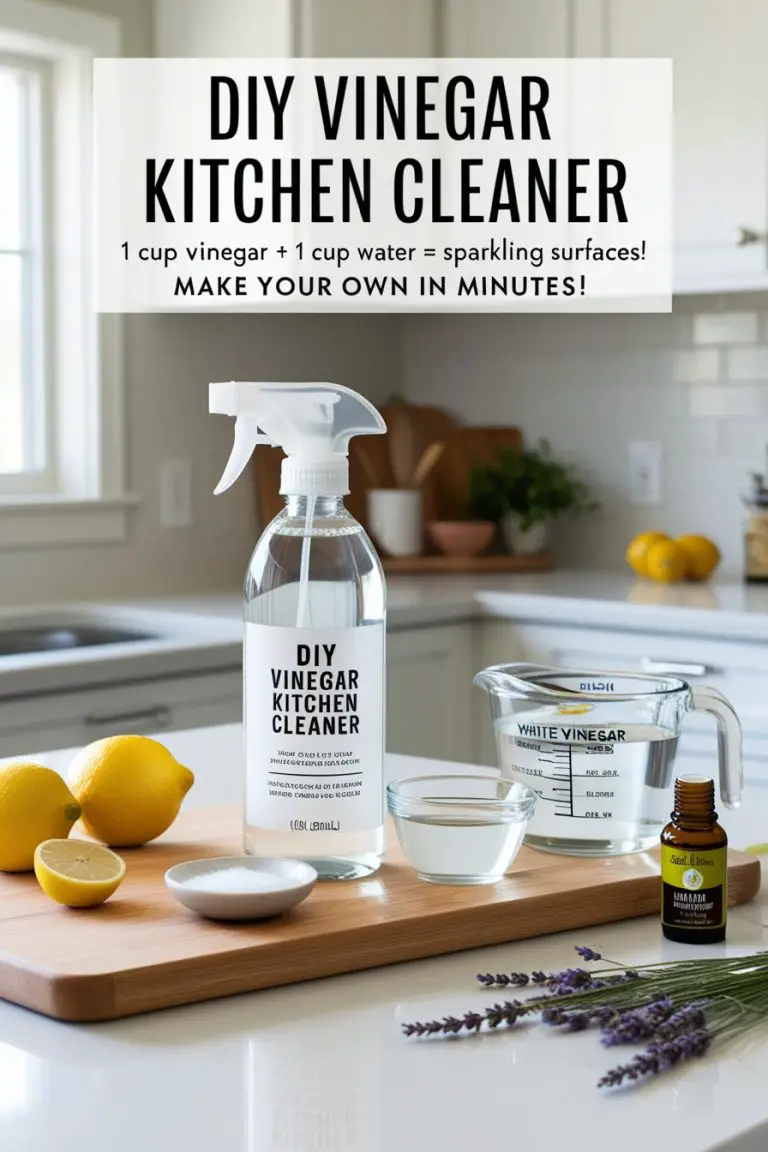
1. All-Purpose Vinegar Floor Cleaner
Best for: Tile, vinyl, and laminate (not recommended for stone or hardwood).
If you’re looking for a reliable everyday cleaner, this vinegar-based solution is one of the easiest and most effective options. It uses only three simple ingredients but delivers powerful results by cutting grease, disinfecting surfaces, and leaving your floors smelling fresh.
Ingredients:
- 1 cup white vinegar
- 1 gallon warm water
- 10 drops lemon essential oil (optional, for scent and extra cleaning power)
Step-by-Step Instructions:
- Prepare your cleaning solution: In a large bucket, combine 1 gallon of warm water with 1 cup of white vinegar. The warm water helps loosen dirt, while vinegar naturally sanitizes.
- Add essential oil (optional): If you’d like a pleasant scent, mix in 10 drops of lemon essential oil. This also provides mild antibacterial properties.
- Soak and wring your mop: Dip your mop into the solution and wring it out thoroughly. Excess water can leave streaks and may damage some floor finishes.
- Mop the floor: Work in small sections, applying light pressure to lift dirt and grime. For sticky spots, go over them twice.
- Allow to dry: The vinegar will evaporate quickly, leaving a streak-free finish without the need for rinsing.
Why it works: Vinegar’s natural acidity breaks down grease, disinfects, and eliminates odors. Combined with warm water, it provides a budget-friendly, eco-friendly solution that keeps tile, vinyl, and laminate floors spotless.
2. Gentle Castile Soap Cleaner for Hardwood Floors
Best for: Sealed hardwood.
Hardwood floors require special care—too much moisture or the wrong cleaning solution can dull the finish or even cause damage over time. That’s why a gentle Castile soap solution is perfect. It’s mild, biodegradable, and safe for sealed wood while still powerful enough to lift dirt and leave behind a natural-looking shine.
Ingredients:
- 2 tablespoons liquid Castile soap
- 1 gallon warm water
Step-by-Step Instructions:
- Prepare the solution: Fill a bucket with 1 gallon of warm water. Add 2 tablespoons of liquid Castile soap and stir gently until it’s evenly mixed. Avoid using hot water, as it may dry too quickly and leave streaks.
- Soak and wring your mop: Dip a microfiber mop into the solution. Wring it out thoroughly so that the mop is damp, not wet—this is crucial for hardwood floors to avoid excess moisture.
- Clean the floor: Work in small sections, gliding the mop with the grain of the wood. For high-traffic areas or spots with more buildup, gently go over them twice.
- Dry the surface: Once you’ve finished mopping, use a clean, dry microfiber cloth or towel to wipe down the floor. This step helps prevent water spots and maintains the wood’s finish.
- Optional refresh: For added shine, you can buff the surface lightly with a dry microfiber pad once the floor is fully dry.
Why it works: Castile soap is gentle enough not to strip the wood’s natural oils or finish, yet strong enough to remove dirt and dust. It cleans without leaving residue, giving sealed hardwood floors a safe, natural glow.
3. Baking Soda Scrub for Stubborn Stains
Best for: Spot-cleaning most floors (avoid marble or natural stone).
While regular mopping can remove dust and everyday dirt, stubborn stains like scuff marks, dried spills, or sticky residues often need a little extra help. Baking soda is a natural, gentle abrasive that lifts grime effectively without damaging most surfaces. It’s safe, non-toxic, and inexpensive—making it a go-to option for targeted floor cleaning.
Ingredients:
- 2 tablespoons baking soda
- Small amount of water (just enough to form a thick paste)
Step-by-Step Instructions:
- Prepare the paste: In a small bowl, combine 2 tablespoons of baking soda with just enough water to make a paste. The consistency should be similar to toothpaste—thick enough to stick to the stain without running.
- Apply the paste: Using a clean cloth, sponge, or even an old toothbrush, spread the paste directly onto the stained area. Make sure the entire spot is covered.
- Let it sit briefly: Allow the paste to sit on the stain for 2–3 minutes. This gives the baking soda time to lift grease, dirt, or sticky residue.
- Scrub gently: Using circular motions, gently scrub the area with the sponge or brush. Avoid harsh scrubbing, especially on delicate floors, to prevent scratches.
- Wipe clean: Dampen a clean microfiber cloth with water and wipe away all the paste, along with the loosened dirt.
- Dry thoroughly: Pat the area dry with a towel or allow it to air dry. For wooden or laminate floors, make sure no water is left standing to avoid damage.
Pro Tips:
- For stubborn grease, add a drop of mild dish soap to the paste.
- Baking soda also neutralizes odors, making it perfect for pet messes or spills that have left a lingering smell.
- Always test on a small, hidden section if you’re unsure how your floor will react.
Why it works: Baking soda’s mild abrasive properties lift stains and grime without scratching surfaces. It’s a natural, eco-friendly, and highly effective solution for spot cleaning, perfect for keeping floors spotless between deep cleans.
4. Essential Oil Fresh Mop Solution
Best for: Deodorizing and refreshing all washable floors.
Even when your floors look clean, lingering odors from pets, cooking, or everyday traffic can make your home feel less fresh. This Essential Oil Fresh Mop Solution combines the natural disinfecting power of vinegar with the aromatic and antibacterial properties of essential oils. It’s a safe, eco-friendly way to clean and deodorize floors while leaving a subtle, uplifting scent throughout your home.
Ingredients:
- 1 cup white vinegar
- 1 gallon warm water
- 10 drops essential oil (lavender, tea tree, eucalyptus, or lemon)
Step-by-Step Instructions:
- Prepare the base solution: In a clean bucket, pour 1 gallon of warm water. Add 1 cup of white vinegar and stir gently to combine. The warm water helps loosen dirt while the vinegar naturally disinfects and deodorizes.
- Add essential oils: Choose your preferred essential oil—lavender for a calming aroma, tea tree for antibacterial properties, eucalyptus for a crisp, refreshing scent, or lemon for a bright citrus fragrance. Add approximately 10 drops to the solution and stir well.
- Soak and wring the mop: Dip your mop into the mixture and wring it thoroughly. A damp mop ensures even cleaning while preventing excess water from seeping into floor seams.
- Mop the floor: Work in small sections, moving the mop along the direction of the floor grain if applicable. Focus extra attention on high-traffic or odor-prone areas, such as entryways, kitchens, or near pet areas.
- Allow floors to dry naturally: The vinegar smell will fade as the solution dries, leaving behind the subtle aroma of your chosen essential oil.
Pro Tips:
- For a stronger fragrance, add a few extra drops of essential oil, but do not overuse, as some oils can make floors slippery.
- Store leftover solution in a spray bottle for quick touch-ups or spot cleaning.
- Always test on a small section first if using on delicate floors like hardwood or laminate.
Why it works: The vinegar disinfects and cuts through light grime, while essential oils provide antibacterial benefits and a fresh, long-lasting scent. This solution not only cleans but also leaves your home smelling naturally inviting.
5. Streak-Free Glass & Laminate Floor Cleaner
Best for: Glass-like, glossy, and laminate floors.
Glossy and laminate floors can be tricky to clean. Even after mopping, streaks and water spots may remain, making floors look dull. This Streak-Free Floor Cleaner is specifically designed to give a crystal-clear, polished finish. By combining rubbing alcohol, vinegar, and water, it evaporates quickly while removing grease, dust, and fingerprints without leaving residue behind.
Ingredients:
- 1 cup rubbing alcohol
- 1 cup water
- 1 cup white vinegar
Step-by-Step Instructions:
- Mix the solution: Pour 1 cup rubbing alcohol, 1 cup water, and 1 cup white vinegar into a clean spray bottle. Shake gently to ensure all ingredients are well combined.
- Prepare the floor: Sweep or vacuum the floor to remove loose dirt and debris. This prevents scratching when wiping with the solution.
- Spray lightly: Working in small sections, lightly mist the floor with the solution. Avoid over-saturating, especially on laminate, as excessive liquid can seep into seams and cause damage.
- Wipe with microfiber mop: Using a clean microfiber mop or cloth, wipe the sprayed area in smooth, overlapping strokes. The alcohol in the solution accelerates drying and prevents streaking.
- Repeat section by section: Continue spraying and wiping the floor in sections until the entire surface is clean.
- Optional buffing: For an extra shine, use a dry microfiber cloth or mop to buff the floor once it has dried completely.
Pro Tips:
- Always use a microfiber mop to avoid scratches.
- Avoid using on unsealed or unfinished wood floors, as the alcohol may dry the surface too quickly.
- For stubborn smudges or fingerprints, apply a little extra solution directly and wipe immediately.
Why it works: Rubbing alcohol evaporates quickly, leaving no residue, while vinegar cuts through grease and grime. The combination creates a streak-free, glossy finish, perfect for shiny laminate, vinyl plank, or glass-like floors.
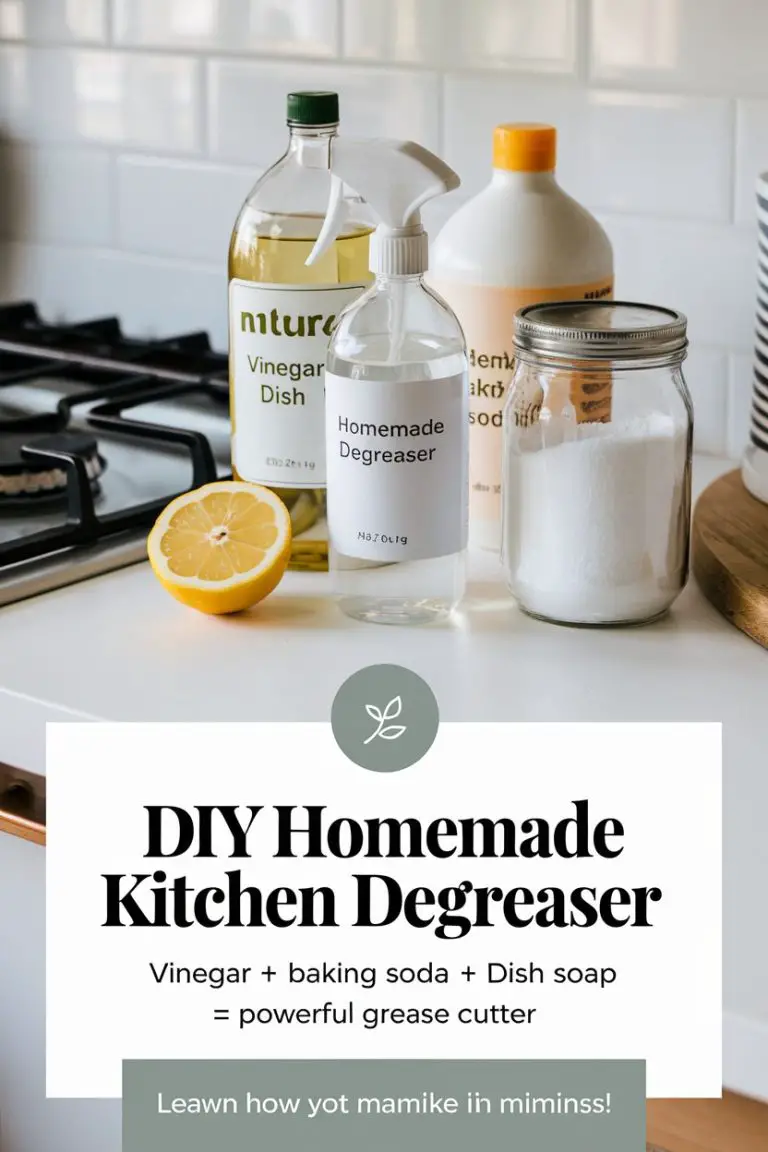
6. Heavy-Duty Grease-Cutting Kitchen Floor Cleaner
Best for: Greasy, high-traffic kitchen floors and tiled surfaces.
Kitchen floors face the toughest messes: spilled oils, food crumbs, and sticky residues from cooking. Regular cleaners may not remove built-up grease, leaving floors dull and slippery. This heavy-duty DIY cleaner uses hot water, vinegar, and dish soap to cut grease effectively while being safe for your family and pets. It’s a cost-effective, eco-friendly alternative to harsh commercial products.
Ingredients:
- 1 gallon hot water
- ¼ cup white vinegar
- 1 teaspoon mild dish soap
Step-by-Step Instructions:
- Prepare the cleaning solution: In a large bucket, pour 1 gallon of hot water. Add ¼ cup of white vinegar and 1 teaspoon of dish soap. Stir gently to mix thoroughly. The hot water helps dissolve grease, vinegar disinfects, and dish soap breaks down oily residue.
- Pre-clean the floor: Sweep or vacuum to remove loose crumbs and dust. This prevents scratching and ensures the solution works directly on the greasy spots.
- Soak and wring mop: Dip your mop into the solution, wringing it out until damp. Avoid over-wetting, especially near floor seams or grout lines.
- Mop thoroughly: Work in small sections, applying gentle pressure on greasy areas. Focus on spots near the stove, oven, and high-traffic areas where spills accumulate.
- Spot scrub if necessary: For stubborn grease, use a sponge or soft brush dipped in the solution to scrub the area.
- Rinse lightly (optional): If the floor feels soapy after mopping, mop once more with plain warm water to remove any residue.
- Dry the floor: Use a clean towel or allow it to air-dry completely to prevent slips.
Pro Tips:
- Add a few drops of lemon essential oil for a fresh citrus scent.
- Regular weekly cleaning prevents grease buildup, reducing the need for heavy scrubbing.
- Always test in a small area first if your floor is sensitive or sealed.
Why it works: Dish soap breaks down oils and grease, vinegar disinfects, and hot water loosens dirt. This combination ensures even the greasiest kitchen floors are clean, safe, and streak-free without harsh chemicals.
7. Marble & Natural Stone Safe Cleaner
Best for: Marble, granite, travertine, slate, and other natural stone floors.
Natural stone floors add elegance to any home, but they require special care. Acidic cleaners like vinegar, lemon juice, or harsh chemicals can etch, dull, or damage stone surfaces over time. This gentle, pH-neutral DIY cleaner is designed to safely clean and maintain marble, granite, and other natural stone while preserving their natural shine and beauty.
Ingredients:
- 1 gallon warm water
- 2 teaspoons mild dish soap (pH-neutral preferred)
Step-by-Step Instructions:
- Prepare the cleaning solution: Fill a bucket with 1 gallon of warm water. Add 2 teaspoons of mild, pH-neutral dish soap and stir gently until fully blended. Avoid foaming excessively.
- Sweep or vacuum first: Remove dust, dirt, and debris from the floor. This prevents scratching and ensures the cleaner works directly on the stone’s surface.
- Soak and wring mop: Dip a microfiber mop into the solution and wring it out thoroughly. The mop should be damp, not wet, as excess water can seep into porous stone and cause stains or watermarks.
- Mop carefully: Clean the floor in gentle, overlapping strokes. For high-traffic or slightly dirty areas, repeat the mopping process. Avoid scrubbing too hard to prevent scratches.
- Rinse lightly (optional): For polished stone, you may choose to mop again with plain warm water to remove any soap residue, especially if the stone has a glossy finish.
- Dry the floor thoroughly: Use a soft microfiber towel or mop to dry the stone completely. This step prevents water spots, streaks, or dulling of the polished surface.
Pro Tips:
- Never use vinegar, lemon, or ammonia-based cleaners on natural stone.
- For extra shine, buff the floor lightly with a dry microfiber cloth after drying.
- Spot-clean spills immediately to prevent staining on porous stone like marble or travertine.
Why it works: The mild dish soap gently lifts dirt and grime without harming the stone’s natural finish. By avoiding acidic or harsh ingredients, this solution preserves the floor’s beauty while providing a safe, effective, and eco-friendly cleaning method.
Pro Tips for DIY Floor Cleaning
Cleaning floors with DIY solutions is simple, but following a few professional tips can make a big difference in results, longevity of your floors, and overall efficiency. These tips help you maintain a cleaner, fresher home while protecting delicate surfaces.
1. Establish a cleaning schedule:
High-traffic areas like kitchens, entryways, and hallways accumulate more dirt, dust, and debris than less-used areas. Mop these sections once a week to prevent buildup. For lower-traffic rooms such as guest bedrooms or storage areas, mopping every two weeks is usually sufficient. Consistent cleaning prevents stains, scratches, and dull spots from forming.
2. Use the right mop:
Microfiber mops are highly recommended for DIY floor cleaning. Their fine fibers attract and trap dirt, dust, and pet hair more effectively than traditional cotton mops. Microfiber also requires less water and cleaning solution, which helps protect sensitive floors like hardwood and laminate from excess moisture. For sticky or greasy areas, a slightly damp microfiber mop can lift grime without leaving streaks.
3. Proper storage of DIY solutions:
Homemade cleaners have a limited shelf life. Vinegar-based cleaners can be stored in airtight bottles for up to 1 month, maintaining their effectiveness. Essential oil-based solutions should be used within 2 weeks to ensure the oils retain their fragrance and antibacterial properties. Always store cleaning solutions in a cool, dark place, and label them clearly to avoid accidental misuse.
4. Additional expert tips:
- Always wring your mop well before use—too much water can damage floors, especially wood and laminate.
- Test any new solution on a small, hidden area first to ensure it doesn’t discolor or damage the surface.
- For stubborn spots, combine gentle scrubbing with the appropriate DIY cleaner rather than increasing chemical strength.
- Dry floors with a soft towel or microfiber cloth when necessary to prevent water spots and streaking.
FAQs
Q: Can I use vinegar on all floors?
A: No. Avoid vinegar on marble, granite, or natural stone—it causes etching.
Q: How do I make my floors smell fresh naturally?
A: Add essential oils like lemon, lavender, or eucalyptus to your DIY cleaners.
Q: Are DIY cleaners safe for pets and kids?
A: Yes, when made with vinegar, castile soap, and baking soda. Always avoid bleach or ammonia.
Q: How do I remove sticky residue naturally?
A: Mix 1 cup warm water with 1 teaspoon vinegar and wipe with a microfiber cloth.
Conclusion
DIY floor cleaners are a simple, eco-friendly way to keep your home spotless without harsh chemicals.
From vinegar solutions for everyday cleaning to gentle soap mixes for hardwood and stone, these recipes cover every type of flooring.
Start with the one that suits your floors best, and enjoy the fresh, safe, and affordable way to clean your home.

Emma Vanderlyn is a home enthusiast with a passion for all things natural and eco-friendly. With years of experience experimenting with DIY solutions, she’s dedicated to creating safe, effective, and budget-friendly cleaning recipes that are kind to both your home and the planet. Emma believes that a clean home shouldn’t come at the cost of harsh chemicals, and her easy-to-follow guides make natural cleaning accessible to everyone.
When she’s not whipping up a new cleaner in her kitchen, Emma can be found researching the latest in green living or transforming her space with mindful, stylish decor ideas. She’s here to share her love of natural living and help you create a home that shines—naturally.