Halloween is my favorite time of year, and I bet you feel the same if you’re reading this! There’s something magical about transforming your home into a spooky spectacle.
Your front door? It’s the star of the show. It’s the first thing trick-or-treaters and neighbors see, setting the tone for the whole Halloween vibe.

In this article, I’m sharing 15 Halloween door decoration ideas that are creative, budget-friendly, and perfect for all skill levels. Whether you’re a DIY newbie or a crafting pro, there’s something here for you.
Let’s dive in and make your door the talk of the neighborhood!
Table of Contents
- Why Decorate Your Door for Halloween?
- Considerations for Choosing Halloween Door Decorations
- 15 Halloween Door Decoration Ideas
- 1. Classic Jack-o’-Lantern Wreath
- 2. Spooky Spider Web Door
- 3. Haunted House Silhouette
- 4. Mummy Door Wrap
- 5. Witch’s Lair Entrance
- 6. Ghostly Greetings
- 7. Skeleton Door Display
- 8. Bloody Handprint Horror
- 9. Pumpkin Patch Door
- 10. Bat Swarm Takeover
- 11. Creepy Eyes in the Dark
- 12. Vintage Halloween Signage
- 13. Monster Mouth Door
- 14. Cemetery Gate Illusion
- 15. Candy Corn Color Block
- Practical Tips for Implementation
- Personalizing Your Halloween Door
- Budget and Time Considerations
- Inspiration and Trends
- Conclusion
Why Decorate Your Door for Halloween?
I love how a decorated door brings the Halloween spirit to life. It’s like rolling out the red carpet for trick-or-treaters.
A spooky or fun door invites kids and families to your home, making them feel welcome. It’s also a great way to connect with your community.
Neighbors will smile as they pass by, and you might even spark some friendly competition for the best-decorated house!
Decorating your door lets you express your personality. Are you into creepy horror vibes or cute, kid-friendly themes? Your door can tell that story.
Plus, it sets the mood for your entire home. A well-decorated door makes every Halloween moment—whether it’s handing out candy or hosting a party—feel extra festive.
Considerations for Choosing Halloween Door Decorations
Before we jump into the ideas, let’s talk about a few things to keep in mind.
Safety comes first. Make sure your decorations aren’t flammable, especially if you’re using candles or lights. Keep pathways clear so no one trips while grabbing candy.
If your door is exposed to the elements, choose weather-resistant materials. Rain and wind can ruin a good setup, so think durable.
Consider your skill level. Some ideas are super simple, perfect for beginners. Others might need a bit more crafty know-how. Budget is another factor. You don’t need to break the bank—many of these ideas use affordable or recycled materials.
Finally, pick a theme that speaks to you. Classic horror, whimsical, or gothic—there’s no wrong choice. Let’s make sure your door reflects your Halloween style.
15 Halloween Door Decoration Ideas
Here are 15 ideas to transform your door into a Halloween masterpiece. I’ve included materials, skill levels, and tips to make each one shine. Ready to get started?
1. Classic Jack-o’-Lantern Wreath

Nothing says Halloween like a jack-o’-lantern. A wreath covered in mini pumpkins is a warm, inviting way to greet guests. Grab a foam wreath form from your local craft store. Pick up some small faux pumpkins, orange and black ribbons, and battery-powered LED candles. Hot glue the pumpkins to the wreath, weave in the ribbon, and tuck in the candles for a cozy glow.
This one’s beginner-friendly. If I can do it, so can you! The whole project takes about an hour. For a safe touch, stick with LED candles instead of real ones. They look just as good and won’t cause any fire hazards. Hang it with a sturdy hook, and your door will scream Halloween charm.
2. Spooky Spider Web Door

Spiders give me the chills, but they’re perfect for Halloween! Create a web effect by stretching cotton batting or white rope across your door. Add plastic spiders for that creepy-crawly vibe. You’ll need cotton batting, plastic spiders, and double-sided tape to keep it all in place. Pull the cotton thin to make it look wispy, like a real web.
This is another beginner project. It’s quick, taking about 30 minutes. For an extra spooky touch, paint some spiders with glow-in-the-dark paint. At night, they’ll glow and freak out your guests in the best way. Just make sure the tape is strong enough to hold up in windy weather.
3. Haunted House Silhouette

I love the eerie vibe of a haunted house silhouette. Cut out a creepy house, bats, and a full moon from black poster board. Tape them to your door for a shadowy effect. You’ll need black poster board, scissors, and tape. If your door has a glass panel, use chalk markers to add ghostly details.
This is a beginner project that takes about 45 minutes. It’s super affordable since poster board is cheap. Pro tip: vary the sizes of the bats to create depth. The silhouette looks amazing at night, especially if you add a porch light to cast shadows. It’s simple but so effective.
4. Mummy Door Wrap

Turn your door into a mummy! Wrap it with white gauze or streamers and stick on some googly eyes for a playful look. You’ll need gauze, googly eyes, and removable adhesive. Wrap the gauze loosely, leaving gaps to create that tattered mummy effect. Stick the eyes in a prominent spot.
This is a beginner-friendly idea that takes about an hour. Use removable tape to avoid damaging your door’s paint. Kids will love this one—it’s spooky but not too scary. You can reuse the gauze next year, making it a budget-friendly choice.
5. Witch’s Lair Entrance

Channel your inner witch with this fun setup. Hang green and purple streamers to create a curtain effect. Add a foam witch hat and a “Beware” sign. You can find printable signs online or make your own. You’ll need streamers, a foam witch hat, and adhesive.
This beginner project comes together in about 40 minutes. For extra flair, prop a broomstick against the door. It’s a nod to the witch theme without much effort. This one’s great for a magical, mystical vibe that’s still approachable for kids.
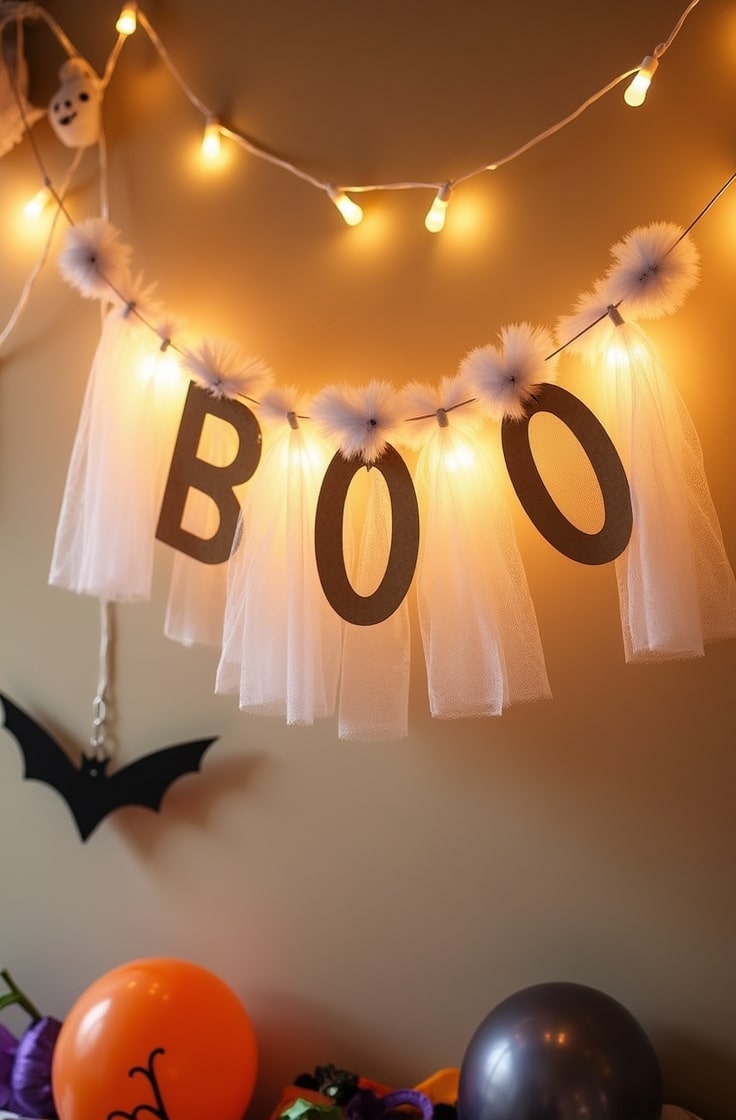
6. Ghostly Greetings

Boo! Ghosts are a Halloween classic. Make or buy foam or fabric ghosts and hang them with a “Boo!” banner. You’ll need white fabric, black felt for eyes, and string. Cut ghost shapes, glue on the eyes, and hang them with string. Stuff the ghosts with cotton for a puffy, 3D look.
This one’s intermediate since it involves some cutting and gluing. Expect to spend about two hours. The stuffed ghosts add a fun, tactile element. Hang them at different heights for a floating effect. Kids and adults alike will love this friendly spooky touch.
7. Skeleton Door Display

A skeleton on your door? Yes, please! Use a life-sized plastic skeleton or just skeleton hands to frame your door. You’ll need a plastic skeleton and command strips for easy removal. Pose the skeleton in a funny or creepy way—maybe it’s waving or holding a candy bowl.
This beginner project takes about 30 minutes. Command strips make it easy to set up and take down without damage. Skeletons are super versatile, so you can reuse them for other decorations. This one’s a crowd-pleaser for all ages.
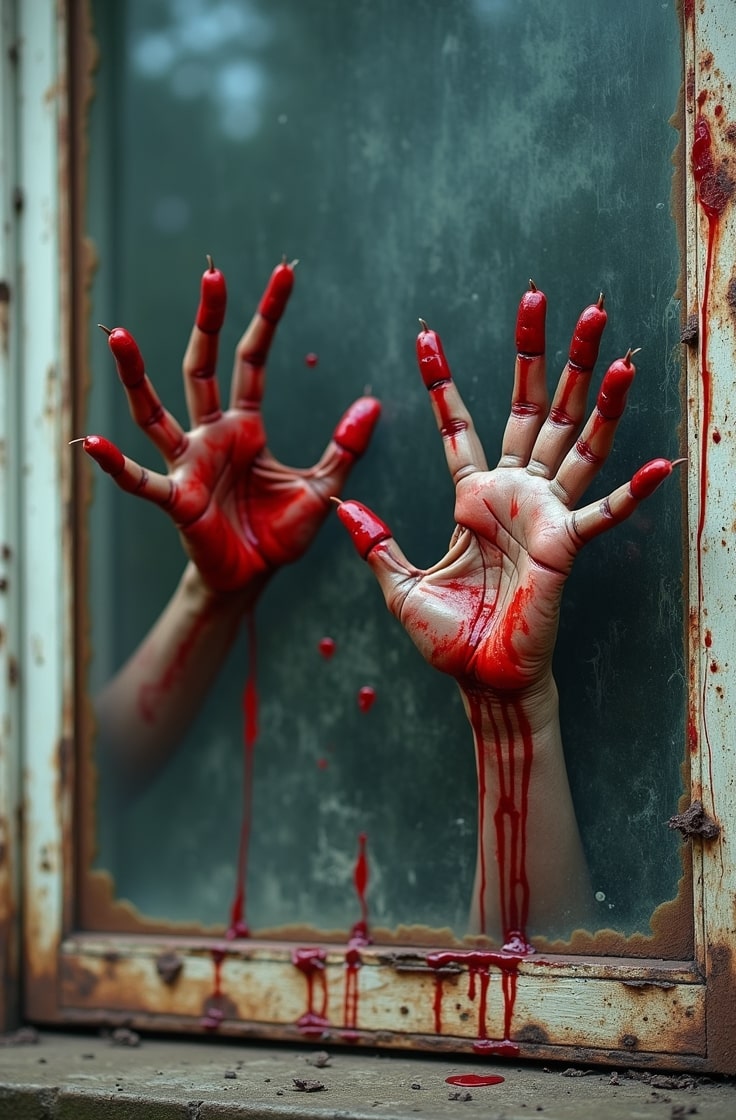
8. Bloody Handprint Horror

For a creepier vibe, try bloody handprints. Use washable red paint or vinyl stickers to create handprints on your door. Add a “Keep Out” sign for extra drama. You’ll need red paint, vinyl stickers, or a red marker. If you’re worried about mess, vinyl is the way to go.
This beginner project takes about 45 minutes. Removable vinyl stickers are a lifesaver for easy cleanup. Space the handprints randomly for a chaotic, horror-movie feel. It’s perfect for older kids or adults who love a good scare.
9. Pumpkin Patch Door

Bring the pumpkin patch to your door! Stack faux pumpkins in various sizes, either glued to a door mat or hung directly on the door. You’ll need foam pumpkins, hot glue, and a door mat if you’re going for the grounded look. Arrange them in a pyramid shape for balance.
This intermediate project takes about two hours. For a modern twist, paint the pumpkins in metallic colors like gold or silver. It’s a bit more work, but the result is stunning. This one’s great for a warm, autumnal vibe that’s still unmistakably Halloween.
10. Bat Swarm Takeover
Bats are spooky and simple to create. Cut out bat shapes from black construction paper and scatter them across your door. Add glow-in-the-dark paint for glowing eyes. You’ll need black paper, scissors, and glow-in-the-dark paint.
This beginner project takes about an hour. Use different bat sizes to make it look like a swarm flying across your door. The glowing eyes pop at night, making this a great choice for evening trick-or-treaters. It’s affordable and easy to store for next year.
11. Creepy Eyes in the Dark

This one’s all about suspense. Create glowing eyes peeking from black fabric or paper. Use glow-in-the-dark stickers or paint for the eyes. You’ll need black fabric, stickers, or paint. Arrange the eyes at different heights to make it feel like creatures are watching.
This beginner project takes about 45 minutes. The glow-in-the-dark effect is what sells it, so don’t skip that part. It’s subtle during the day but terrifying at night. Perfect for a low-effort, high-impact decoration.
12. Vintage Halloween Signage

I love a retro vibe. Create a “Trick or Treat” or “Enter if You Dare” sign with a vintage look. Use wood or foam board, acrylic paint, and stencils. Paint the sign and distress it with sandpaper for a weathered effect.
This intermediate project takes about two hours. The distressing step makes it look authentic, like it’s been around for decades. Hang it with a ribbon or command hook. It’s a classy addition to any Halloween setup.
13. Monster Mouth Door

Turn your door into a monster’s mouth! Use vinyl decals, paint, or colored paper to create a gaping mouth with sharp teeth. You’ll need vinyl, paint, or paper, plus adhesive. Add a red tongue for a playful touch.
This intermediate project takes about two hours. The tongue adds a fun, kid-friendly element to an otherwise creepy idea. Make sure the materials are weather-resistant if your door is outdoors. This one’s a bold statement that’ll get attention.
14. Cemetery Gate Illusion

This one’s for the ambitious! Style your door like a wrought-iron cemetery gate with cardboard tombstones at the base. Use black paint for the gate effect and add a fog machine for ambiance. You’ll need paint, cardboard, and optional fog machine.
This advanced project takes about three hours. LED lights mimicking moonlight will elevate the spooky vibe. It’s a bit more work, but the result is a showstopper. Perfect for a haunted house theme.
15. Candy Corn Color Block

Candy corn is a Halloween staple. Paint or cover your door in candy corn colors—orange, yellow, and white. Use paint, vinyl wrap, or colored tape. Add a candy corn wreath to tie it all together.
This intermediate project takes about two hours. The bright colors are cheerful and eye-catching. Make sure to use removable materials to protect your door. It’s a fun, festive look that screams Halloween.
Practical Tips for Implementation
Let’s make sure your decorations go up smoothly. You’ll need basic tools like scissors, a hot glue gun, command strips, and double-sided tape.
Most materials can be found at craft stores like Michaels or online at Amazon. If you’re on a budget, check your home for items like old fabric or cardboard to repurpose.
For installation, start with a clean door. Use removable adhesives to avoid damage. Test heavy decorations to ensure they stay put.
For maintenance, store decorations in plastic bins to protect them from dust. Clean any painted surfaces with mild soap to avoid scratches.
If you have kids, stick to non-toxic materials and avoid sharp edges.
Personalizing Your Halloween Door
Make your door uniquely yours. Add your family name to a sign or incorporate favorite characters—like a Spider-Man-themed bat swarm! For interactivity, try motion-sensor lights or sound effects, like a cackling witch. Match your door to your porch or indoor decor for a cohesive look. Maybe add some pumpkins or string lights outside to tie it all together.
Budget and Time Considerations
Most of these ideas are budget-friendly. Beginner projects like the spider web or haunted house silhouette cost $5–$10. Intermediate ones, like the pumpkin patch or monster mouth, run $10–$20. The cemetery gate might hit $30 if you add a fog machine. Time-wise, expect 30 minutes for simple projects and up to three hours for advanced ones.
Save money by using household items. Old sheets can become ghosts, and leftover paint can work for signs. Shop sales at craft stores or check thrift shops for supplies. Start early to avoid last-minute stress.
Inspiration and Trends
In 2025, Halloween decor is leaning toward neon accents and eco-friendly materials. Think bright orange bats or recycled cardboard tombstones.
Pop culture is big too—maybe a decoration inspired by a recent horror flick like M3GAN. Check out social media for community inspiration.
Share your door on Pinterest with #HalloweenDecor to join the fun!
Conclusion
Your front door is your Halloween canvas. With these 15 ideas, you can create something spooky, fun, or totally unique.
From simple spider webs to elaborate cemetery gates, there’s an option for every skill level and budget.
Start early, have fun, and share your creations with the neighborhood. I can’t wait to hear how your door turns out!

Jenny is a passionate writer specializing in home decor, design, and styling. With years of experience in transforming spaces, she shares expert tips on creating beautiful, functional homes. From interior design trends to DIY decor ideas, Jenny’s work helps homeowners craft spaces that reflect their unique style. Whether it’s a cozy living room, a modern kitchen, or a serene bedroom, her articles offer practical advice and inspiration to elevate any home.