Hey friends! 🌿
Let me tell you, switching to non-toxic cleaning products has been one of the best decisions I’ve made for my home and my family.
When I first started reading the labels on those store-bought cleaners, I realized I had no idea what half of those chemicals were, and it kind of freaked me out.
I spend so much time in the kitchen—cooking, cleaning, and just hanging out—so I knew I needed something safe, effective, and natural for keeping things clean.
After a bit of experimenting, I finally found my perfect non-toxic kitchen cleaning spray recipe, and I’m so excited to share it with you today!
It’s ridiculously easy to make, costs next to nothing, and gets the job done without any harsh chemicals. Let’s get into it!
Why Non-Toxic?
First, let’s chat about why I love using non-toxic cleaners in the kitchen. When I’m cleaning surfaces where I prep food, like countertops, the stovetop, or even the dining table, the last thing I want is to leave behind any harmful residues. Traditional cleaners often contain chemicals that linger, and I just don’t feel good about that when I’m making meals for my family.
On the flip side, non-toxic cleaners made from natural ingredients are safe to use, smell great, and still get rid of dirt, grease, and germs. Plus, I don’t have to worry about harmful fumes or reactions, which is especially important if you have kids or pets like I do.
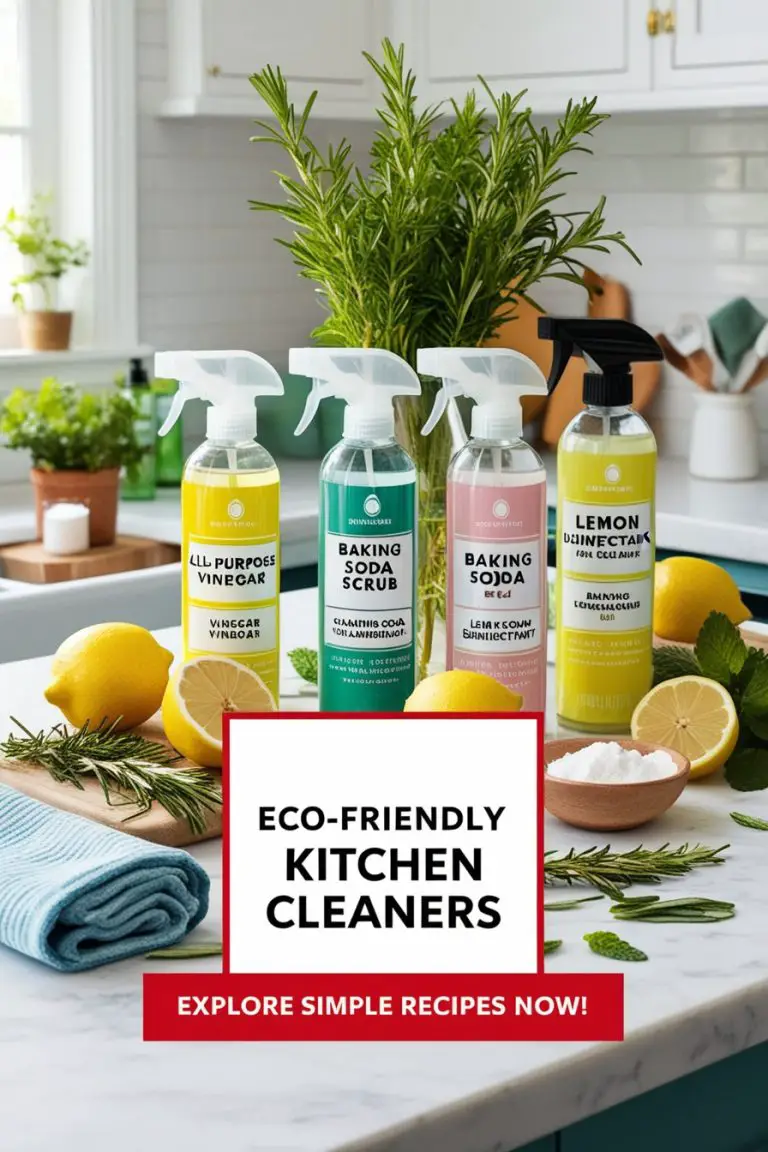
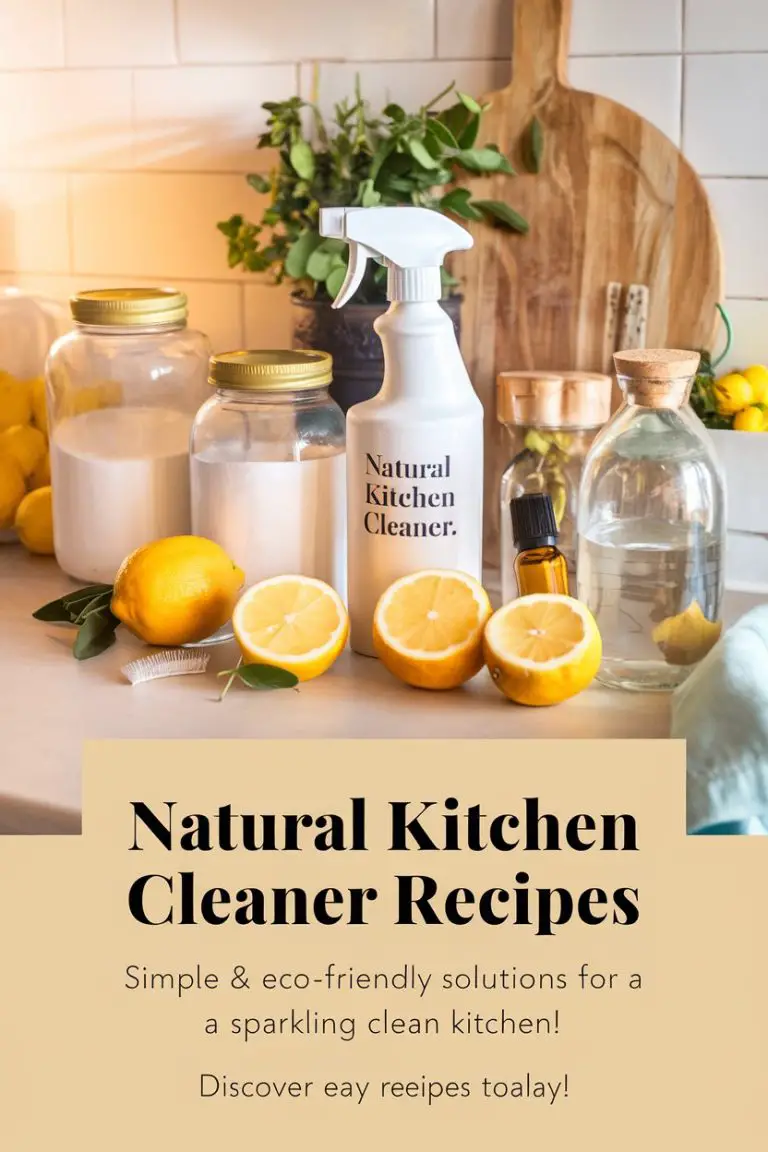
My Simple Non-Toxic Kitchen Cleaning Spray
Here’s the best part—you only need a few simple ingredients to make this cleaner, and you probably already have them in your pantry!
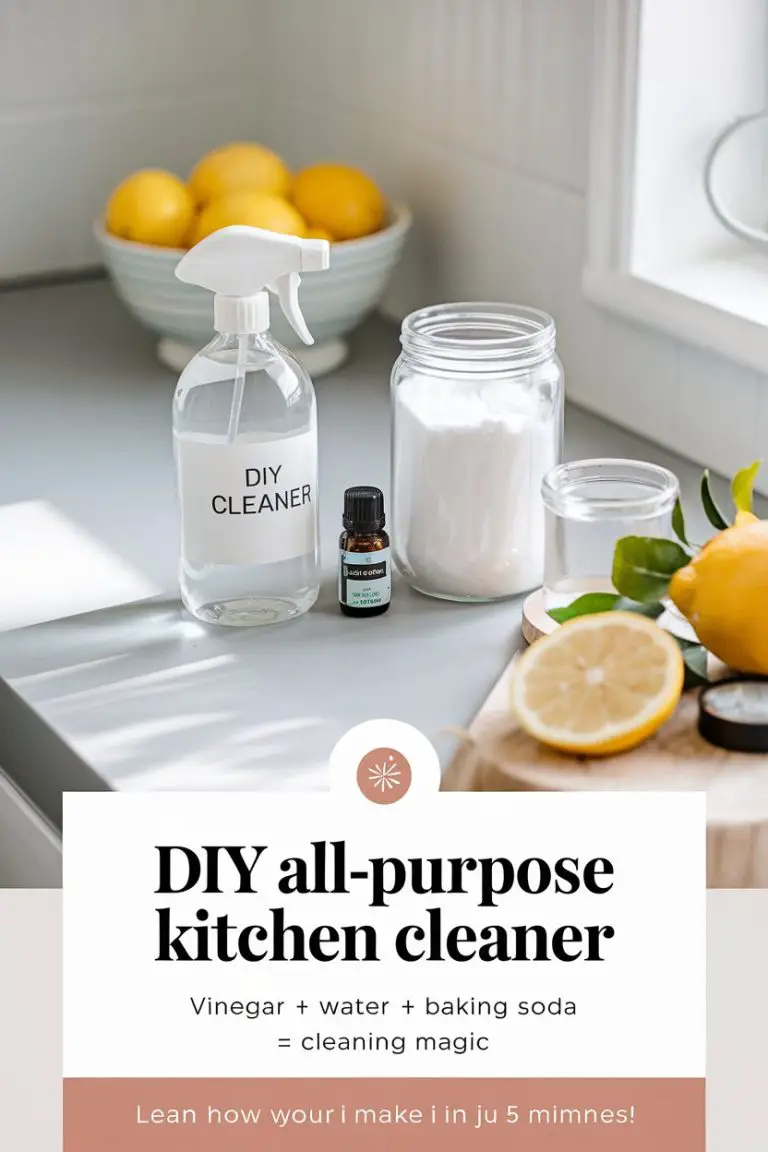
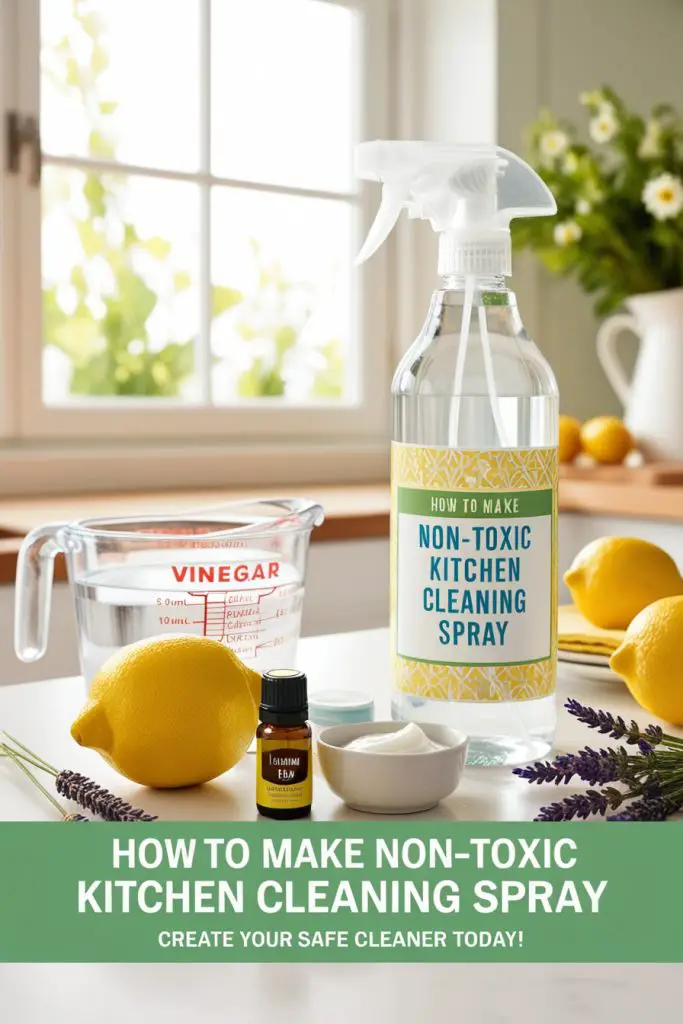
What You’ll Need:
- 1 cup distilled white vinegar (for its natural disinfecting properties)
- 1 cup water (to dilute and make it safe for most surfaces)
- 1 tablespoon natural dish soap (I like using a plant-based one like Dr. Bronner’s or a good ol’ castile soap)
- 10 drops of essential oil (optional, but I love adding lemon or tea tree oil for their antibacterial properties)
- A spray bottle (reuse an old one or grab a new one!)
How I Make It:
- Mix the ingredients
In a spray bottle, I add 1 cup of distilled white vinegar, 1 cup of water, and 1 tablespoon of natural dish soap. The vinegar helps disinfect and break down grease, the water dilutes it just enough, and the dish soap gives it that little extra cleaning boost for cutting through messes.
- Essential oil magic
This is optional, but I always add 10 drops of essential oil to the mix. Lemon is my favorite because it smells fresh and clean, plus it has natural antibacterial properties. Sometimes I switch it up with lavender or tea tree oil if I want a different scent. This not only masks the vinegar smell (which, don’t worry, fades quickly anyway), but it also adds extra cleaning power.
- Shake it up
After I’ve added everything, I pop the nozzle on and give it a good shake to mix it all together. And just like that, my non-toxic kitchen cleaning spray is ready to use!
How I Use It:
I use this spray on just about every surface in my kitchen. It’s perfect for cleaning countertops, wiping down the stovetop, and even freshening up the fridge. After cooking, I spray it directly onto surfaces and wipe it down with a clean cloth.
It’s gentle enough for everyday cleaning but strong enough to tackle greasy messes after cooking. For those really stubborn spots (you know the ones!), I’ll spray it on and let it sit for a minute or two before wiping it away. It works like a charm!
A Few Things I’ve Learned:
- No-go on natural stone: Just a little tip—if you have marble or granite countertops, skip the vinegar. The acidity can damage those surfaces over time. Instead, use a simple mix of water, dish soap, and essential oils for those areas.
- Fridge refresher: I love using this spray to wipe down the inside of my fridge. It not only cleans but also helps get rid of any lingering food odors. I just spray, wipe, and let the fresh lemon scent do the rest!
- Sticky situations? Add baking soda!: If I run into something extra sticky (like spilled syrup or grease), I sprinkle a bit of baking soda on the spot after spraying. The combo of the vinegar cleaner and baking soda fizzes up and lifts the gunk right off!
Why I Love This Spray:
Honestly, I can’t believe how easy and effective this non-toxic kitchen spray is. I used to think that natural cleaners couldn’t possibly work as well as the chemical-laden ones from the store, but I’ve been proven wrong! This spray is super gentle, smells amazing, and leaves my kitchen sparkling clean. Plus, it feels so good knowing that I’m using something safe and natural in the space where I make all our meals.
I also love how budget-friendly it is. Vinegar and water are so cheap, and the essential oils last forever. I can make this cleaner over and over without ever needing to run to the store for more supplies.
Try It Out!
If you’ve been thinking about making the switch to natural, non-toxic cleaners, this DIY kitchen spray is a great place to start. It’s easy, safe, and works wonders. Give it a try, and I bet you’ll never look back!
And hey, if you try it, let me know how it goes! I’m always looking for new tips and tricks to make my cleaning routine even better. 😊
Discover:

Emma Vanderlyn is a home enthusiast with a passion for all things natural and eco-friendly. With years of experience experimenting with DIY solutions, she’s dedicated to creating safe, effective, and budget-friendly cleaning recipes that are kind to both your home and the planet. Emma believes that a clean home shouldn’t come at the cost of harsh chemicals, and her easy-to-follow guides make natural cleaning accessible to everyone.
When she’s not whipping up a new cleaner in her kitchen, Emma can be found researching the latest in green living or transforming her space with mindful, stylish decor ideas. She’s here to share her love of natural living and help you create a home that shines—naturally.