Summer is magical — but let’s be honest, it can also come with a chorus of “I’m bored!” that starts approximately 48 hours after the last school bell rings.
Whether you’re a parent, grandparent, or caregiver, keeping kids engaged without draining your wallet or your sanity is a real challenge.
The good news? You don’t need an expensive camp or elaborate outings to make summer memorable.
These 10 summer craft ideas for kids are designed to spark creativity, keep little hands busy, and use materials you probably already have at home.
From toddlers to tweens, there’s something here for every age and energy level — indoors on rainy days or outside in the sunshine. Grab some glue sticks and let’s dive in!
Table of Contents
- 1. Sunshine Handprint Wreath
- 2. Tie-Dye Coffee Filter Butterflies
- 3. Tin Can Pencil Holders (Upcycled Garden Craft)
- 4. Nature Suncatchers
- 5. DIY Bubble Wands
- 6. Paper Plate Jellyfish
- 7. Homemade Sidewalk Chalk Paint
- 8. Mason Jar Snow Globes
- 9. Straw-Blown Art Trees
- 10. Friendship Bracelets (Beginner-Friendly!)
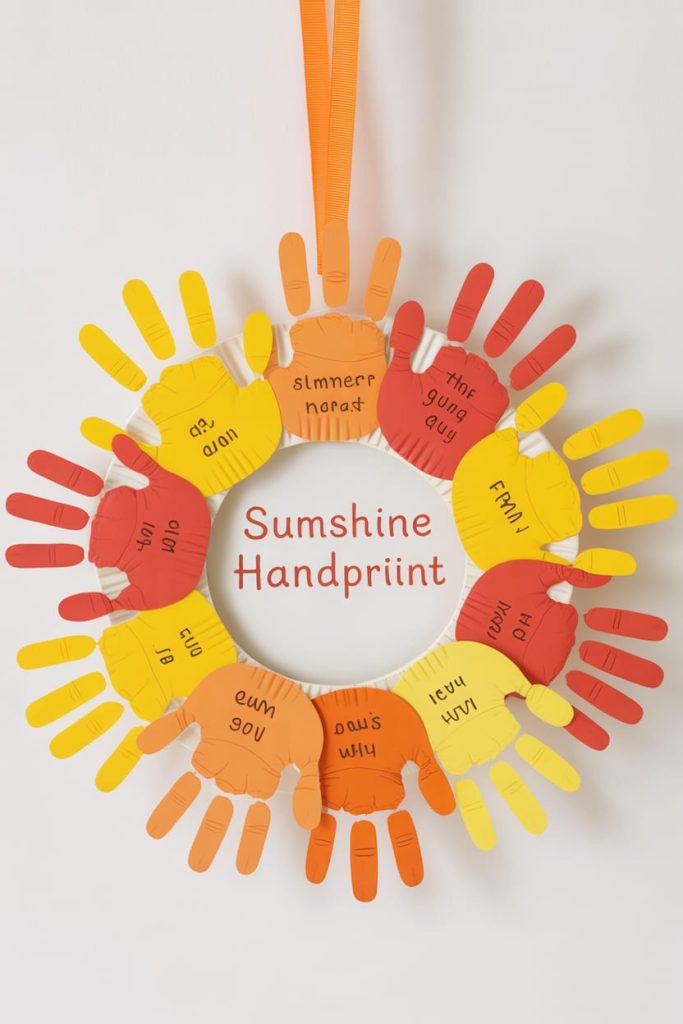
1. Sunshine Handprint Wreath
Ages: 3+
There’s something timeless about handprint art, and this cheerful wreath doubles as a keepsake you’ll want to frame.
Materials Needed:
- Yellow, orange, and red construction paper
- Scissors
- Glue or tape
- A paper plate (center cut out)
- Markers
Instructions:
- Trace and cut out 10–12 handprints in warm sunshine colors.
- Cut the center out of a paper plate to create a wreath base.
- Arrange and glue handprints around the ring with fingers pointing outward like sun rays.
- Let dry, then write the child’s name and the year in the center ring.
- Punch a hole at the top and loop a ribbon through to hang.
Pro Tip: Make one at the start of summer and one at the end to see how much their hands have grown — a sweet tradition!
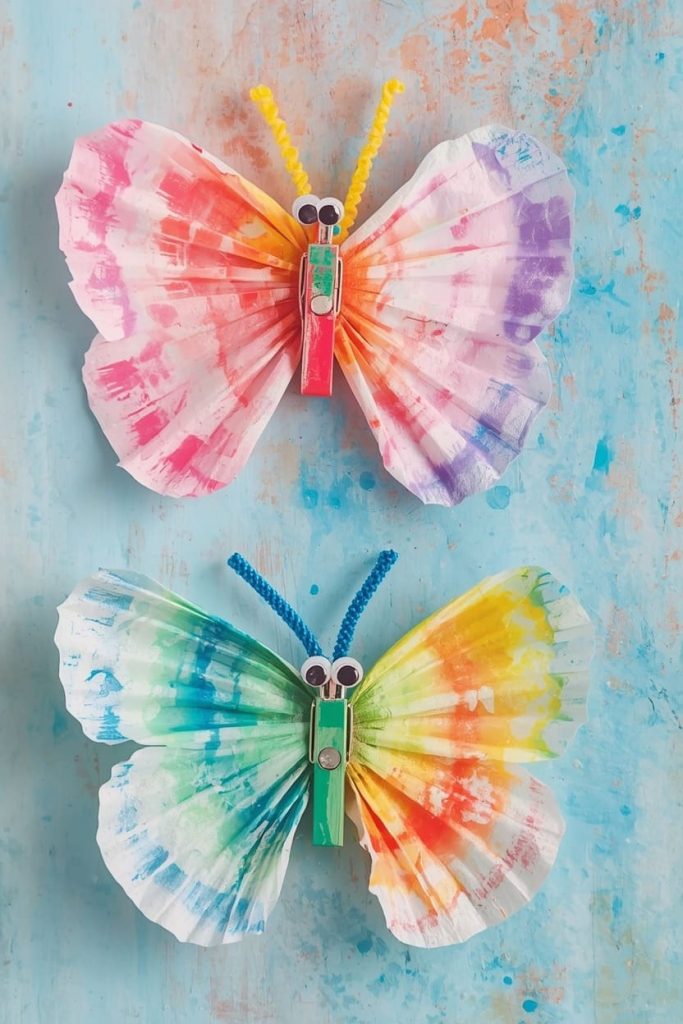
2. Tie-Dye Coffee Filter Butterflies
Ages: 4+
No special dye needed! These vibrant butterflies use washable markers and water for a magical color-blending effect kids absolutely love.
Materials Needed:
- White coffee filters
- Washable markers (bright colors)
- A spray bottle with water
- Pipe cleaners
- Googly eyes (optional)
Instructions:
- Flatten a coffee filter and let kids color it heavily with markers — the more color, the better.
- Lightly mist with water and watch the colors bleed and blend together.
- Let dry completely (about 20–30 minutes).
- Pinch the filter in the center and twist a pipe cleaner around it to form the butterfly body and antennae.
- Fan out the wings and add googly eyes if desired.
Pro Tip: Clip a clothespin to the center instead of a pipe cleaner for a butterfly that doubles as a chip clip or photo holder!
Read More:
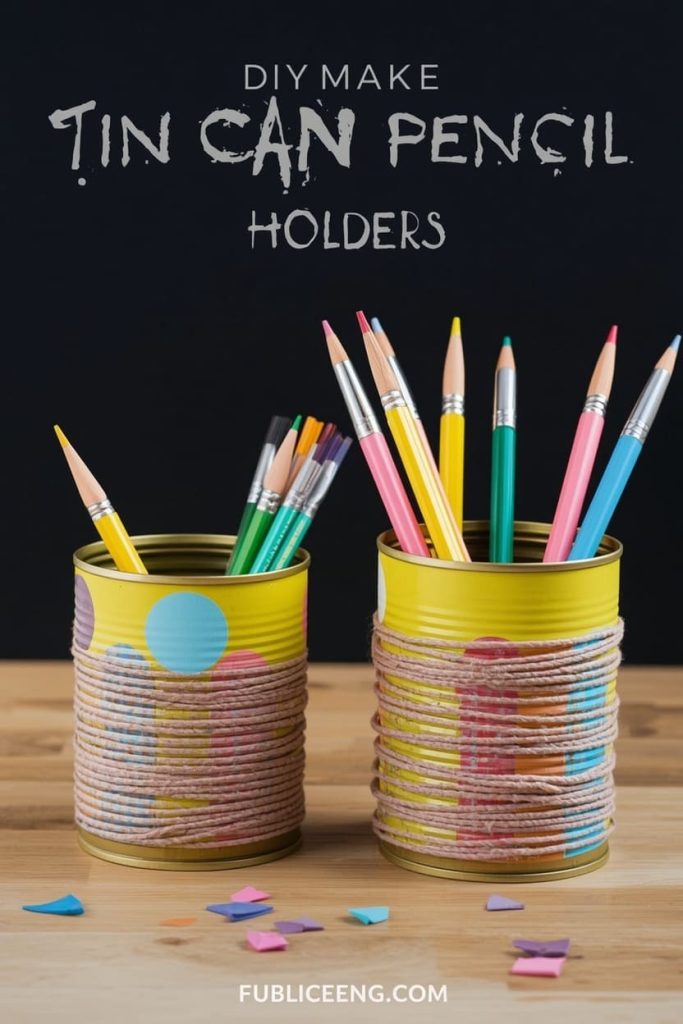
3. Tin Can Pencil Holders (Upcycled Garden Craft)
Ages: 5+
This easy kids craft turns recycling into something genuinely useful. Great for back-to-school prep, too!
Materials Needed:
- Clean tin cans (soup or vegetable cans)
- Acrylic paint
- Paintbrushes
- Twine, ribbon, or washi tape
- Mod Podge or clear sealant (optional)
Instructions:
- Remove labels and make sure cans are clean and dry. Check for sharp edges — adult help recommended for younger kids.
- Paint the outside of the can with a base coat and let dry (about 15 minutes).
- Decorate with patterns, polka dots, stripes, or let kids paint freely.
- Wrap sections with twine or washi tape for extra texture.
- Seal with Mod Podge for a longer-lasting finish.
Pro Tip: Make a set of three in graduated sizes for a coordinated desk organizer. These also make sweet teacher gifts!
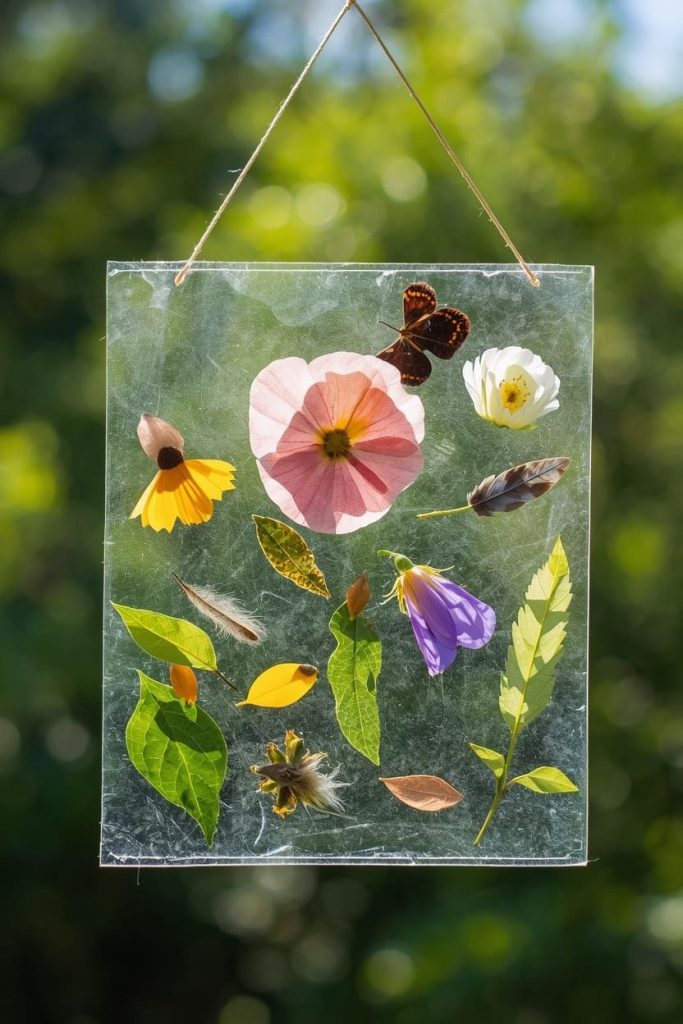
4. Nature Suncatchers
Ages: 4+
This outdoor summer craft for kids combines a nature walk with a beautiful take-home treasure. The finished pieces look stunning hanging in a sunny window.
Materials Needed:
- Clear contact paper
- Flowers, leaves, grass, and other flat nature finds
- Scissors
- String or ribbon
Instructions:
- Go on a nature walk and collect flat, thin items — petals, leaves, blades of grass, feathers.
- Cut two matching squares of contact paper.
- Peel the backing off one piece and lay it sticky-side up on the table.
- Arrange nature finds on the sticky surface.
- Peel the second piece and press it on top to seal. Punch a hole at the top and hang with string.
Fun Variation: Use tissue paper squares instead of nature materials for a stained-glass look all year round.
5. DIY Bubble Wands
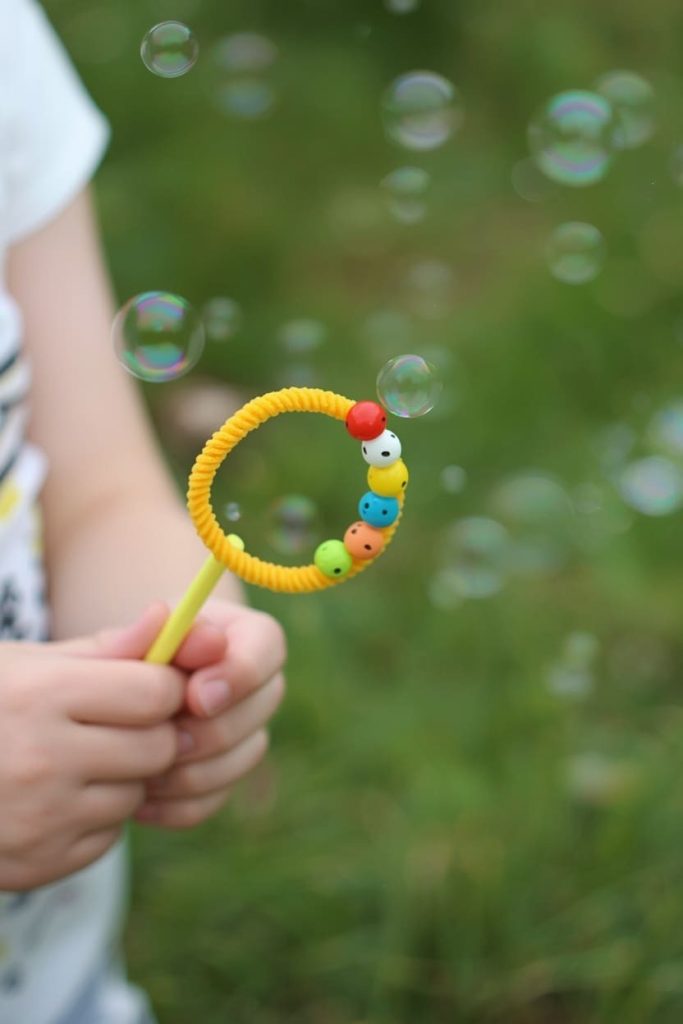
Ages: 3+
Store-bought bubbles are fun, but making your own wand turns it into a full afternoon of DIY crafts for children. Simple, inexpensive, and endlessly entertaining.
Materials Needed:
- Pipe cleaners
- Beads (optional)
- Dish soap
- Water
- A shallow tray or bowl
Instructions:
- Bend one end of a pipe cleaner into a circle or star shape and twist it closed.
- Thread beads onto the handle portion if desired.
- Mix 1 part dish soap with 6 parts water in a shallow tray.
- Dip the wand in the bubble solution and blow gently.
- Experiment with different wand shapes to see which makes the best bubbles!
Pro Tip: Add a teaspoon of glycerin (found at pharmacies) to your bubble mix for longer-lasting, stronger bubbles.
6. Paper Plate Jellyfish
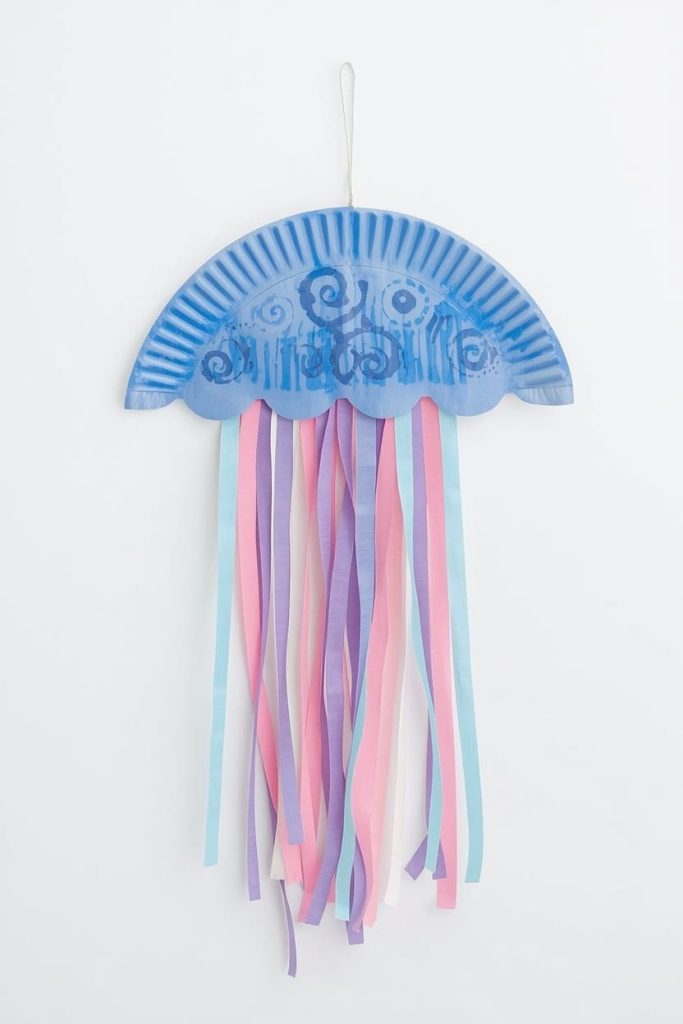
Ages: 3+
An adorable indoor summer craft that’s low-mess and high-imagination. Perfect for little ones who love the ocean.
Materials Needed:
- Paper plates
- Crepe paper streamers or ribbon in multiple colors
- Watercolor or tempera paint
- Paintbrush
- Hole punch and string
Instructions:
- Paint the bottom of a paper plate in ocean colors — blue, purple, pink — and let dry.
- Add details like dots or swirls with a darker color.
- Punch 6–8 holes around the rim of the plate.
- Cut streamers into 12–18 inch lengths and tie one through each hole.
- Punch one hole at the top and add a string to hang your jellyfish.
Pro Tip: Make a whole school of jellyfish in different sizes and hang them from a wooden dowel for a whimsical mobile!
7. Homemade Sidewalk Chalk Paint
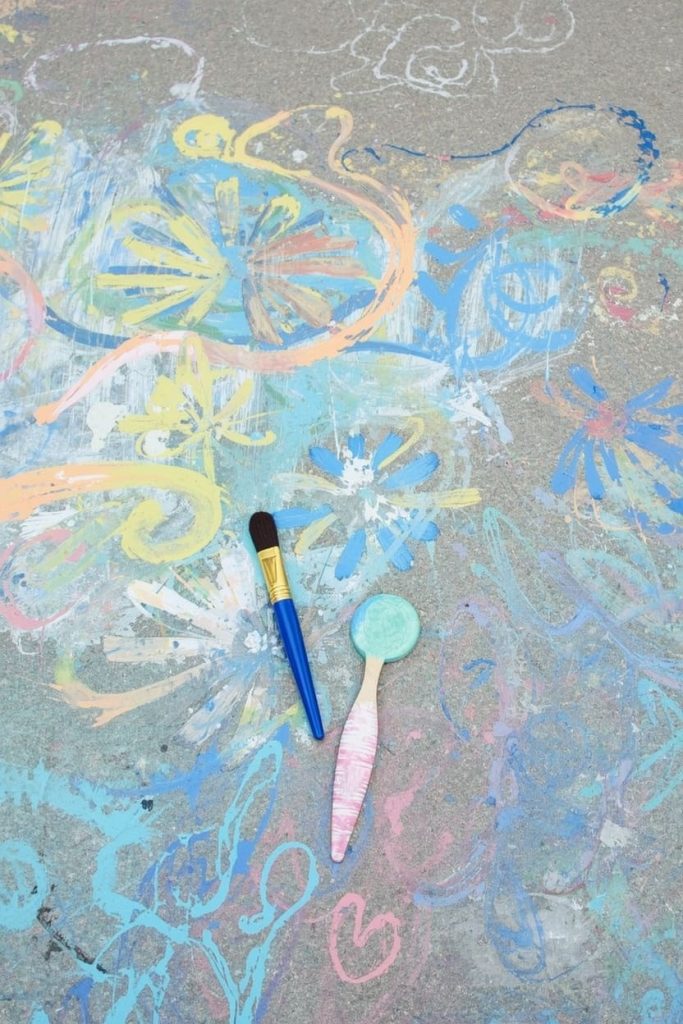
Ages: 3+
Why draw with chalk when you can PAINT with it? This recipe creates vivid, washable paint that’s perfect for large-scale outdoor summer crafts — driveways, patios, and pathways become the canvas.
Materials Needed:
- Cornstarch
- Water
- Food coloring
- Small cups or a muffin tin
- Paintbrushes (the bigger, the better!)
Instructions:
- Mix equal parts cornstarch and water in each cup (about ¼ cup each).
- Add several drops of food coloring and stir well.
- Head outside with brushes and let kids paint freely on any concrete surface.
- Paint dries to a matte chalk finish and washes away with the hose.
Fun Variation: Freeze the mixture in ice cube trays for chalk paint “popsicles” that kids drag directly on the pavement — zero brushes required!
8. Mason Jar Snow Globes
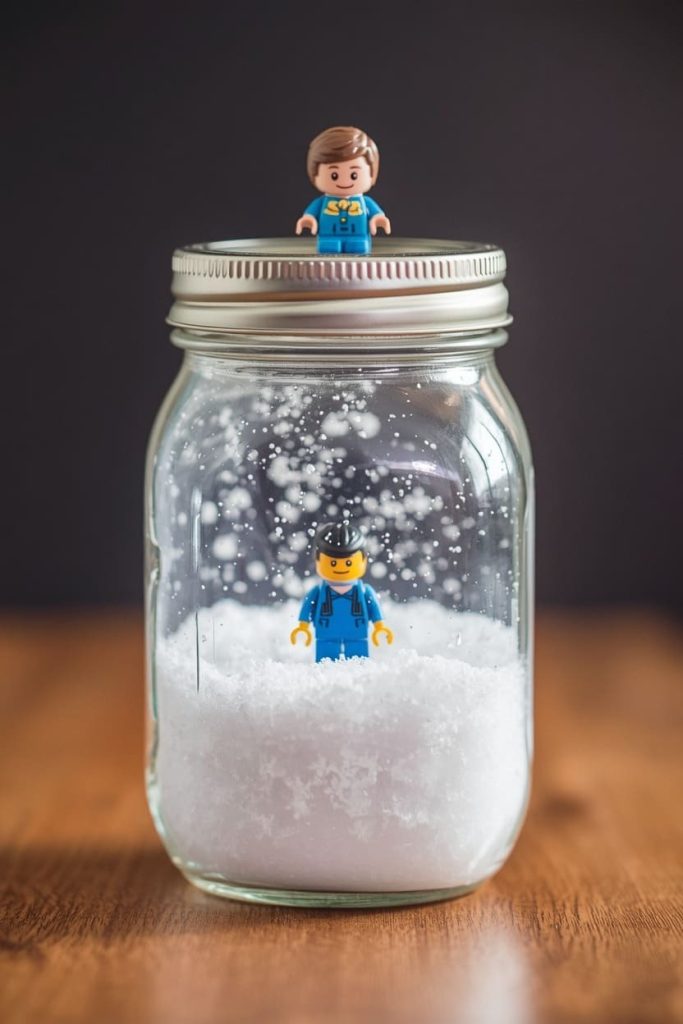
Ages: 6+ (with adult help for gluing)
This feels like a fancy craft but it’s surprisingly simple — and the result is genuinely magical. Kids can make these as gifts or keep them as summer mementos.
Materials Needed:
- Small mason jar with lid
- Waterproof figurine or small plastic toy
- Distilled water
- White glitter or fake snow
- Waterproof super glue
- Optional: a drop of glycerin
Instructions:
- Glue the figurine to the inside of the jar lid and let cure completely (at least an hour).
- Fill the jar almost to the top with distilled water.
- Add a pinch of glitter or fake snow and one drop of glycerin (slows the “snow” fall).
- Apply a ring of super glue to the inside rim of the lid and screw it on tightly.
- Let dry upside down, then flip and shake!
Pro Tip: Use a small LEGO figure or a seashell from your beach trip to make it extra personal and meaningful.
9. Straw-Blown Art Trees
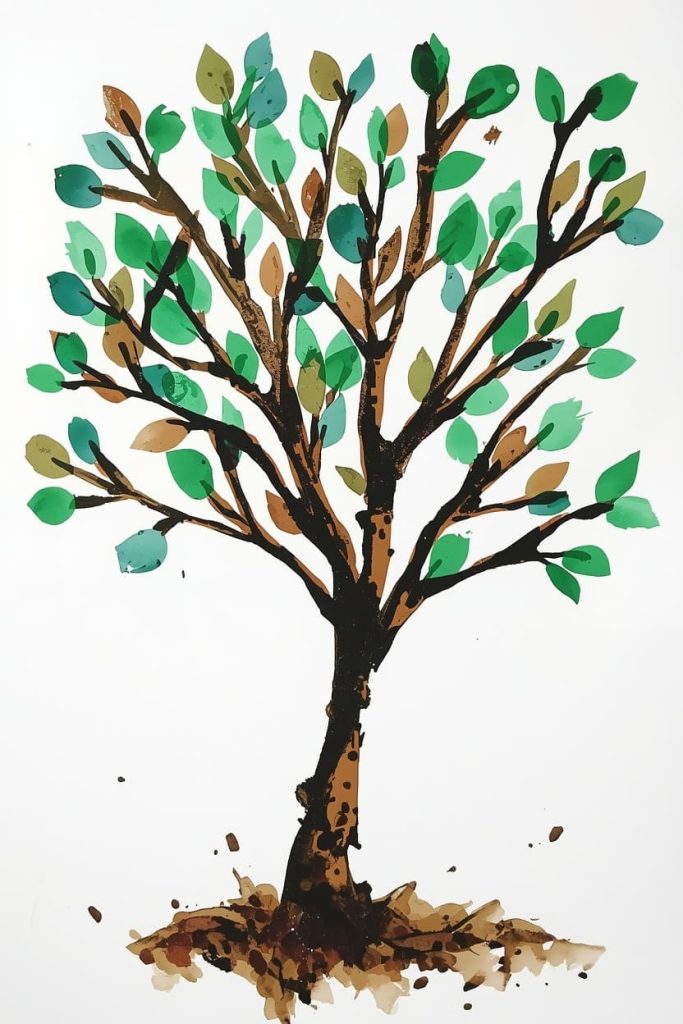
Ages: 5+
These abstract “trees” look like something from an art gallery, yet they’re made with nothing but paint and breath. A wonderful way to explore easy kids crafts with a big, impressive result.
Materials Needed:
- White cardstock or watercolor paper
- Liquid watercolor or watered-down acrylic paint (brown or black)
- Drinking straws
- Green paint or torn tissue paper for leaves
Instructions:
- Spoon a small puddle of brown or black paint near the bottom of the paper.
- Use a straw to blow the paint upward and outward, creating branches.
- Continue blowing to spread smaller and smaller branches toward the top.
- Let dry, then add leaves by dabbing green paint with a fingertip or gluing torn green tissue paper.
- Add a colorful background with watercolors for a finished, frame-worthy look.
Pro Tip: Try this with blue-black paint on white paper for a dramatic, wintry tree — beautiful year-round.
10. Friendship Bracelets (Beginner-Friendly!)
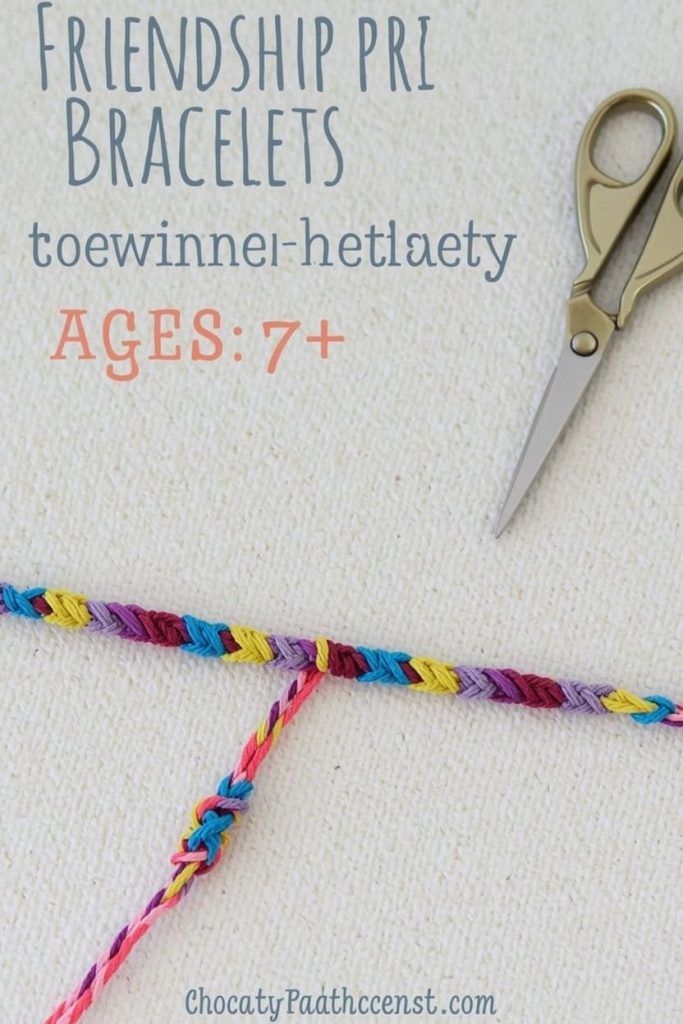
Ages: 7+
A classic summer activity that also builds fine motor skills, patience, and — true to the name — friendships. These are perfect for sleepovers, camps, or quiet afternoons.
Materials Needed:
- Embroidery floss in 3–4 colors
- Scissors
- Tape or a safety pin (to anchor)
Instructions:
- Cut three strands of embroidery floss, each about 24 inches long. Fold in half and knot at the top, leaving a small loop.
- Tape or pin the loop to a table or clipboard to hold it steady.
- Separate the six strands and braid them in simple groups of two, alternating colors.
- Continue braiding to the desired length (about 6–7 inches for a wrist).
- Knot the end and trim, then tie onto a friend’s wrist for good luck.
Pro Tip: Look up “forward knot” friendship bracelet tutorials for kids ready to level up to patterned designs!
Make This Summer One They’ll Always Remember
There you have it — 10 summer craft ideas for kids that are easy on your budget, big on fun, and totally doable on a Tuesday afternoon with no advance planning. Whether you try just one or work through the entire list, the most important ingredient is always the same: your time and enthusiasm alongside theirs.
Don’t worry about perfect results. A lopsided jellyfish or a tie-dye butterfly with muddy colors is still a masterpiece when it was made with joy.
Save this post for the next time you hear “I’m bored!” and share it with a fellow parent, grandparent, or caregiver who could use a little summer inspiration. And if your kids make something wonderful, we’d love to see it — share your creations and tag us!
Happy crafting!

Jenny is a passionate writer specializing in home decor, design, and styling. With years of experience in transforming spaces, she shares expert tips on creating beautiful, functional homes. From interior design trends to DIY decor ideas, Jenny’s work helps homeowners craft spaces that reflect their unique style. Whether it’s a cozy living room, a modern kitchen, or a serene bedroom, her articles offer practical advice and inspiration to elevate any home.