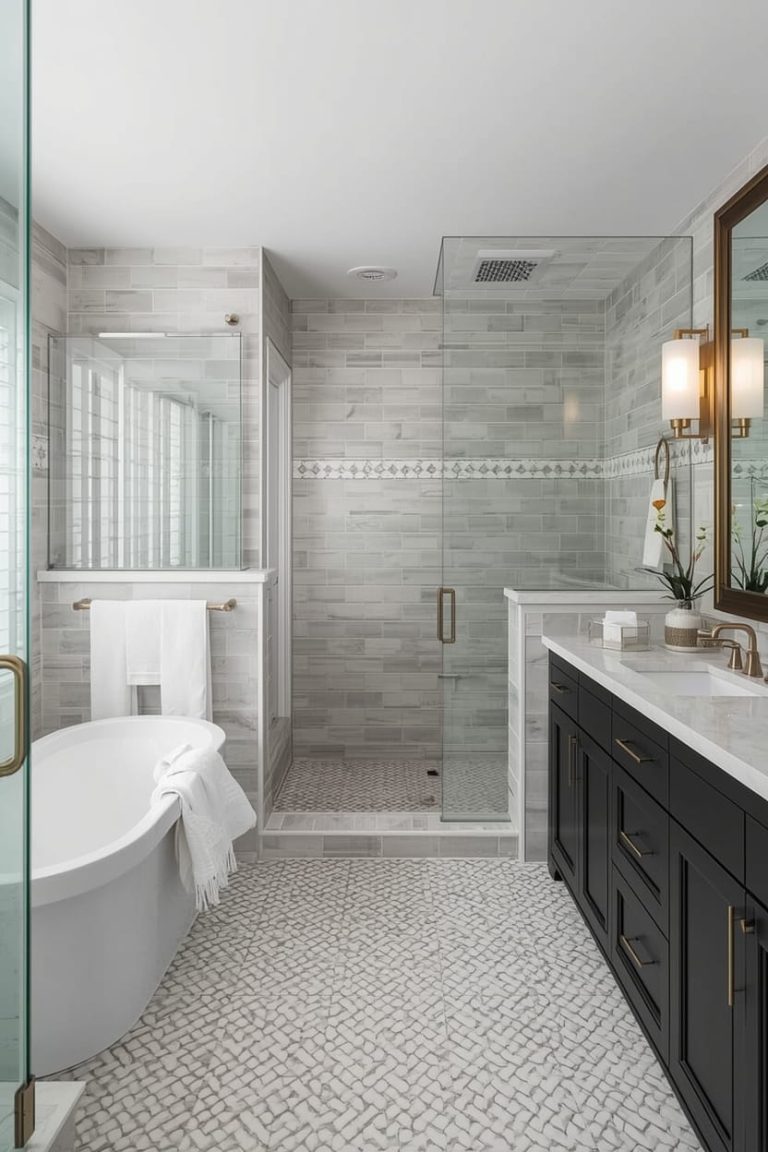
I wallpapered my first apartment bathroom on a Sunday afternoon with zero experience. I watched exactly one YouTube video.
My hands were shaking on the first strip. Twenty minutes in, I stopped shaking. By the end of the roll, I felt like I’d unlocked a cheat code for renting. That tiny bathroom went from beige and forgettable to the room guests actually commented on.
If you’re standing in your own plain bathroom right now wondering if you can really do this yourself, you can. Here’s exactly how, style by style.

Top 3 Products to Get This Done
- ReWallpaper Botanical Peel and Stick Wallpaper, Sage Green – A renter-friendly, self-adhesive roll with a soft leaf print that suits both powder rooms and full baths.
- FOSHIO Wallpaper Smoothing Tool Kit – A squeegee and craft knife set that gets bubbles and creases out as you go, which matters more than the paper itself for a clean finish.
- Danodoi Leaf Wallpaper, Waterproof Vinyl – A thicker, genuinely waterproof roll built for high-humidity rooms like a shower wall or a windowless bath.
Go Bold With a Botanical Print in a Windowless Powder Room
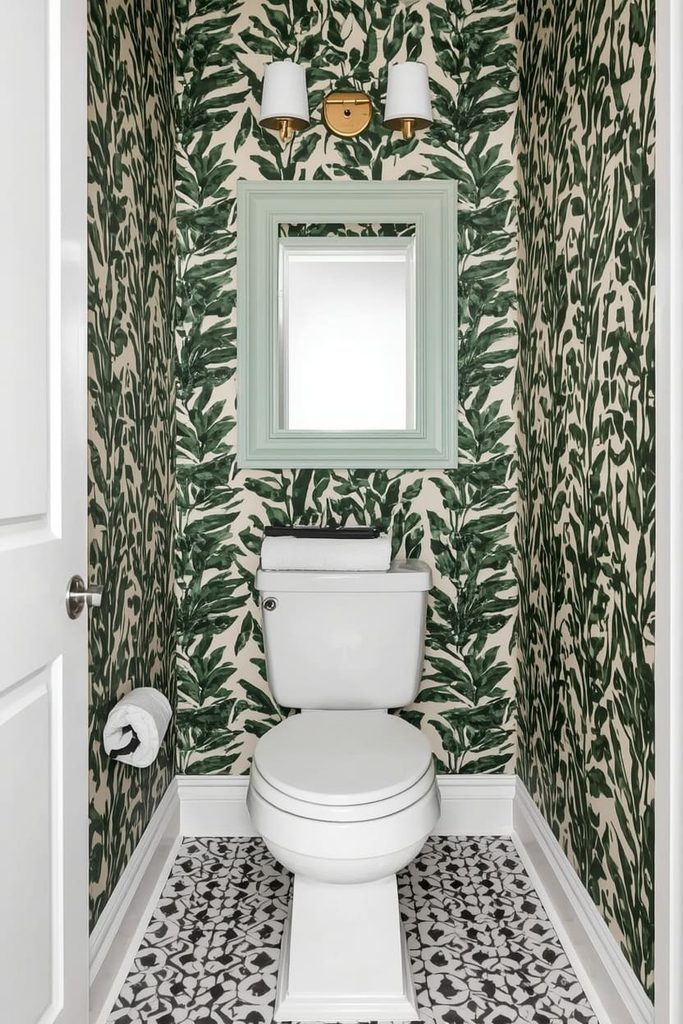
A small, windowless powder room is the single best place in your home to go loud with wallpaper. Direct answer: there’s no natural light to wash the pattern out, and the tight space means you only need a couple of rolls.
Botanical prints work especially well here because dense leaf patterns actually make a tiny room feel more layered instead of more cramped, the same way a jungle photo feels immersive rather than tight. Go for a print with some contrast in it, like dark green leaves on a cream background, so the pattern reads clearly instead of blurring into a green haze.
Measure all four walls before you order. Powder rooms are deceptively small, and most peel-and-stick rolls run about 17 to 18 inches wide, so you’ll need to calculate how many strips per wall based on your ceiling height, not just square footage. Order 10 to 15 percent more than your math says, since you’ll lose some paper to pattern matching and mistakes on your first few strips.
Start on the least visible wall, like the one behind the door, so your first attempt (which will be a little rough) isn’t the first thing anyone sees. Work top to bottom, smoothing outward from the center of each strip with your squeegee to push bubbles toward the edges.
Powder rooms are also low-stakes because they don’t deal with shower steam the way a full bath does. That means almost any peel-and-stick wallpaper will hold up here, even ones not specifically rated waterproof, which opens up a lot more pattern options than a full bathroom would.
Wallpaper Only the Ceiling for a Showstopper Without the Risk
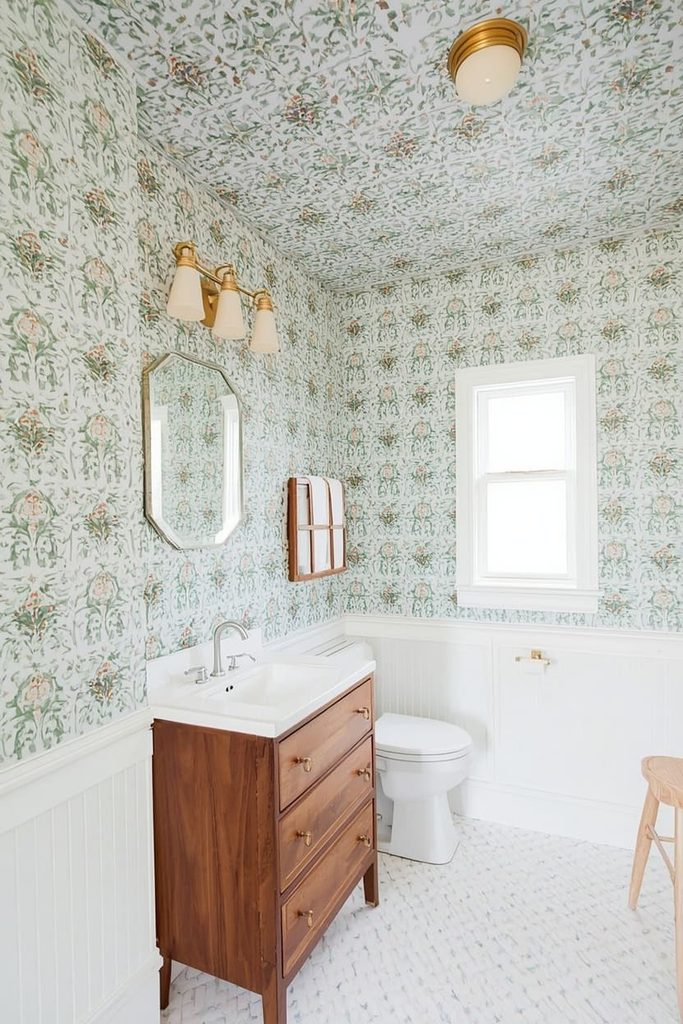
If committing to four walls feels like too much, wallpaper the ceiling instead. Direct answer: a papered ceiling gives you the same wow factor as a full room without touching a single wall, and it’s genuinely less physically demanding to install than you’d think.
This idea works because most people never look up in a bathroom, so a patterned ceiling feels like a surprise rather than an expected design choice. It photographs beautifully for exactly that reason, and it’s become a favorite move among designers doing small guest baths on a budget.
Pick a smaller, busier print for a ceiling rather than a large-scale pattern. Big motifs can look distorted or awkward when viewed from directly below, while a smaller repeat, like a fine floral or a tight geometric, reads cleanly no matter where you’re standing in the room.
Installing overhead is the one part of this project where an extra set of hands genuinely helps. Have someone support the roll while you press and smooth, since gravity works against you here in a way it doesn’t on a wall. A step stool with a wide, stable base beats a wobbly one every time.
Keep your walls white or a very pale neutral when you do this. The ceiling needs room to be the star, and busy walls underneath a busy ceiling will fight each other instead of working together.
Use a Bold Geometric Print on a Single Accent Wall
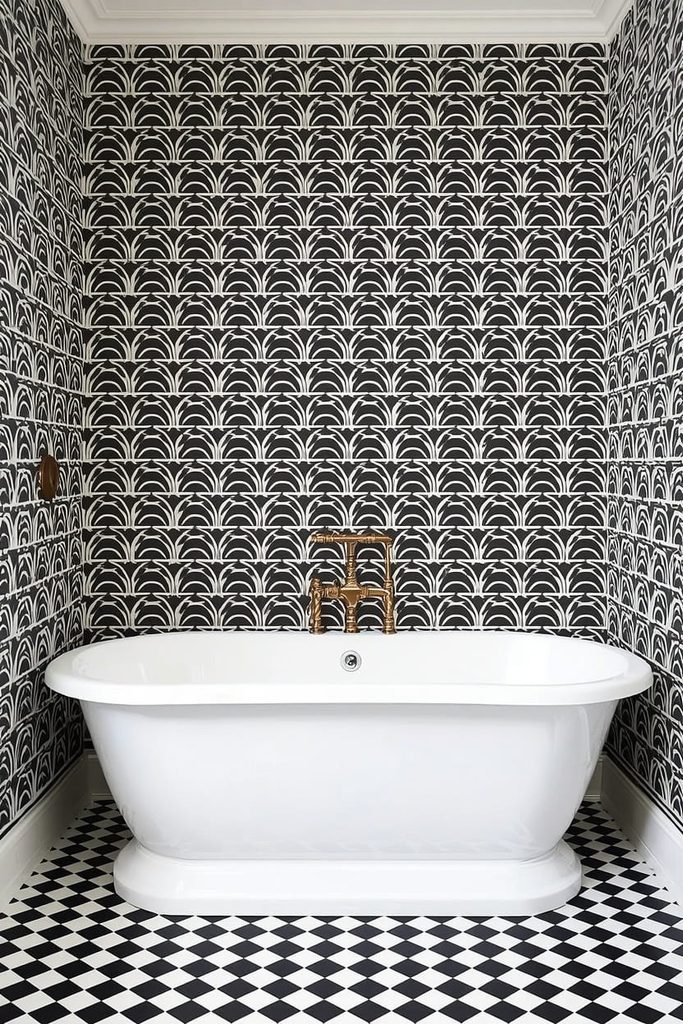
An accent wall is the safest way to test a bold, graphic print without redoing your whole bathroom. Direct answer: papering just the wall behind your vanity or tub gives you maximum visual impact for the smallest material and labor cost.
Geometric patterns, think checkerboard, scalloped arches, or clean stripes, work particularly well as a single feature wall because their repeat is easy to line up, which makes them more forgiving for a first-time installer than an intricate floral. The clean lines also read as more modern, which suits a lot of the minimalist-with-a-twist bathrooms popular right now.
Pick the wall your eye lands on first when you open the bathroom door. That’s usually the wall behind the tub or the one directly opposite the entrance. Papering a side wall you barely see wastes the visual punch you’re going for.
Before you start, use painter’s tape to mark out where the pattern will land on the wall. This step catches sizing issues before they become expensive mistakes, especially with geometric prints where a crooked first strip throws off every strip after it.
Leave the other three walls a plain, complementary color. White, black, or a deep tone pulled from the wallpaper itself all work. This restraint is what makes an accent wall look designed instead of like you ran out of wallpaper halfway through.
Try Grasscloth-Style Wallpaper for Texture Without Heavy Pattern
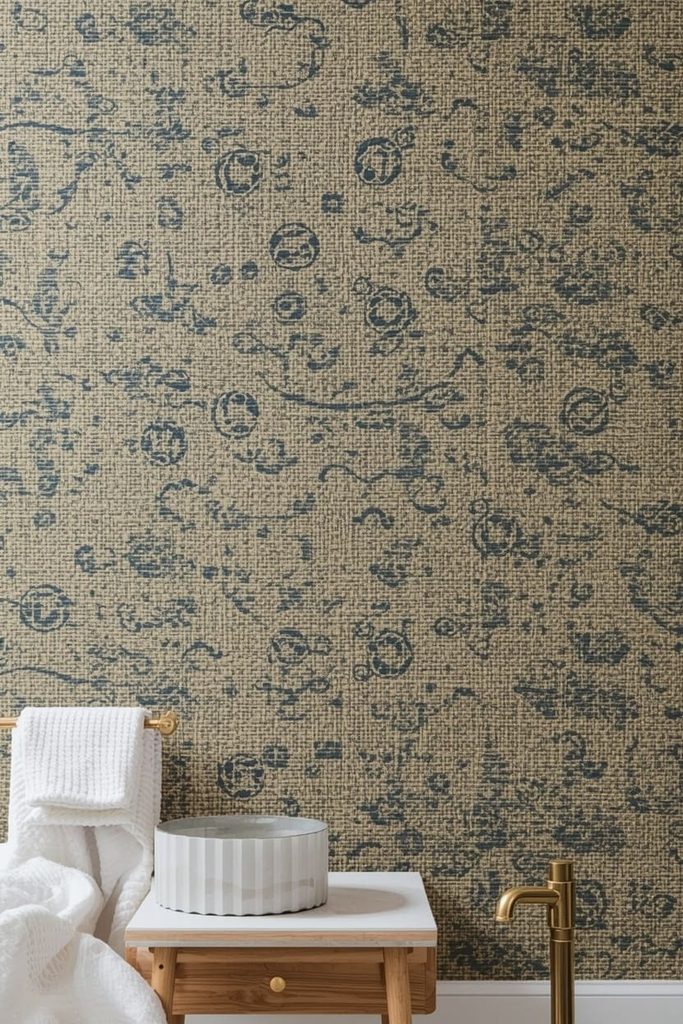
If bold prints feel like too much commitment, grasscloth-style peel-and-stick gives you texture and warmth without a loud pattern. Direct answer: this option adds visual interest through texture instead of color or shape, so it works in almost any bathroom style and won’t fight with existing tile or fixtures.
Grasscloth-look vinyl mimics the woven, natural fiber texture of traditional grasscloth without the fragility. Real grasscloth is notoriously bad in humidity since it’s an actual woven fiber, but the peel-and-stick vinyl versions are printed to look identical while staying fully washable and moisture-resistant.
This style suits a full bathroom, not just an accent wall, because the subtlety holds up at a larger scale. A whole room of grasscloth-look paper reads calm and layered rather than overwhelming, which a bold floral or geometric can’t always pull off across four walls.
Installation runs the same as any peel-and-stick roll, but pay closer attention to seam matching. Because there’s no obvious pattern repeat to align, it’s actually easier to hide small seam gaps here than with a busy print, which is good news if this is your first wallpaper project.
Pair grasscloth-style paper with warm wood accents or brass fixtures. The woven texture already leans earthy, and warm metals and wood tones complete that look rather than competing with it.
Frame Your Vanity Mirror With a Wallpaper Border
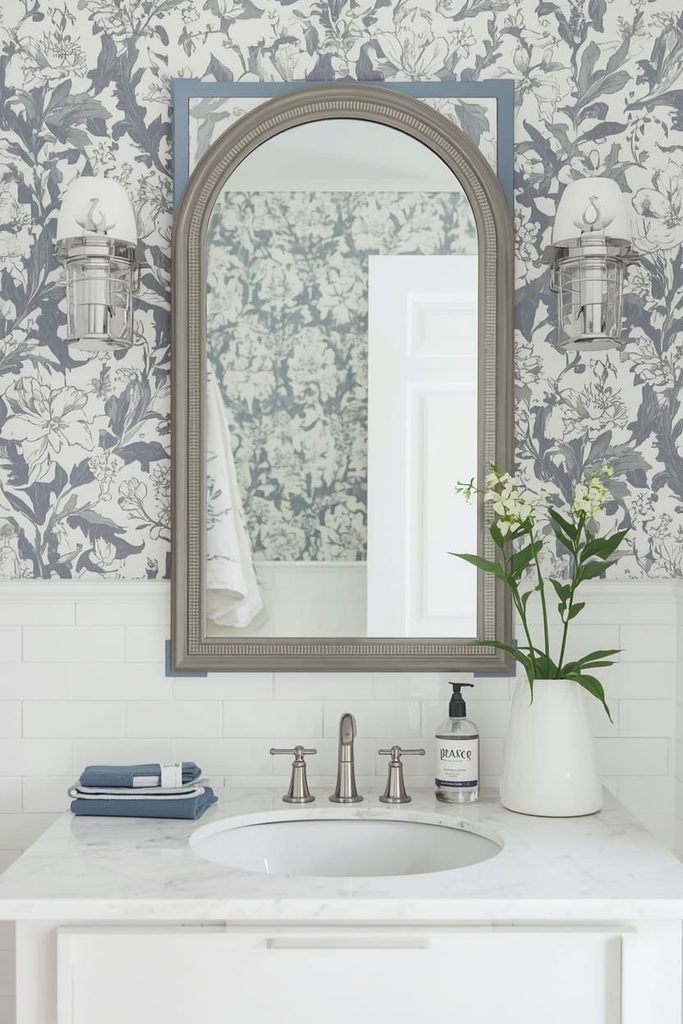
If a whole wall still feels like too much, frame just your vanity area instead. Direct answer: papering a defined rectangle or arch around your mirror gives you a wallpaper moment without covering a single full wall.
This works because it treats wallpaper like art rather than a wall treatment. A framed section behind a mirror reads intentional and gallery-like, and it’s the lowest-commitment option on this entire list if you’re nervous about covering a large surface.
Use painter’s tape to map out your shape first, whether that’s a clean rectangle, an arch, or a scalloped edge. Cut your wallpaper roll to size on a flat table before you ever bring it to the wall, since precision cuts are much easier to make away from the wall than while pressed against it.
Choose a busier, more detailed print here than you might elsewhere in the bathroom, since the small scale of the space means you can afford more visual density. A pattern that would feel like too much across four walls feels perfectly balanced in a two-foot frame.
Finish the edges with thin wood trim or simple painter’s tape lines for a crisp border, especially if you went with an irregular shape like an arch. That clean edge is what separates a “framed accent” from a wallpaper project that looks unfinished.
Frequently Asked Questions
Will wallpaper peel off in a humid bathroom? Standard peel-and-stick wallpaper can lift at the seams over time in a steamy, windowless bathroom. Look for rolls specifically labeled waterproof or bathroom-rated vinyl, and always run your bathroom fan during and after showers to cut down on ambient humidity.
Is peel-and-stick wallpaper actually renter-safe? Yes, when applied correctly. Peel-and-stick vinyl is designed to remove cleanly without pulling off paint, as long as you take it slow and use a hair dryer on low heat to soften stubborn adhesive spots as you peel it away.
How much wallpaper do I actually need for a small bathroom? Measure the width and height of each wall, then check the roll’s coverage in square feet. Add 10 to 15 percent extra for pattern matching and mistakes. Most powder rooms need two to three rolls; a full bathroom typically needs four to six.
Can I put wallpaper directly on the wall behind my shower? Only if the wallpaper is rated fully waterproof, and even then, it’s risky. Most designers stick to wallpapering the dry areas of a bathroom and leave true wet zones, like inside a shower stall, to tile or waterproof panels instead.
Do I need to prime my walls before applying peel-and-stick wallpaper? It depends on your wall’s current finish. A smooth, satin or semi-gloss painted wall usually doesn’t need priming. Textured, flat-painted, or freshly patched walls hold adhesive better with a coat of wallpaper primer first.
What’s the easiest style for a total wallpaper beginner? Start with a small project like a framed mirror accent or a single powder room wall. Both give you real practice with cutting, smoothing, and seam matching on a scale small enough that a mistake is cheap and easy to fix.
That first apartment bathroom I papered years ago is long gone, but I still use the same squeegee I bought for it. Every bathroom since has gotten some kind of wallpaper moment, whether it’s a full room or just a framed mirror. Start small if you need to. Pick one wall, one weekend, and see how it feels before you commit to anything bigger.

Jenny is a passionate writer specializing in home decor, design, and styling. With years of experience in transforming spaces, she shares expert tips on creating beautiful, functional homes. From interior design trends to DIY decor ideas, Jenny’s work helps homeowners craft spaces that reflect their unique style. Whether it’s a cozy living room, a modern kitchen, or a serene bedroom, her articles offer practical advice and inspiration to elevate any home.