My first bathroom redo cost less than a nice dinner out. I didn’t have a choice. I was renting, broke, and staring at beige tile I couldn’t afford to rip out.
So I painted what I could. I swapped what was cheap to swap. I hung a mirror that cost twelve dollars.
By the end, the room looked like a different bathroom. Nothing structural changed. Just paint, hardware, and a few smart swaps.
If your budget looks like mine did back then, you’re in the right place. Here are 7 ideas that actually move the needle, plus five products that make each one easier.

5 Products That Make This Easier
- Peel-and-stick vinyl floor tiles — a self-adhesive flooring option that goes over existing tile without demolition.
- Bathroom-safe paint in a satin finish — a moisture-resistant paint formulated to hold up in a humid bathroom.
- Adhesive-backed subway tile sheets — a peel-and-stick backsplash material that mimics real tile without grout or mortar.
- Brushed nickel cabinet hardware set — a low-cost pull and knob swap that updates a dated vanity instantly.
- Frameless wall mirror with adhesive strips — a mirror that mounts without drilling, ideal for renters.
Repaint the Vanity Instead of Replacing It
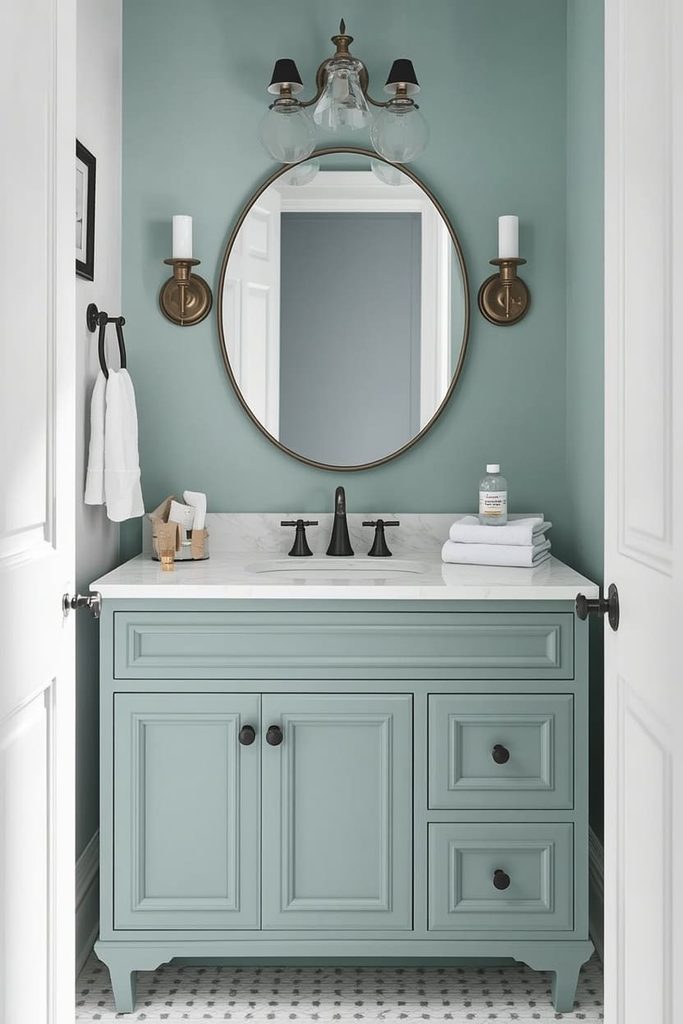
The direct answer: painting your existing vanity costs a fraction of a new one and can completely change how the room feels in a weekend.
Sand the cabinet doors lightly to help the paint grip, then wipe them down with a damp cloth. Use a bonding primer made for cabinets, followed by two coats of a moisture-resistant paint in a satin or semi-gloss finish. Budget around $30 to $50 for primer, paint, and a few brushes.
This works because the vanity is usually the largest visual element in a tiny bathroom. Changing its color changes the whole room’s mood, without touching plumbing or spending money on a new cabinet.
Let each coat dry fully, at least 24 hours, before reattaching doors and hardware. Rushing this step is the most common reason painted cabinets chip early.
Swap the Cabinet Hardware for an Instant Style Update
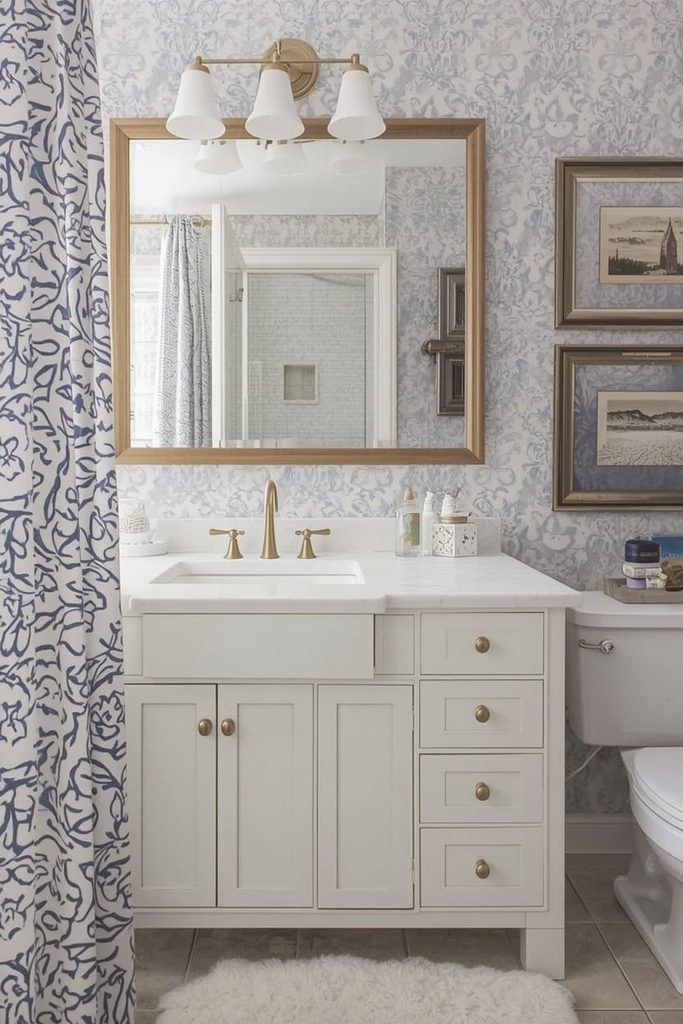
The direct answer: replacing dated knobs and pulls with new hardware is one of the cheapest updates you can make, often under $20 total, and takes less than an hour.
Measure the distance between the existing screw holes on your pulls before shopping, since new hardware needs to match that spacing unless you’re willing to fill and redrill holes. A basic screwdriver is the only tool required.
Brushed nickel, matte black, and brass are current finishes that read as updated rather than trendy. Buy a full set at once so every piece matches.
This idea pairs well with painting the vanity, since new hardware on a freshly painted cabinet looks intentional, not thrifted.
Cover Dated Tile With Peel-and-Stick Vinyl Flooring
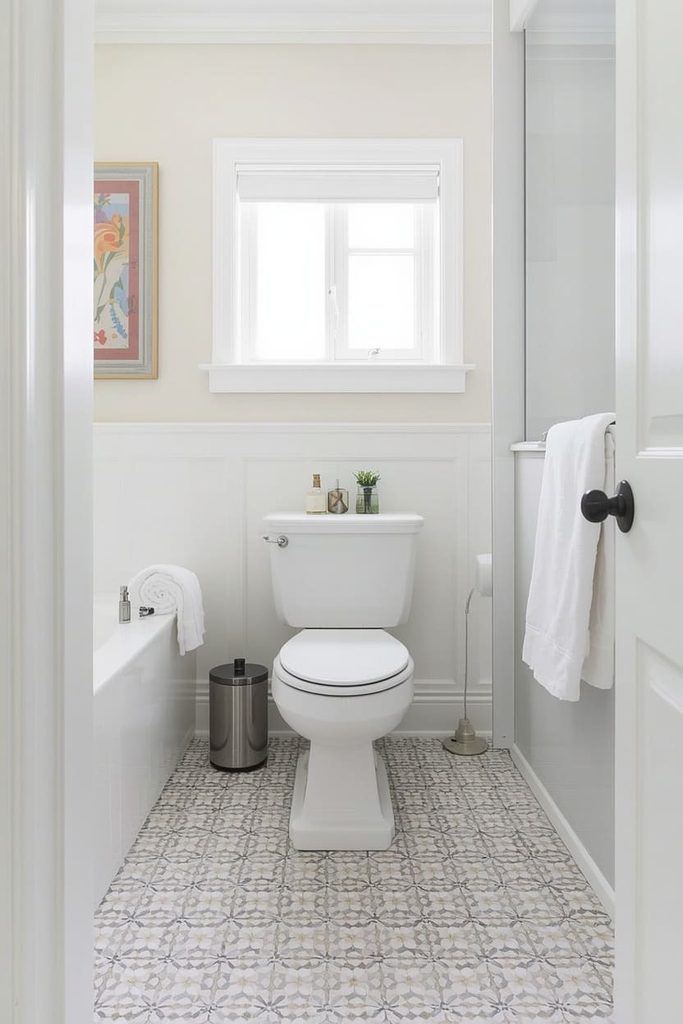
The direct answer: peel-and-stick vinyl tile installs directly over most existing flooring, which means you skip demolition entirely and still get a floor that looks new.
Clean and dry the existing floor thoroughly, since dust or moisture will stop the adhesive from sticking. Measure your floor space and buy 10 percent extra tile to account for cuts around the toilet base and doorway. A utility knife and a straightedge are the only tools you need for cutting.
Budget $60 to $120 depending on your bathroom’s square footage and the tile style you choose. Most tiny bathrooms only need one box or two.
This works well on a budget because flooring is expensive to replace traditionally, but peel-and-stick tile skips labor costs and mortar entirely. It’s also fully reversible if you’re renting.
Add a Peel-and-Stick Backsplash Behind the Sink
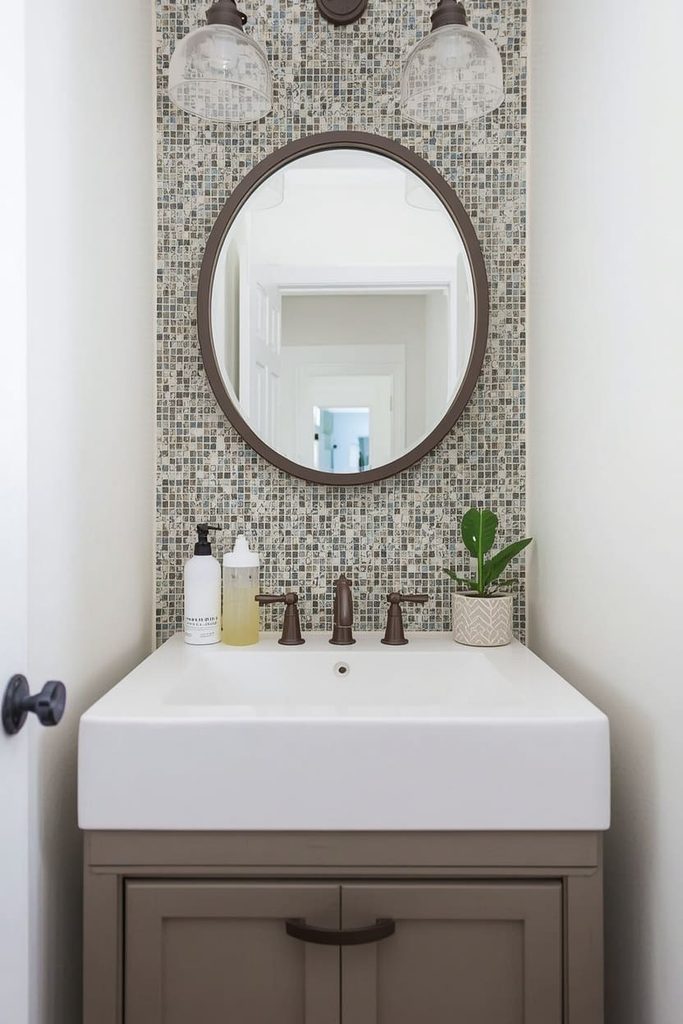
The direct answer: a peel-and-stick tile backsplash behind your sink adds visual texture for around $20 to $40, without a single drop of grout.
Clean the wall surface behind the sink and let it dry completely. Measure the area and cut your tile sheets to size with scissors or a utility knife. Press each sheet firmly from the center outward to avoid air bubbles, and use a caulk gun to seal the top edge where it meets the mirror or cabinet.
This idea works because a backsplash draws the eye to a focal point, which distracts from other dated elements in the room, like an older mirror or fixture you can’t afford to replace yet.
Most sheets install in under two hours for a standard sink-width space.
Replace the Mirror With a Frameless Adhesive-Mount Option
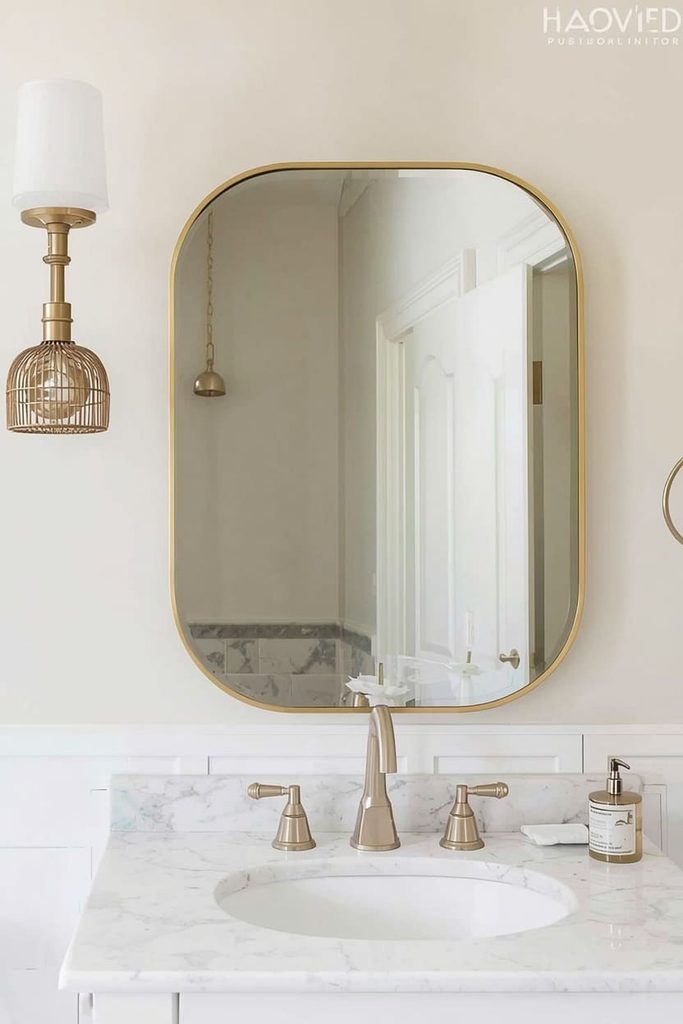
The direct answer: swapping a dated framed mirror for a frameless one with adhesive mounting strips costs $15 to $40 and requires no drilling, which makes it ideal if you’re renting.
Remove the old mirror carefully, since some are glued directly to the wall. If yours is glued, you may need to leave it in place and mount the new mirror over it, or use a mirror-specific adhesive remover first.
Apply the adhesive strips included with most frameless mirrors, following the weight rating on the packaging closely. Press firmly for the recommended time, usually 30 seconds per strip, before letting go.
A larger mirror also reflects more light, which makes a tiny bathroom feel bigger without any structural change.
Update Lighting With a Plug-In or Battery-Powered Fixture
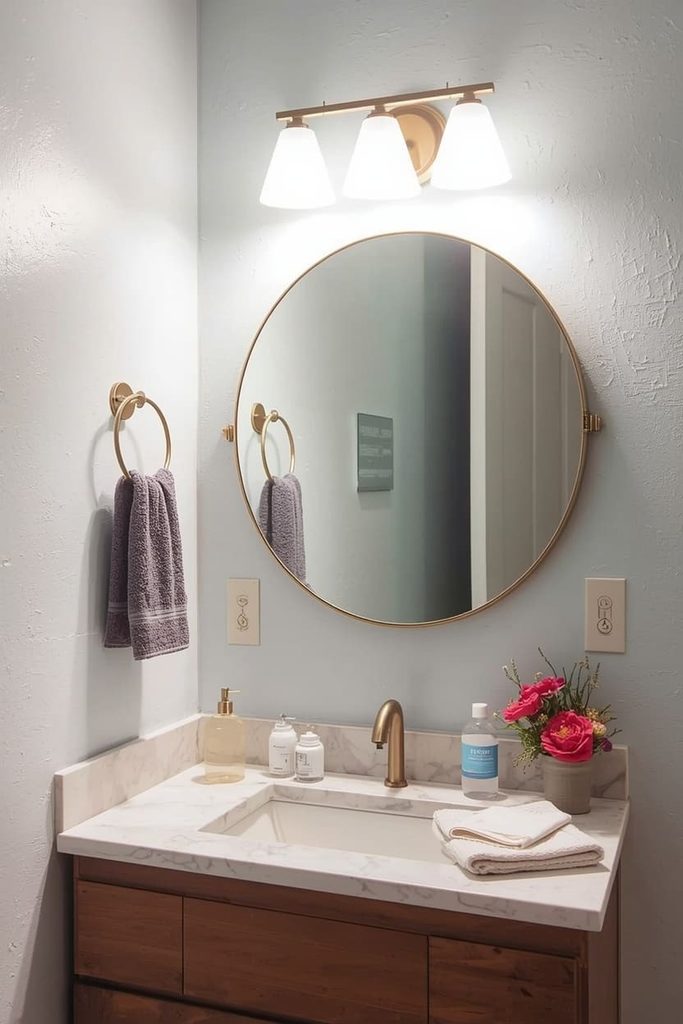
The direct answer: a plug-in or battery-powered vanity light lets you add better lighting for $20 to $50 without hiring an electrician or cutting into drywall.
Choose a fixture rated for damp locations, since bathrooms have higher humidity than other rooms. Battery-powered puck lights or LED strips with adhesive backing work well above a mirror or along a shelf. Plug-in sconces work if you have an outlet near the vanity already.
Warm white bulbs, around 2700K to 3000K, tend to flatter skin tones better than cool white in a small mirror-heavy room.
This matters more than people expect. Bad lighting makes even a freshly painted bathroom look unfinished, while good lighting makes a budget redo look intentional.
Add Storage With a Thrifted or Repurposed Shelf
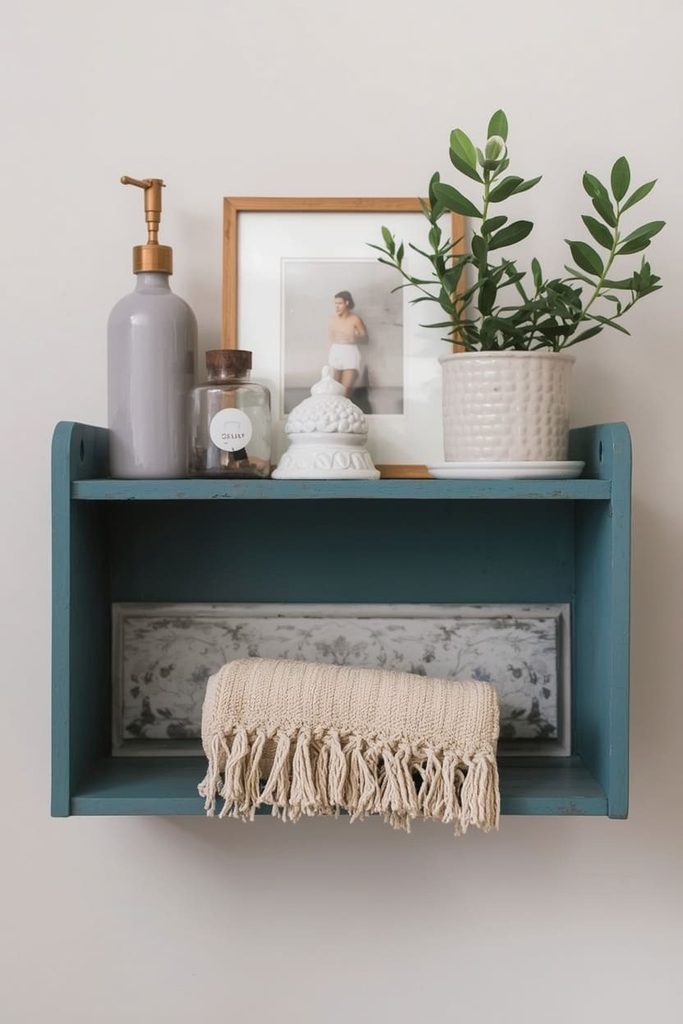
The direct answer: a small secondhand shelf, painted to match your color scheme, adds storage and personality for under $15, often less if you already own one.
Check thrift stores, garage sales, or a piece you already have in another room. Sand rough edges lightly, then paint with the same bathroom-safe paint you used on the vanity for a cohesive look. Mount with adhesive strips or small screws, depending on the shelf’s weight and your rental restrictions.
Style it with two or three items, not more. A folded towel, a small plant, and one decorative object is usually enough in a tiny bathroom, since overcrowding a small shelf makes the whole room feel cluttered.
This idea ties every other change together, since a styled shelf often becomes the finishing touch that makes a budget bathroom photograph well.
FAQs
How much does a full budget bathroom makeover typically cost? Most of the ideas here range from $15 to $120 each. Combining several — paint, hardware, flooring, and a mirror — usually lands a full refresh under $300.
Will peel-and-stick tile work over textured or uneven surfaces? It works best on smooth, flat surfaces. Heavily textured tile or grout lines may need a self-leveling underlayment first, or the adhesive won’t bond evenly.
Is it safe to paint a bathroom vanity if I’m renting? Generally yes, but check your lease first. Some landlords allow cosmetic changes as long as you can return the space to its original condition if asked.
What paint finish holds up best in a humid bathroom? Satin or semi-gloss finishes resist moisture and wipe clean more easily than matte or flat paint, making them the better choice for bathroom walls and cabinets.
Can I remove peel-and-stick tile without damaging the wall or floor underneath? Most peel-and-stick products are designed to remove cleanly with gentle heat from a hairdryer, though results vary by brand and how long it’s been installed.
I’ve redone more than one tiny bathroom this way, and every time, people assume I spent way more than I did. Start with one idea, see how it feels, then keep going. You don’t need a big budget to make a small room feel completely new.

Jenny is a passionate writer specializing in home decor, design, and styling. With years of experience in transforming spaces, she shares expert tips on creating beautiful, functional homes. From interior design trends to DIY decor ideas, Jenny’s work helps homeowners craft spaces that reflect their unique style. Whether it’s a cozy living room, a modern kitchen, or a serene bedroom, her articles offer practical advice and inspiration to elevate any home.