I measured my laundry closet twice because I didn’t believe the first number. Four feet wide. Nine feet deep. Not small, exactly. Narrow.
There’s a difference, and nobody warned me about it. Every layout I found online assumed a square room. Mine was a hallway with plumbing.
I spent weeks figuring out what actually works in a long, skinny footprint instead of forcing a Pinterest-perfect square layout into a shape it was never meant for.
Here’s what I found, starting with the products that solved my narrow-room problems first.
Table of Contents
- Top 5 Products for a Narrow Laundry Room
- Why "Narrow" Is a Different Problem Than "Small"
- The Side-by-Side Galley Layout for 5-Foot-Wide Rooms
- The Stacked Unit Solution for Rooms Under 4 Feet Wide
- The Sliding Barn Door Fix for Swing-Door Rooms
- The Vertical Storage Wall for Corridor Layouts
- The Budget-Friendly Rolling Cart Layout
- The Higher-End Built-In Look for Long Narrow Rooms
- The Lighting and Color Fix for Visually Widening a Narrow Room
- Which Idea Is Right for Your Space?
- FAQs
Top 5 Products for a Narrow Laundry Room
- Seville Classics UltraHD Rolling Storage Cart – A slim-profile cart that slides into a corridor-width gap without blocking your walking path.
- EaseLife Sliding Barn Door Hardware Kit – Replaces a swinging door that eats into your narrow room’s limited floor space.
- Whitmor Over-the-Door Double Rod – Adds hanging space using door height instead of floor width, which narrow rooms rarely have to spare.
- SONGMICS Narrow Wall Shelf Unit – A tall, slim shelving unit built for exactly the kind of shallow depth a corridor laundry room allows.
- Household Essentials Wall-Mount Ironing Board Cabinet – Folds flat against the wall, giving you an ironing station without losing an inch of your narrow floor plan.
Why “Narrow” Is a Different Problem Than “Small”
A small square room gives you options in every direction. A narrow room only gives you one: lengthwise. Every appliance, shelf, and door swing has to work along a single axis. That’s why generic small-space advice often doesn’t translate here. You need layouts built specifically for a corridor shape.
The Side-by-Side Galley Layout for 5-Foot-Wide Rooms
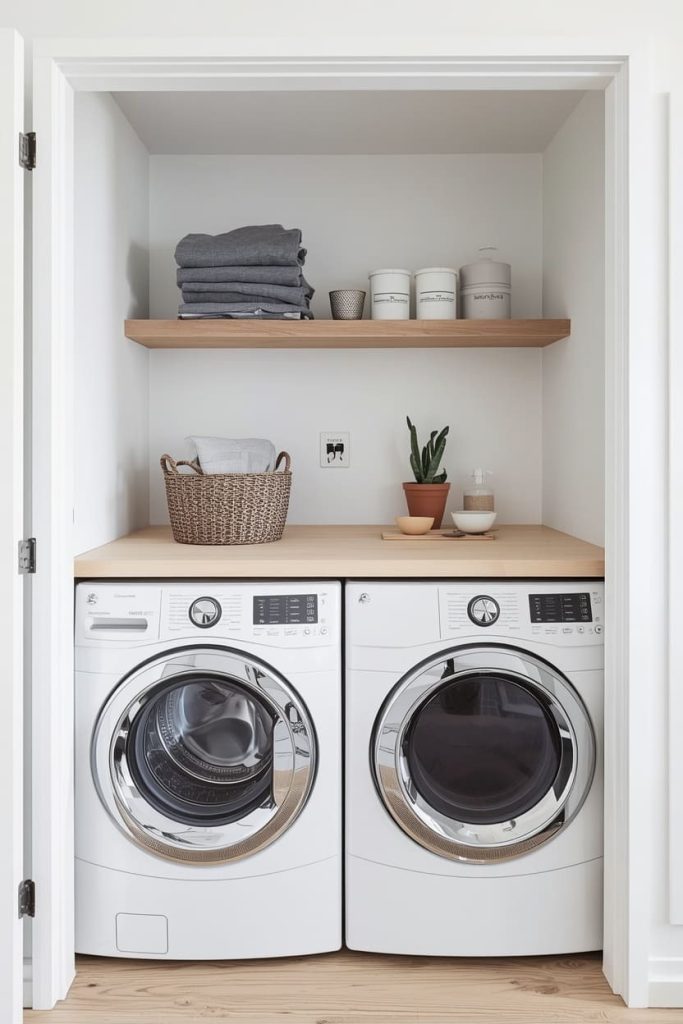
This works if your narrow room is at least 60 inches wide, letting you place the washer and dryer side by side rather than stacked.
Layout approach: Appliances along one long wall, a slim countertop above them, and open walking space along the opposite wall.
Materials: A laminate or butcher block counter cut to appliance depth, plus a shallow wall shelf above for detergent.
Steps:
- Confirm your appliances’ combined width fits within 60 inches, leaving at least 24 inches of walking clearance.
- Install a countertop directly on top of the washer and dryer using a flat, load-rated laminate board.
- Mount a shallow shelf 15–18 inches above the counter for supplies.
- Add a slim rolling cart at the end of the run for overflow storage.
Tip: Don’t cut your walking clearance below 24 inches just to fit a bigger counter. You’ll regret it every time you’re carrying a full basket.
The Stacked Unit Solution for Rooms Under 4 Feet Wide
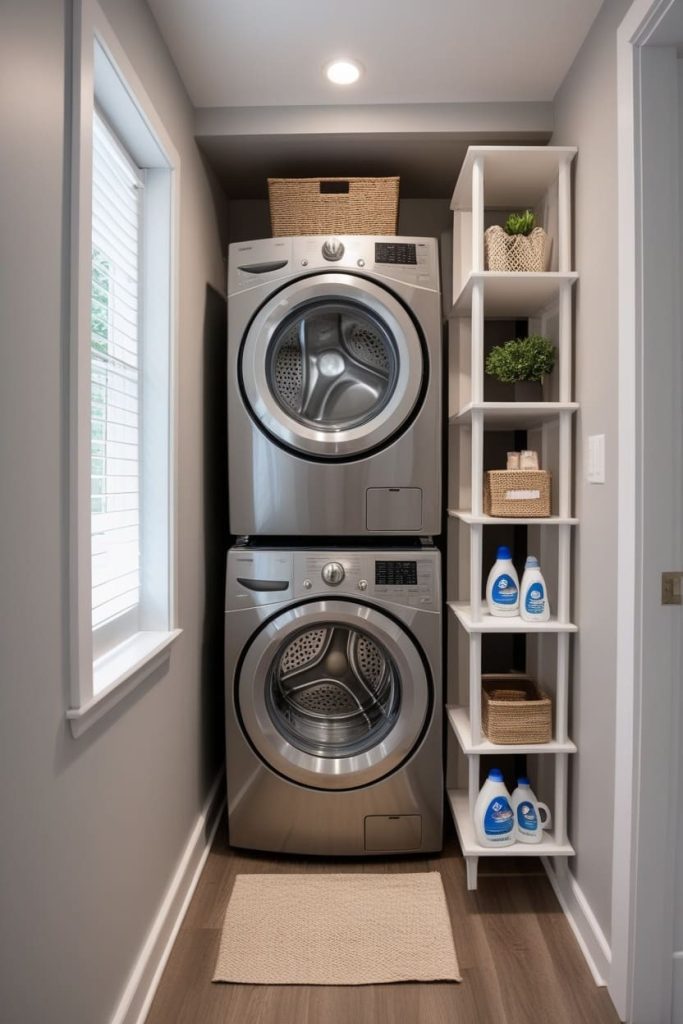
This works for ultra-narrow rooms, closets, or hallway nooks under 48 inches wide, where side-by-side appliances simply won’t fit.
Layout approach: Stacked washer-dryer unit against the back wall, with vertical storage along the remaining side wall.
Materials: A stacking kit rated for your specific appliance models, plus a tall, narrow shelf unit (like the SONGMICS shelf above).
Steps:
- Confirm your washer and dryer are stackable, and buy the manufacturer-approved stacking kit rather than a universal one.
- Secure the stacking kit according to the manufacturer’s torque and bracket instructions.
- Install a narrow shelf unit along the side wall, no deeper than 12 inches, to avoid blocking the walkway.
- Use the top of the shelf unit for bulk detergent, since it’s out of daily reach but still usable.
Common mistake: Using a universal stacking kit instead of the one made for your exact appliance brand and model. Mismatched kits are the most common cause of dryer vibration and noise complaints in stacked setups.
The Sliding Barn Door Fix for Swing-Door Rooms
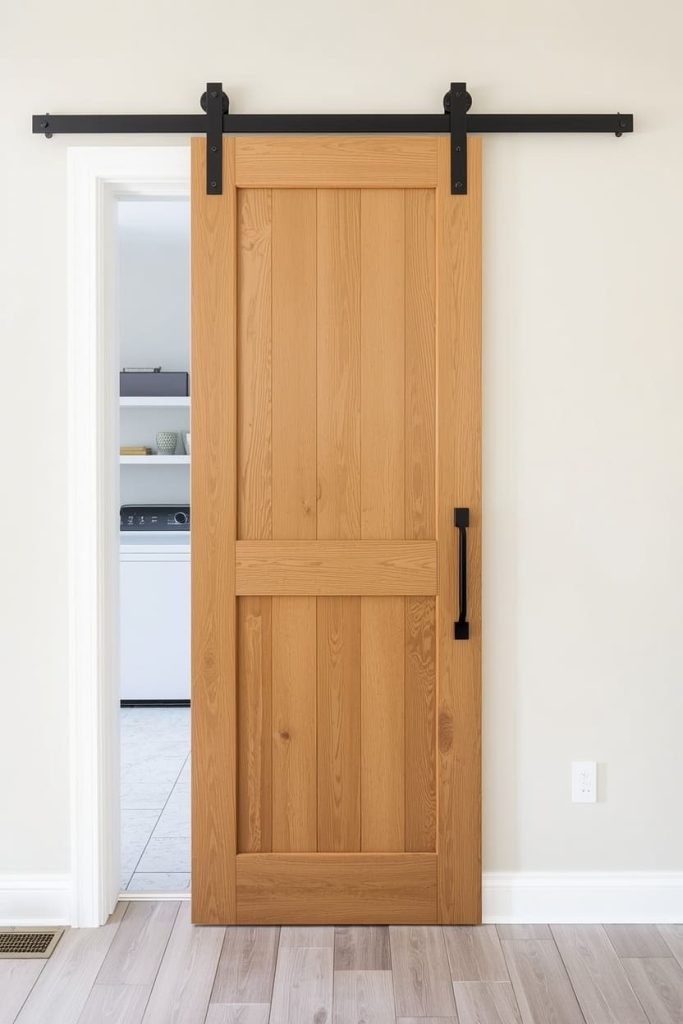
This works for any narrow laundry room where a hinged door currently swings into the walking path, cutting your usable floor space in half.
Layout approach: Replace the hinged door with a sliding barn door mounted on an exterior track.
Materials: A sliding barn door hardware kit, a door sized to your opening, and wall studs solid enough to anchor the track.
Steps:
- Measure your doorway width and add at least 2 inches of track clearance on either side for the door to slide past.
- Locate wall studs above the doorway using a stud finder, since the track needs to anchor into solid framing, not just drywall.
- Mount the track level, then hang the door according to the hardware kit’s roller specifications.
- Add a floor guide at the bottom to keep the door from swinging outward when it’s closed.
Tip: Don’t skip the floor guide. Without it, a sliding barn door will swing and bang against the frame every time the washer vibrates during a spin cycle.
The Vertical Storage Wall for Corridor Layouts
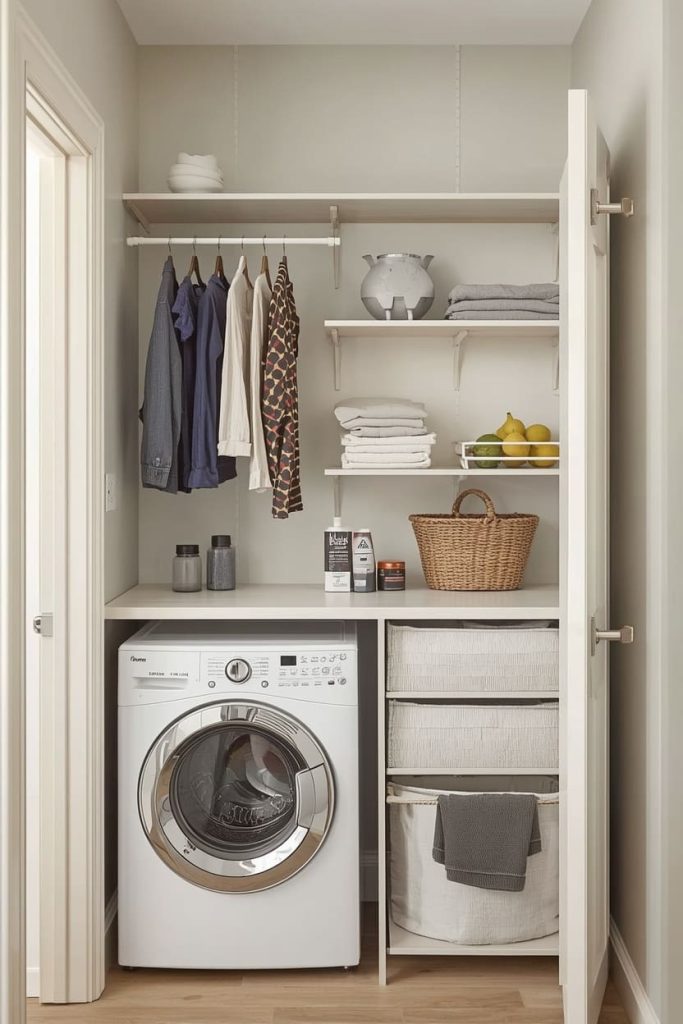
This works as an add-on to almost any narrow layout, especially rooms where appliances take up the full width and no floor space remains for cabinets.
Layout approach: Use the wall above the appliances and any leftover end-wall space for full-height vertical storage instead of floor-based cabinets.
Materials: A tall, narrow shelf unit, over-the-door rods, and small wall-mounted bins.
Steps:
- Identify any unused wall space at the end of the appliance run, even a strip as narrow as 12 inches.
- Install a floor-to-ceiling narrow shelf unit in that space.
- Add an over-the-door rod on the room’s door for hanging clothes straight out of the dryer.
- Use small wall-mounted bins near eye level for daily items like stain remover and dryer sheets.
Common mistake: Buying a shelf unit that’s deeper than your leftover wall space allows, which then blocks the walking path you were trying to protect.
The Budget-Friendly Rolling Cart Layout
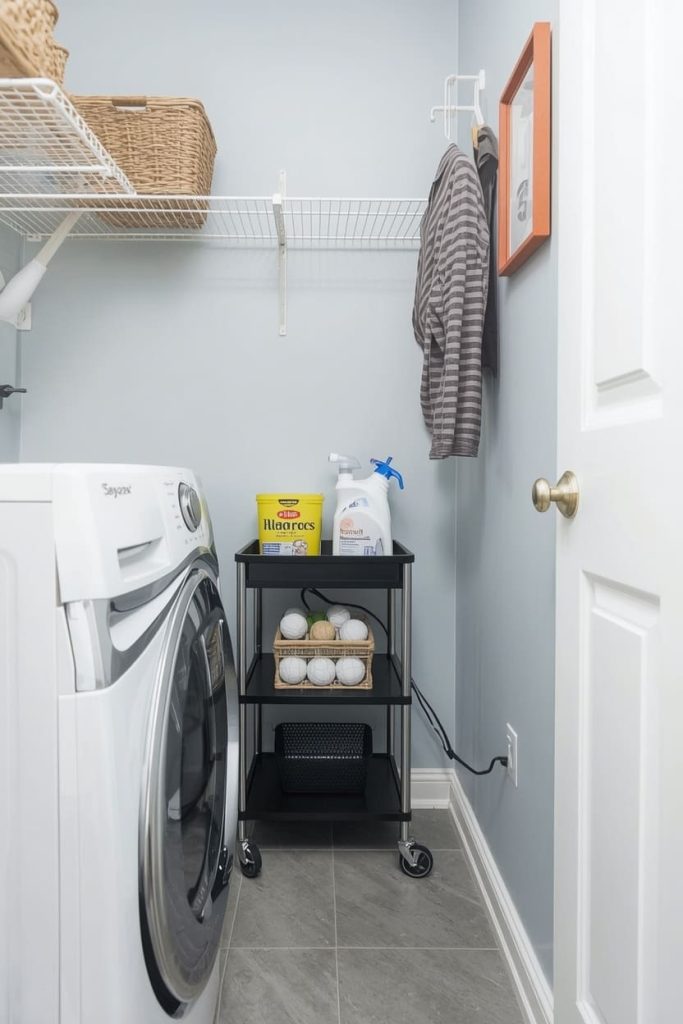
This works for renters or anyone who wants a functional narrow laundry room without permanent installation.
Layout approach: No fixed cabinetry. Instead, a slim rolling cart and freestanding shelf handle all storage needs.
Materials: A narrow rolling cart (like the Seville Classics cart above) and a freestanding wire shelving unit.
Steps:
- Place the rolling cart at the end of the appliance run, in whatever leftover space exists.
- Use the cart’s tiers for detergent, dryer balls, and a small trash bin.
- Add a freestanding wire shelf against the opposite wall if width allows, without needing any wall anchors.
- Keep the cart’s wheels locked when not in use, since narrow rooms often have slight floor slopes near drains.
Tip: Measure your narrowest point, usually right at the door frame, before buying a cart. A cart that fits the room but not through the doorway is a wasted purchase.
The Higher-End Built-In Look for Long Narrow Rooms
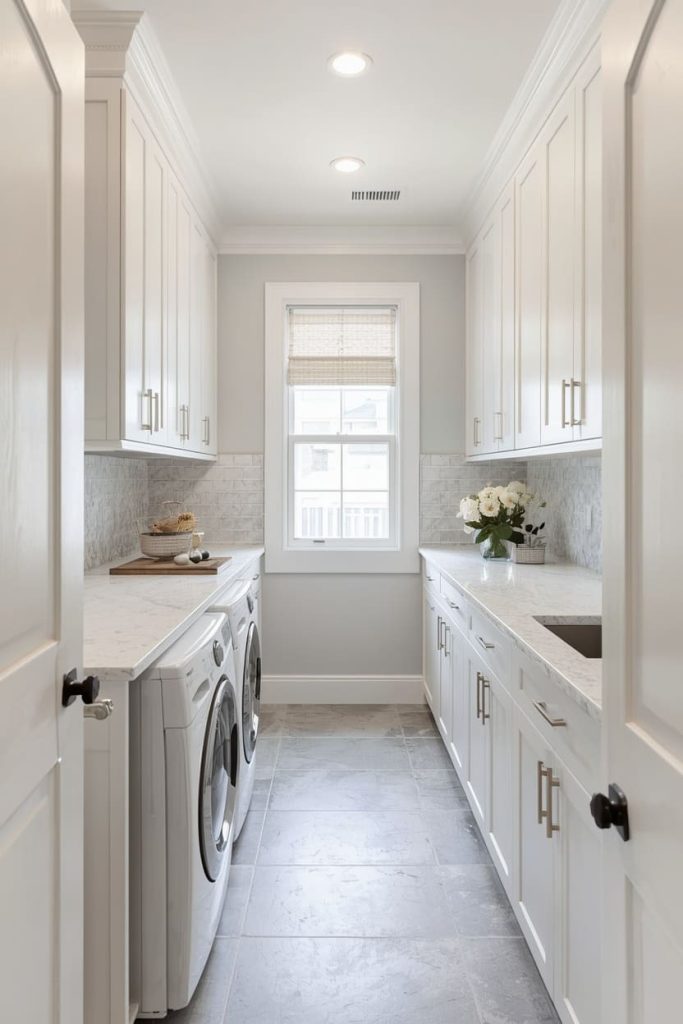
This works for homeowners with a larger budget who want a narrow laundry room to look intentional and finished, not makeshift.
Layout approach: Full-length built-in cabinetry along one wall, with a continuous countertop running the length of the room.
Materials: Semi-custom cabinetry sized to your exact wall length, a quartz or laminate countertop, and recessed lighting.
Steps:
- Have a cabinet maker measure your exact wall length and appliance widths to build a continuous run rather than standard-width cabinet boxes.
- Install cabinetry above and, if space allows, beside the appliances for a seamless look.
- Add a single continuous countertop across the whole run, including over the appliances.
- Install recessed lighting along the ceiling, since narrow rooms often have only one central fixture that leaves the ends dim.
Common mistake: Ordering standard 12-inch or 24-inch cabinet modules instead of custom sizing. In a narrow room, a few inches of mismatch either wastes space or won’t fit at all.
The Lighting and Color Fix for Visually Widening a Narrow Room
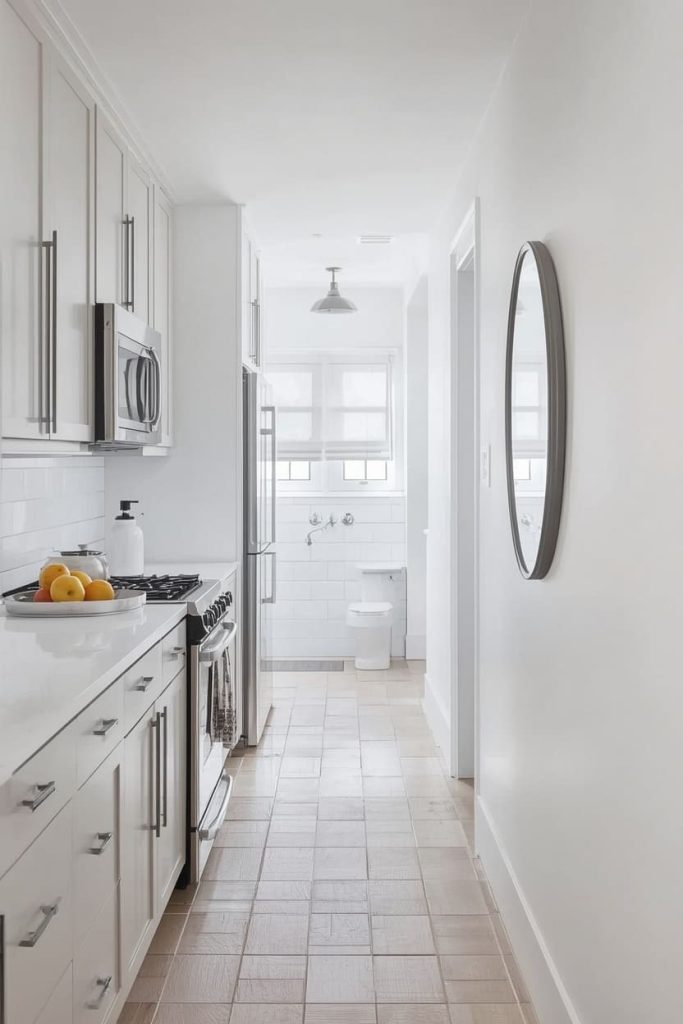
This works for any narrow layout where the room functions fine but feels cramped and dark.
Layout approach: No structural changes. Instead, lighting and color choices are used to make the corridor feel wider than it is.
Materials: Light-colored paint or tile, a light fixture at each end of the room, and a mirror or reflective backsplash if space allows.
Steps:
- Paint walls and ceiling in the same light, warm-white tone to remove visual breaks between surfaces.
- Install a light fixture at each end of the room instead of a single central fixture, which leaves the ends in shadow.
- Choose a light-colored or reflective backsplash behind the appliances to bounce light down the length of the room.
- If space allows, add a small mirror on the end wall to visually extend the corridor.
Tip: Avoid dark grout between light tiles. It creates a strong linear pattern that actually emphasizes how narrow the room is, instead of softening it.
Which Idea Is Right for Your Space?
If your room is at least 5 feet wide, start with the side-by-side galley layout. Under 4 feet, go stacked. If your door swing is the real problem, the sliding barn door fix alone can solve most of your space complaints. Renters should start with the rolling cart layout, and anyone with a bigger budget should look at the built-in option paired with the lighting fix.
FAQs
What’s the minimum width needed for a narrow laundry room?
Side-by-side washer and dryer units typically need at least 60 inches of width, including clearance for doors and hoses. Rooms narrower than that generally need a stacked unit instead.
Is a sliding door better than a hinged door in a narrow laundry room?
Yes, in most cases. A sliding barn door removes the swing radius a hinged door needs, which can reclaim several feet of usable floor space in a corridor-style room.
What’s the best flooring for a narrow laundry room?
Porcelain tile or vinyl plank are common choices, since both handle moisture well and come in light tones that help a narrow space feel less closed in. Avoid heavily textured or dark flooring, which can visually shrink the room further.
How do I add storage without losing walking space?
Go vertical. Wall-mounted shelves, over-the-door rods, and full-height narrow shelf units use space you’re not walking through, unlike floor cabinets that eat into your path.
Does a narrow laundry room need special ventilation?
Dryer venting needs matter more in narrow rooms because duct runs are often longer to reach an exterior wall. Keep the vent run as straight and short as possible, and avoid tight turns that reduce airflow.
What does a narrow laundry room renovation typically cost?
Budget setups using rolling carts and shelving can run under $300. Sliding door conversions typically run $200–$600 depending on the door and hardware. Higher-end built-in cabinetry runs $2,000–$5,000 depending on length and finish.

Jenny is a passionate writer specializing in home decor, design, and styling. With years of experience in transforming spaces, she shares expert tips on creating beautiful, functional homes. From interior design trends to DIY decor ideas, Jenny’s work helps homeowners craft spaces that reflect their unique style. Whether it’s a cozy living room, a modern kitchen, or a serene bedroom, her articles offer practical advice and inspiration to elevate any home.