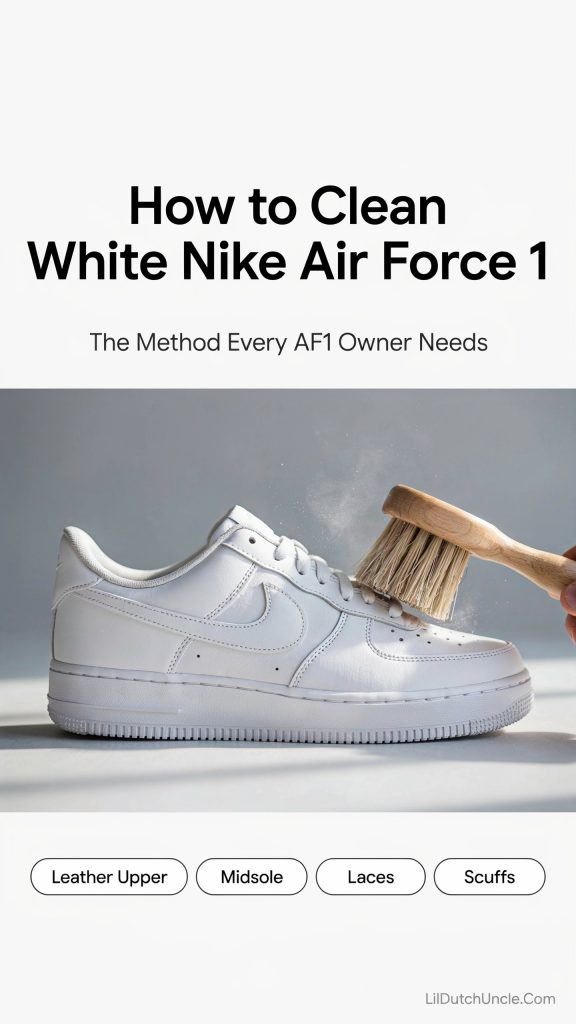
I bought my first pair of white Air Force 1s the summer before college, and by September, the toe box had already creased so badly it looked like a topographic map.
Then, after six months of daily wear, I noticed the rubber sole had gone from crisp white to a dingy yellow-gray, especially around the air bubble unit.
I almost gave up on them being “clean” ever again. Instead, I tested a method specifically built around how AF1s are made, and it brought them back close to original. Here’s exactly what I did.
Table of Contents
- 1. Pull the laces and insoles out.
- 2. Brush off loose dirt dry.
- 3. Make your cleaning solution.
- 4. Scrub the leather gently, following the grain.
- 5. Pay special attention to the crease itself.
- 6. Clean the midsole and rubber sole separately.
- 7. Wipe away all residue.
- 8. Treat stubborn stains with vinegar.
- 9. Condition the leather once it's dry.
- 10. Wash your laces separately.
- 11. Stuff and air dry.
- 12. Reassemble.
Why AF1s Need Their Own Care Routine
Air Force 1s aren’t like your average white sneaker. The leather upper is thick and full-grain, which means it handles moisture differently than canvas or mesh — too much water and it can stiffen or crack over time.
The midsole and outsole are a separate rubber/foam blend that yellows independently from the leather, especially with sun exposure or long-term storage.
Then there’s the toe crease — practically an AF1 signature at this point, but one that gets worse (and traps dirt) the longer you ignore it.
If you’ve got other white Nike styles too, I cover the differences in materials and technique across the board in my How to Clean White Nike Shoes guide — but this article is built specifically around what AF1 leather and soles need.
What You’ll Need
- Baking soda (½ cup)
- Mild dish soap
- Warm water
- Soft-bristle toothbrush (an old one works fine)
- Magic eraser
- Leather conditioner (a small amount — this is the AF1-specific step people skip)
- Microfiber cloth
- White vinegar (for stubborn stains only)
- Newspaper or paper towels for stuffing
The leather conditioner is the one item that separates AF1 care from generic white sneaker cleaning — I’ll explain exactly where it comes in below.
My Step-by-Step Method
1. Pull the laces and insoles out.
Laces hold onto dirt and discoloration fast, and they’re easier to clean separately. Pulling the insoles also lets air circulate better during drying later.
2. Brush off loose dirt dry.
Before any water touches the leather, use your toothbrush to knock off dry dirt and dust. Wetting dirt first just turns it into a paste that smears into the grain.
3. Make your cleaning solution.
Mix baking soda with a few drops of dish soap and just enough warm water to form a thick paste — not runny, closer to toothpaste consistency.
4. Scrub the leather gently, following the grain.
Dip your toothbrush in the paste and work in small circles, paying attention to the natural direction of the leather grain rather than scrubbing against it. Focus extra attention on the toe box, where creasing traps the most dirt.
5. Pay special attention to the crease itself.
Gently work the brush into the crease lines — this is where grime builds up fastest and where general “wipe it down” methods usually fail. Go slow here; you’re not trying to erase the crease (that’s just how leather ages), just clean out what’s settled into it.
6. Clean the midsole and rubber sole separately.
Lightly dampen your magic eraser and go over the rubber and foam sections around the air unit — this yellows independently of the leather and needs its own pass. If any of your other white Nikes have exposed foam soles too, I go even deeper into that specific issue in my Nike shoes guide linked above.
7. Wipe away all residue.
Use a clean, damp microfiber cloth to remove every trace of the baking soda paste. Leftover residue dries into a dusty film that’s worse than the original dirt.
8. Treat stubborn stains with vinegar.
For anything the paste didn’t lift, dab a little white vinegar on a cloth and gently rub the spot. Always test a small hidden area first — the inside heel tab works well for this.
9. Condition the leather once it’s dry.
This step is specific to AF1s and often skipped. Once the leather is fully dry, apply a small amount of leather conditioner with a soft cloth. This restores moisture the cleaning process pulls out and helps prevent premature cracking, especially around the toe crease. If you want the full breakdown on why this matters and how to do it properly across any leather sneaker, I wrote a whole guide on it here: How to Clean White Leather Tennis Shoes
10. Wash your laces separately.
Hand wash in warm water with a bit of dish soap, or toss them in a mesh bag on your washing machine’s gentle cycle.
11. Stuff and air dry.
Pack newspaper or paper towels inside each shoe to hold shape, and let them dry away from direct sunlight or any heat source. Heat is genuinely the fastest way to yellow that rubber sole permanently — I learned this one the hard way with a pair I left near a sunny window.
12. Reassemble.
Insoles back in, laces retied, and you’re done.
Keeping Your AF1s White Between Cleanings
A few habits that have kept my current pair looking better for longer:
- Use crease protectors inside the toe box — they genuinely slow down how deep the creasing gets over time
- Condition the leather monthly, not just after a deep clean, especially if you wear them often
- Wipe scuffs same-day rather than letting them sit — leather holds onto stains much faster than mesh or canvas
- Store them upright with shoe trees or stuffing rather than tossed in a pile, which helps prevent both creasing and sole discoloration
- Rotate pairs if you can — daily wear is the single biggest factor in how fast creasing and yellowing happen
Mistakes That Can Actually Hurt Resale Value
If you’re someone who cares about keeping your AF1s in trade-worthy condition, these mistakes matter even more:
- Oversaturating the leather with water. This is the fastest way to warp shape and cause long-term stiffness or cracking.
- Skipping the conditioner step. Cleaning without conditioning dries out leather over repeated washes, which shows up as fine cracking near the crease.
- Using bleach. It can yellow the leather and degrade the glue bonds holding the sole together.
- Drying with heat or direct sun. This is the number one cause of permanent yellowing on that rubber outsole.
- Aggressive scrubbing on the crease. You can’t remove a crease entirely — trying too hard just stresses the leather further and can create small tears.
For a broader look at avoiding these same mistakes across any white sneaker, my How to Clean White Shoes guide covers the universal version of this advice.
Worth the Extra Care
That first pair of AF1s I ruined with sun-drying? I’ve since gotten years out of every pair since by following this exact routine.
It takes maybe twenty extra minutes compared to a quick wipe-down, but the leather actually holds up instead of cracking within a season.
Save this pin for your next cleaning day, and if you try the conditioning step, I’d love to hear if it made the difference for you too.

Emma Vanderlyn is a home enthusiast with a passion for all things natural and eco-friendly. With years of experience experimenting with DIY solutions, she’s dedicated to creating safe, effective, and budget-friendly cleaning recipes that are kind to both your home and the planet. Emma believes that a clean home shouldn’t come at the cost of harsh chemicals, and her easy-to-follow guides make natural cleaning accessible to everyone.
When she’s not whipping up a new cleaner in her kitchen, Emma can be found researching the latest in green living or transforming her space with mindful, stylish decor ideas. She’s here to share her love of natural living and help you create a home that shines—naturally.