I still remember the exact moment I looked down at my white Nike Air Force 1s and audibly groaned.
I’d worn them to a backyard barbecue — grass stains creeping up the toe, a splash of barbecue sauce near the swoosh, and that grayish film that somehow appears on white sneakers after exactly one wear outdoors.
I almost tossed them in the back of my closet for good. Instead, I spent twenty minutes testing a method with stuff I already had under my sink, and my shoes came out looking almost box-fresh.
Here’s exactly what I did, step by step.
Table of Contents
- 1. Remove the laces and insoles first.
- 2. Knock off loose dirt and debris.
- 3. Mix your cleaning paste.
- 4. Scrub in small circles.
- 5. Tackle the midsole separately.
- 6. Wipe away the paste.
- 7. Handle stubborn stains with vinegar.
- 8. Wash your laces.
- 9. Stuff and air dry.
- 10. Reassemble once fully dry.
Why Nike Shoes Need Their Own Approach
Nike doesn’t make one type of white shoe — they make a whole range of materials, and that matters more than you’d think.
You’ve got leather on Air Force 1s, mesh panels on running shoes, foam midsoles on Air Max styles, and rubber outsoles across almost everything. Each one reacts differently to cleaning products, water, and scrubbing pressure.
That’s the mistake I see most often: people use one harsh method on every white sneaker they own, and it ends up yellowing the foam or drying out the leather.
The method below is gentle enough for all of it, but if you want material-specific detail, I’ve got you covered — I break down leather care specifically in my How to Clean White Leather Tennis Shoes guide, and this whole approach actually builds on my more general How to Clean White Shoes method if you want the fuller backstory on why it works.
What You’ll Need
Nothing fancy here — this is a “raid your kitchen and bathroom” kind of list:
- Baking soda (½ cup)
- Dish soap or mild laundry detergent (a few drops)
- Warm water
- An old toothbrush (soft or medium bristle)
- A magic eraser
- Microfiber cloth or old towel
- White vinegar (optional, for tougher stains)
- Newspaper or paper towels (for stuffing shoes while they dry)
You genuinely don’t need a special sneaker cleaning kit for this. I’ve tried the fancy branded kits too, and honestly, this combo works just as well for 90% of the dirt and scuffs you’ll deal with.
My Step-by-Step Method
1. Remove the laces and insoles first.
This sounds obvious, but skipping it means you’ll miss dirt trapped underneath, and laces need their own separate wash anyway (more on that below).
2. Knock off loose dirt and debris.
Tap your shoes together outside or brush off dry dirt with your toothbrush before adding any water. Wet dirt turns into mud, and mud smears — you don’t want to rub that into the material.
3. Mix your cleaning paste.
Combine the baking soda with a few drops of dish soap and just enough warm water to form a thick paste — think toothpaste consistency, not runny.
4. Scrub in small circles.
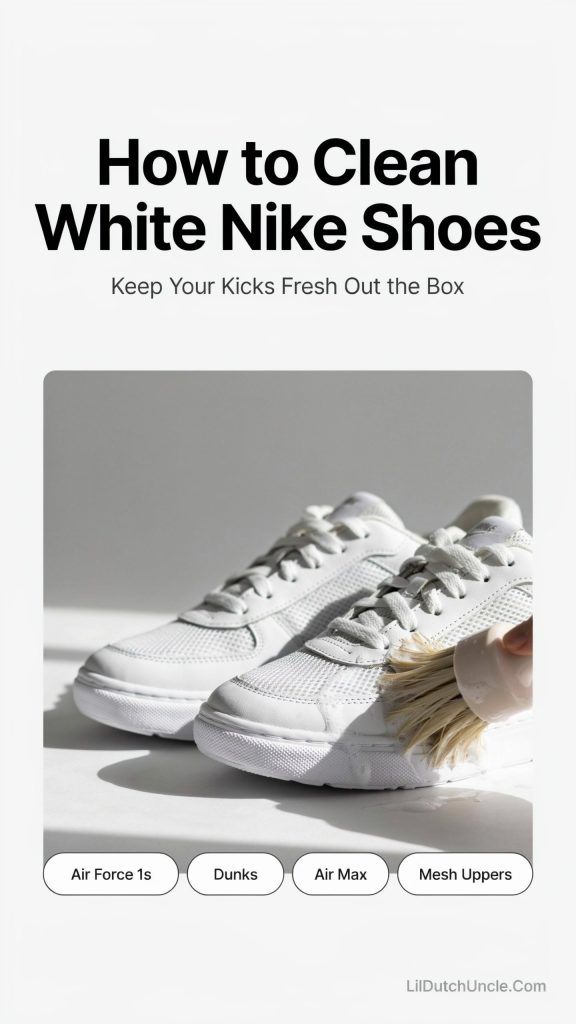
Dip your toothbrush into the paste and work it into the material using small, gentle circular motions. Focus on the dirtiest areas first — toe caps, the swoosh, and anywhere you see visible grime.
If you’re working on Air Force 1s specifically, the leather can handle a bit more pressure than mesh, but I still keep it gentle — I go much deeper into leather-safe scrubbing technique in my How to Clean White Nike Air Force 1s post if that’s your silhouette.
5. Tackle the midsole separately.
This is where a magic eraser becomes your best friend. Lightly dampen it and go over the foam or rubber midsole — this part yellows fastest and needs slightly different treatment than the upper.
If you’re cleaning Air Max 90s, the exposed Air unit and foam sole are notorious for discoloring, so I’d actually point you toward my How to Clean White Nike Air Max 90s guide for a technique built specifically around that foam.
6. Wipe away the paste.
Use a damp microfiber cloth to remove all the baking soda mixture. Don’t rush this part — leftover residue can dry into a chalky film.
7. Handle stubborn stains with vinegar.
For anything that didn’t budge — old grass stains, scuff marks that won’t quit — dab a little white vinegar onto a cloth and gently rub the spot. It’s acidic enough to break up stains without being harsh on the material.
8. Wash your laces.
Toss them in a small bowl of warm water with dish soap, scrub lightly with your toothbrush, or throw them in a mesh laundry bag in the washing machine on a gentle cycle.
9. Stuff and air dry.
Pack the inside of each shoe with newspaper or paper towels to help them hold their shape, then let them air dry away from direct sunlight or heat. I know it’s tempting to speed things up with a hairdryer or put them near a radiator, but heat can warp the material and yellow the foam — trust me, patience pays off here.
10. Reassemble once fully dry.
Pop the insoles back in, relace them, and admire your work.
Keeping Them White Between Cleanings
A few habits I’ve picked up that genuinely extend the time between deep cleans:
- Spray a fabric protector on new white sneakers before you even wear them — it creates a barrier against water and stains.
- Wipe scuffs immediately rather than letting them set. A quick swipe with a damp cloth right after they happen saves you a full cleaning session later.
- Rotate your sneakers so you’re not wearing the same white pair every single day — less wear means less dirt buildup.
- Store them stuffed and upright instead of tossed in a pile, which helps prevent creasing and yellowing from pressure points.
- Avoid wearing them in rain or mud when you can help it — obvious, but worth saying since I’ve definitely ignored my own advice here more than once.
Mistakes I’d Tell You to Skip
I learned most of these the hard way, so hopefully you don’t have to:
- Using bleach. It seems like the obvious white-shoe fix, but it can yellow foam and weaken leather and mesh fibers over time.
- Throwing them in the washing machine. Unless the shoe is specifically labeled machine-washable, this can warp the shape, damage glue bonds, and mess with the sole.
- Drying them in direct sun or with heat. This is the fastest way to turn white foam yellow — I’ve ruined a pair this way, and it’s not reversible.
- Scrubbing too aggressively. More pressure doesn’t mean cleaner shoes — it just means faster wear and potential damage to delicate materials like mesh.
- Skipping the “test a small spot first” step. Especially with vinegar or any new product, always test an inconspicuous area before going all in.
Give It a Try
That barbecue-ruined pair of Air Force 1s I mentioned? They’re still in my rotation, still holding up, months later. This method isn’t complicated or expensive — it’s just consistent, gentle, and actually respects what your Nikes are made of. Save this pin so you’ve got it next time your white sneakers take a hit, and if you try it, I’d genuinely love to hear how they turned out.

Emma Vanderlyn is a home enthusiast with a passion for all things natural and eco-friendly. With years of experience experimenting with DIY solutions, she’s dedicated to creating safe, effective, and budget-friendly cleaning recipes that are kind to both your home and the planet. Emma believes that a clean home shouldn’t come at the cost of harsh chemicals, and her easy-to-follow guides make natural cleaning accessible to everyone.
When she’s not whipping up a new cleaner in her kitchen, Emma can be found researching the latest in green living or transforming her space with mindful, stylish decor ideas. She’s here to share her love of natural living and help you create a home that shines—naturally.