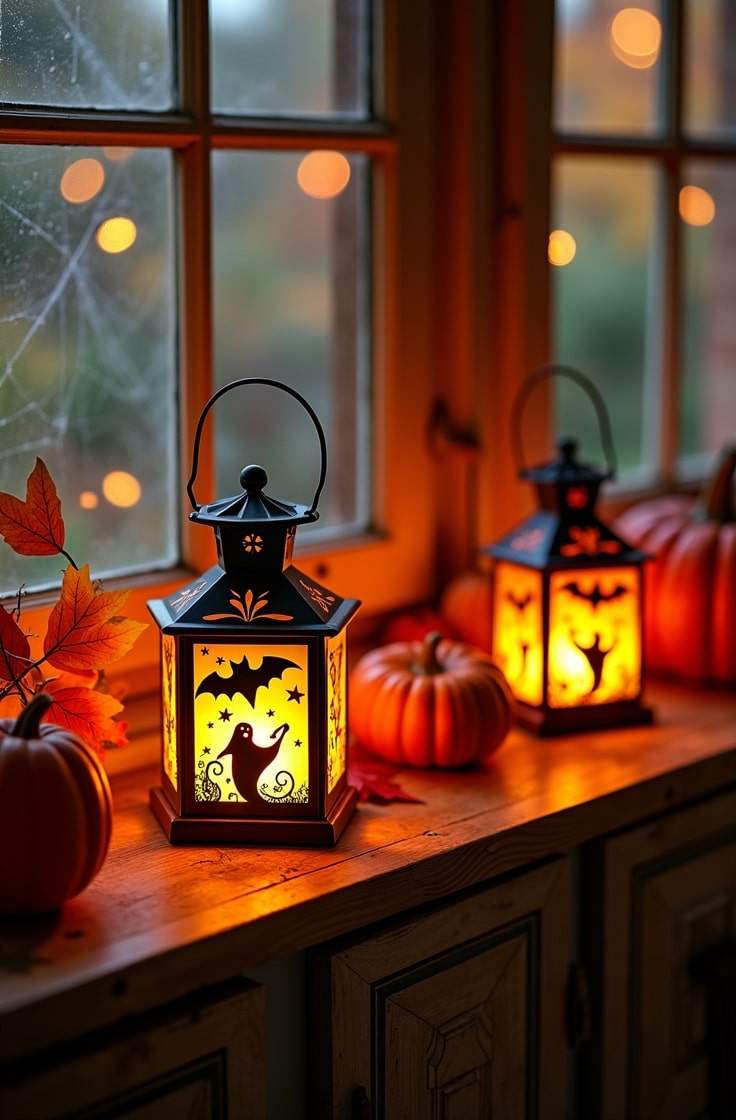
Last October, my kitchen table turned into a glittering crime scene. My daughter had glue on her elbows. My son had orange paint in his hair. Somehow one pom-pom ended up stuck to the dog.
And when they finally held up their finished pumpkins, they beamed like they’d just won an award. That’s the magic of Halloween crafts. They’re messy. They’re loud. And they make memories.
If you’re looking for ways to keep your kids busy and off screens this Halloween, you’re in the right place. I’ve got five complete craft ideas below.
Each one uses simple supplies. Each one comes with clear steps. And each one is something you can start today.
Table of Contents
- Best Halloween Craft Supplies to Grab First
- Paper Plate Spider Craft for Toddlers and Preschoolers
- Toilet Paper Roll Mummies for Classroom Groups
- No-Carve Pumpkin Painting for a Mess-Light Afternoon
- Handprint Bat Craft for a Keepsake Project
- Paper Bag Monster Puppets for Imaginative Play
- FAQs About Halloween Crafts for Kids
- Wrapping Up
Best Halloween Craft Supplies to Grab First
Before you dive in, a few good supplies make everything easier. Here are three I actually recommend.
- Kid Made Modern Halloween Craft Kit — This one box covers felt shapes, pom poms, googly eyes, and glue dots, so you’re not hunting through five different drawers for supplies.
- Fennoral Halloween Foam Sticker Craft Kit — The self-adhesive foam pieces mean no glue and almost no mess, which is a win if little hands (or your floor) get messy fast.
- Halloween Mask Craft Kit — Pre-cut foam masks with elastic straps included, so kids get a wearable project to show off right after crafting.
Now let’s get into the projects.
Paper Plate Spider Craft for Toddlers and Preschoolers
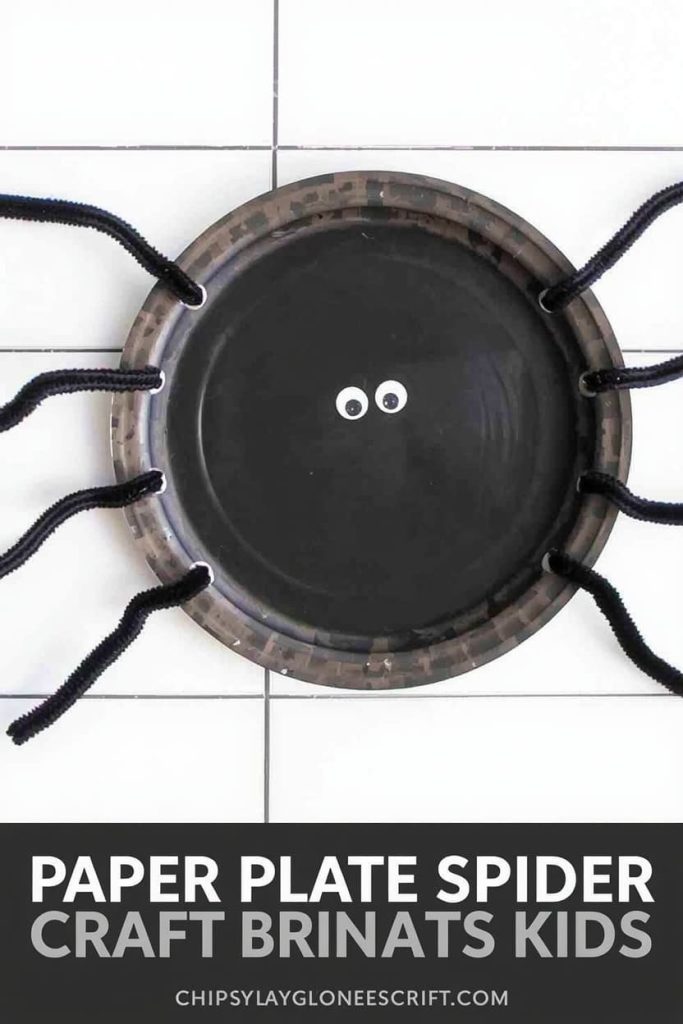
This one is my go-to for little kids. It’s simple, fast, and almost impossible to mess up.
Materials:
- 1 paper plate
- Black paint or black construction paper
- 8 black pipe cleaners
- Googly eyes
- Glue
- Scissors (adult use)
Steps:
- Paint the paper plate black, or glue black construction paper over it. Let it dry.
- Once dry, flip the plate over so the rounded side faces up.
- Poke eight small holes around the edge of the plate using scissors. Do this part yourself if your child is under 5.
- Have your child push a pipe cleaner through each hole, bending the ends to look like bent spider legs.
- Glue on two googly eyes near the front.
- Let it dry flat for at least 20 minutes before hanging.
Tip: For toddlers, skip the paint step and use a black plate instead. For older kids, add extra pipe cleaner legs or glue on small paper fangs for a spookier look.
Toilet Paper Roll Mummies for Classroom Groups
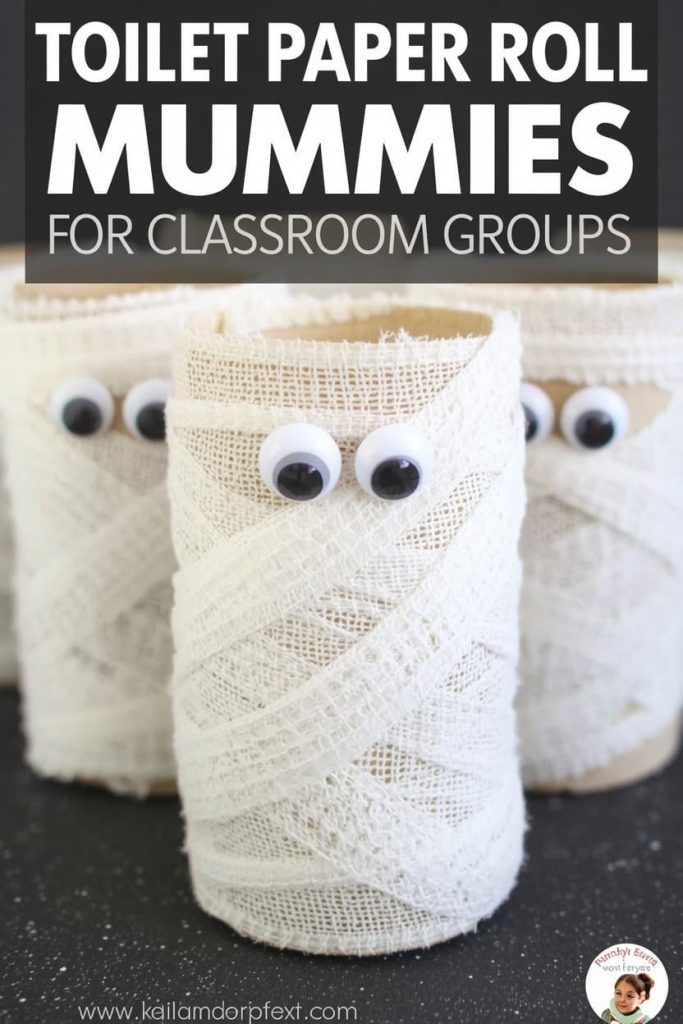
Teachers, this one is perfect for a group activity. It uses stuff you already have in the recycling bin.
Materials:
- Empty toilet paper roll
- White gauze, white streamers, or white masking tape
- Googly eyes
- Glue
Steps:
- Give each child one toilet paper roll.
- Have them wrap the roll with white gauze or streamers, leaving small gaps here and there.
- Glue two googly eyes into one of the gaps near the top so it looks like the mummy is peeking out.
- Let the glue set for about 10 minutes.
- Line them up on a windowsill or shelf as a group display.
Tip: For a classroom of 20+ kids, pre-cut the gauze strips ahead of time. It saves cutting time and keeps scissors out of little hands.
No-Carve Pumpkin Painting for a Mess-Light Afternoon
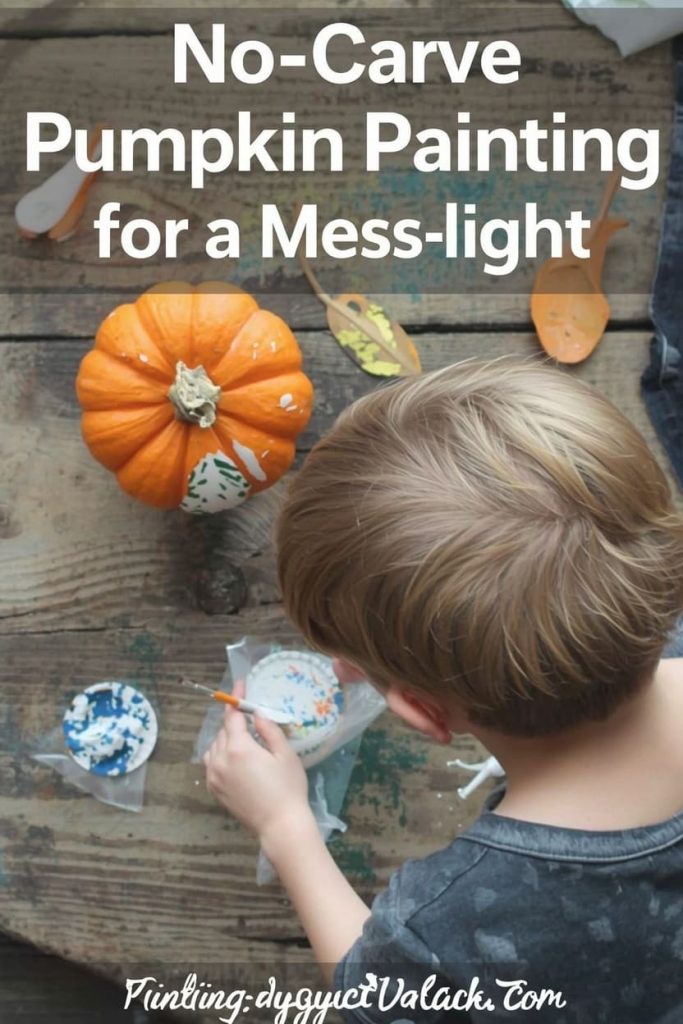
If you want the fun of pumpkin decorating without the seeds and mess of carving, this is it.
Materials:
- 1 small real pumpkin or a foam craft pumpkin
- Acrylic or tempera paint
- Paintbrushes
- Paper plate (for a paint palette)
- Old newspaper or a plastic tablecloth
Steps:
- Cover your table with newspaper or a plastic cloth.
- Squeeze small amounts of paint onto a paper plate.
- Let your child paint the pumpkin however they like. Faces, stripes, polka dots, all of it works.
- Let the first coat dry for about 30 minutes before adding more detail on top.
- Once fully dry, display it on your porch or table.
Tip: Foam pumpkins are reusable year after year and are a safer option for toddlers who might still put things in their mouths.
Handprint Bat Craft for a Keepsake Project
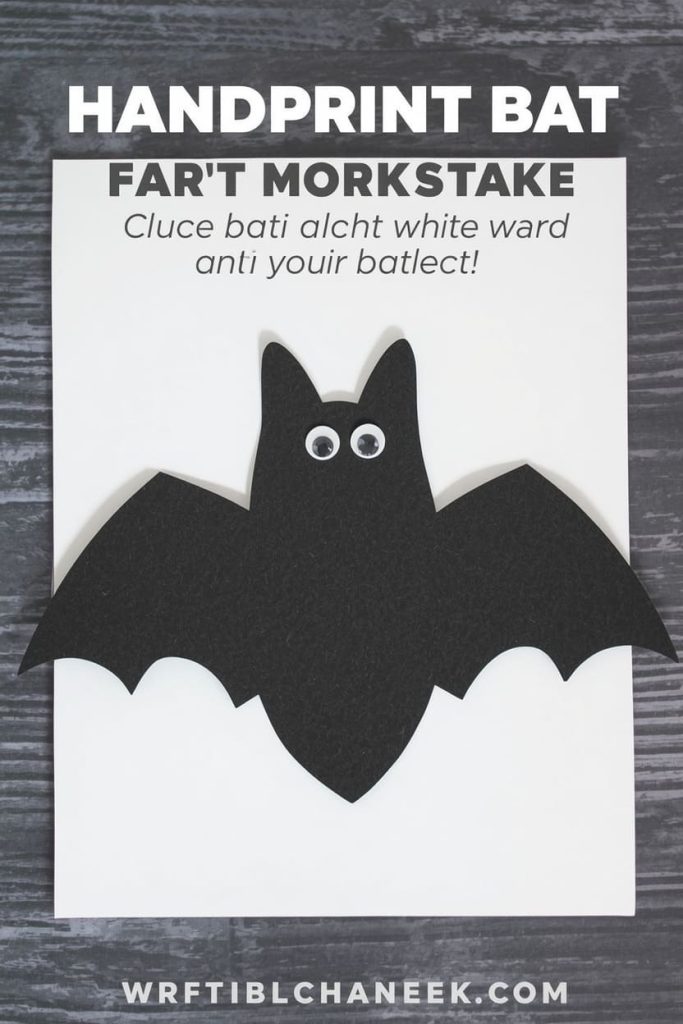
This one doubles as a sweet keepsake. Parents, you’ll want to keep this.
Materials:
- Black construction paper
- White paper (for the background)
- Googly eyes
- Glue
- Scissors
Steps:
- Have your child place their hand flat on the black paper. Trace around it, then cut out the shape. This becomes the bat’s wings.
- Cut a small oval from black paper for the bat’s body.
- Glue the body in the center, then glue a wing handprint on each side.
- Add two googly eyes to the top of the body.
- Glue the finished bat onto a piece of white paper and let it dry flat.
Tip: Write your child’s age and the date on the back. It’s a fun way to track how small their hands were.
Paper Bag Monster Puppets for Imaginative Play
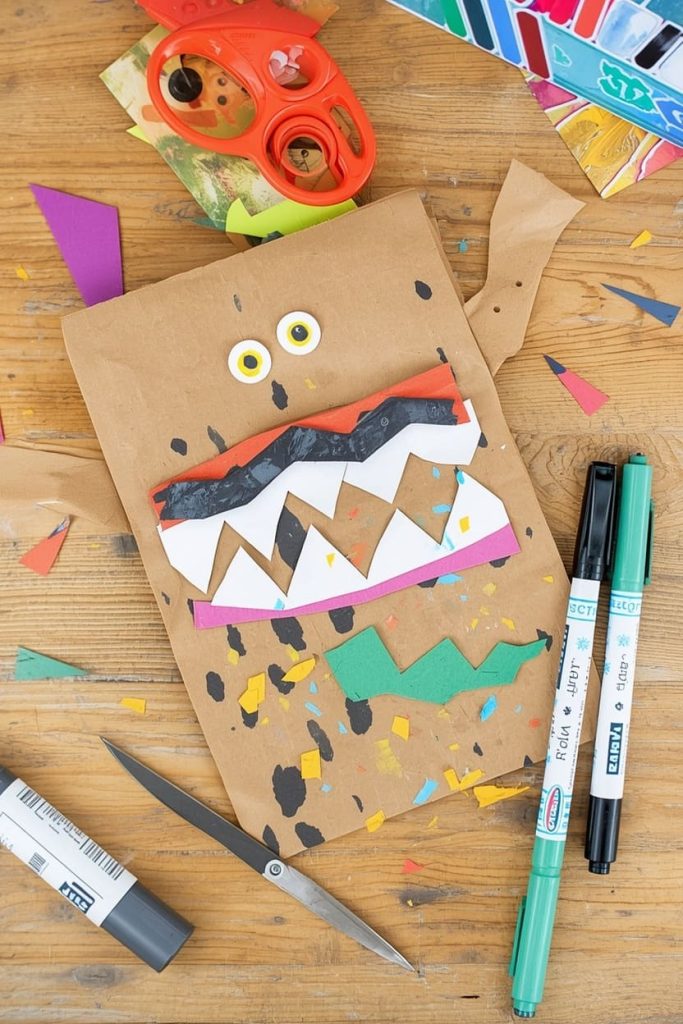
This craft turns into a toy once it’s done, which means more playtime after the glue dries.
Materials:
- Small paper lunch bag
- Construction paper (various colors)
- Googly eyes
- Glue
- Markers or crayons
- Scissors
Steps:
- Lay the paper bag flat with the folded bottom facing up. This fold becomes the puppet’s mouth.
- Cut triangle or zigzag shapes from colored paper for teeth, horns, or hair. Glue these along the fold.
- Glue googly eyes above the fold.
- Cut arms and legs from construction paper and glue them to the sides of the bag.
- Use markers to add extra details like spots, scales, or eyebrows.
- Once dry, slide a hand inside the bag to bring the monster to life.
Tip: For older kids, let them design their own monster from scratch instead of following a set look. It builds confidence and creativity.
FAQs About Halloween Crafts for Kids
What’s the least messy Halloween craft for young kids? The paper plate spider and the foam sticker projects are your best bets. Foam pieces are self-adhesive, so there’s no glue to spill or paint to wipe up.
What age group are these crafts best for? Most of these work for ages 3 to 12. The paper plate spider and handprint bat are easiest for toddlers, while the monster puppet and pumpkin painting suit older kids who want more creative control.
How long does each craft take? Most take 20 to 40 minutes, including drying time. The toilet paper roll mummy is the fastest at around 15 minutes.
How should I store or display finished crafts? Hang paper crafts with washi tape on a window or wall. For pumpkins, keep them somewhere dry and out of direct sun so the paint lasts longer.
Are these crafts safe for a classroom or daycare setting? Yes, as long as an adult handles the scissors and hot glue steps. Pre-cutting materials ahead of time makes group activities go faster and keeps things safer for younger children.
Wrapping Up
That’s five crafts, five afternoons of fun, and zero screens involved. Pick one that fits your week, gather your supplies, and let the kids get a little messy. I’d love to see how yours turn out.

Jenny is a passionate writer specializing in home decor, design, and styling. With years of experience in transforming spaces, she shares expert tips on creating beautiful, functional homes. From interior design trends to DIY decor ideas, Jenny’s work helps homeowners craft spaces that reflect their unique style. Whether it’s a cozy living room, a modern kitchen, or a serene bedroom, her articles offer practical advice and inspiration to elevate any home.