Last October, I ran the craft table at my son’s school Halloween party. Fifteen kids, one folding table, zero budget. I dumped out a bag of orange and black pony beads and just let them go.
Twenty minutes later, every single kid had a bracelet on their wrist. No tears, no glue, no mess I couldn’t sweep up.
That’s the thing about pony beads. They’re cheap, big enough for small fingers, and forgiving. You don’t need fancy tools or years of jewelry experience.
You just need beads, stretch cord, and a plan. Here are five bracelets that work every time.
My Go-To Pony Bead Supplies
- 1000-Piece Halloween Pony Beads with Storage Box — 1,000 beads in orange, black, purple, and green, plus a storage box, so one pack covers a whole classroom party.
- Glow-in-the-Dark Pony Beads, 1000+ Pack — Multi-colored beads that charge under light and glow after dark, great for trick-or-treat safety bracelets.
- UPINS Halloween Bat Beads, Large Hole — Big-hole bat charms that thread easily onto stretch cord, perfect for adding a spooky centerpiece without fiddly clasps.
The Two-Color Stretch Bracelet Every Kid Can Finish
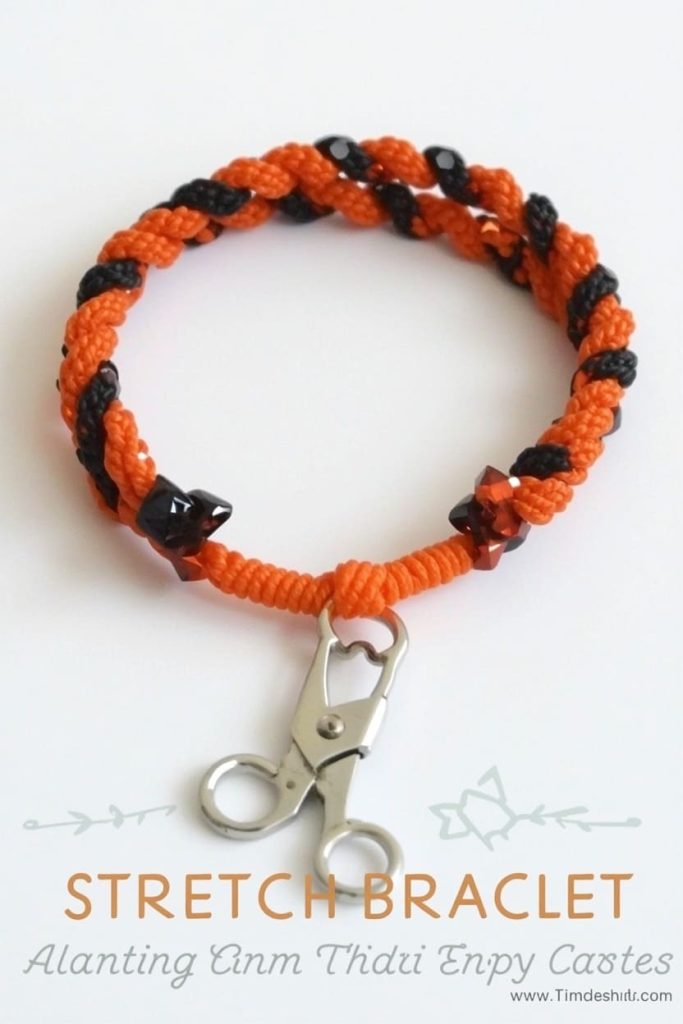
This is the bracelet I start with every single time. It’s the simplest project on this list, and it’s the one that guarantees no kid leaves the craft table empty-handed.
You need orange and black pony beads, elastic stretch cord, and scissors. Cut 7 inches of cord, string beads in an alternating pattern, tie a double knot, trim the ends. That’s it. No clasp, no jump rings, nothing a five-year-old can’t manage with a little help.
At the school party, this was the bracelet every single kid finished first. It took most of them under 10 minutes.
The Rainbow Halloween Pattern Bracelet
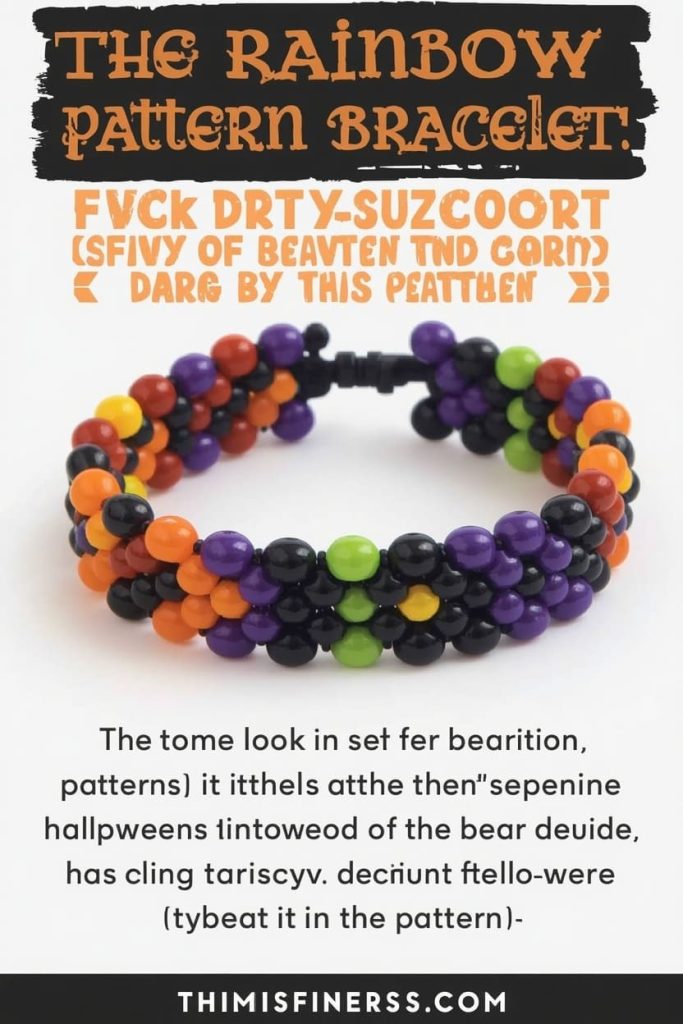
This one’s for kids who want more color than plain orange and black. It uses all four Halloween pony bead colors — orange, black, purple, and green — in a repeating pattern.
Pick a sequence, like orange-purple-black-green, and repeat it down the cord. Stick to one pattern the whole way through instead of random beads. It reads as more finished, even though it takes the same amount of time as the two-color version.
I’ve watched kids get genuinely proud of this one because the pattern makes it look store-bought. It’s still a beginner project, just with an extra color decision built in.
The Glow-in-the-Dark Trick-or-Treat Bracelet
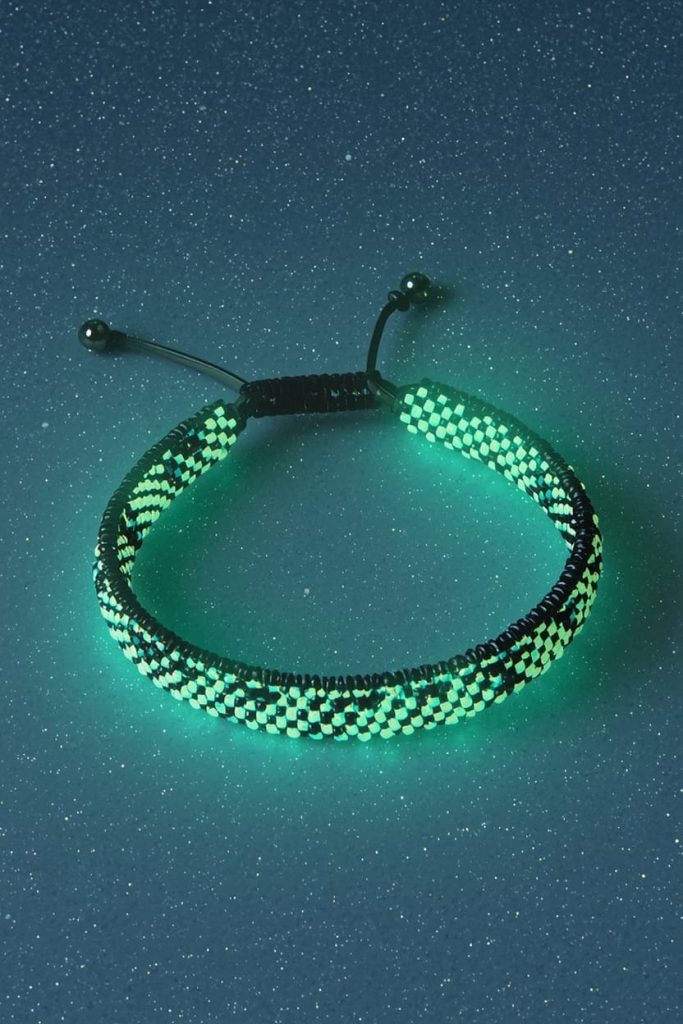
This bracelet does double duty. It looks fun during the day and helps you spot your kid in the dark once trick-or-treating starts.
Mix glow-in-the-dark pony beads evenly through your pattern instead of clustering them at one end. Spread them out so the glow shows up across the whole wrist, not just one spot. String on stretch cord the same way as the basic bracelet.
Charge the beads under a bright lamp or in sunlight for a few minutes before heading out the door. I sent a batch of these home with my son’s classmates, and three different parents texted me that night saying they could spot their kid from across the yard.
The Bat Charm Centerpiece Bracelet
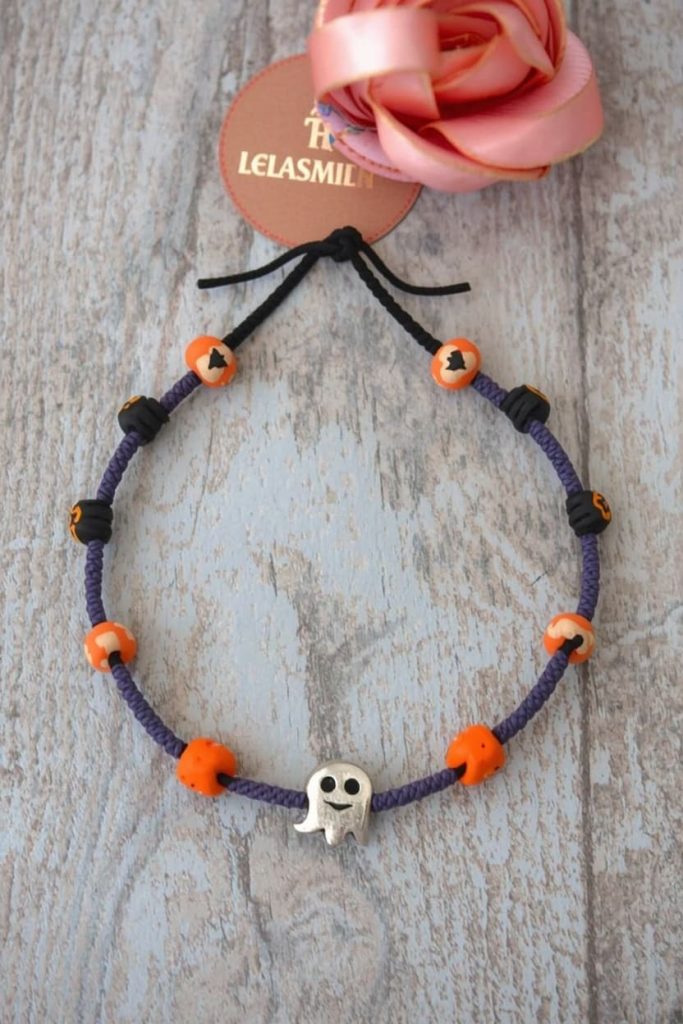
This bracelet has one focal point — a bat, ghost, or pumpkin charm — instead of an all-over pattern. It’s a good next step once a kid has made a plain bracelet and wants something that feels more “designed.”
Use a large-hole charm bead so it threads onto stretch cord without extra tools. String plain pony beads on either side, thread the charm through the middle, then finish with your knot as usual. No clasps, no jump rings, no pliers required.
This is the one my daughter asked to make again the next weekend, just to give as a gift to her best friend. It takes maybe five extra minutes over the basic bracelet.
The Classroom Swap “BOO” Word Bracelet
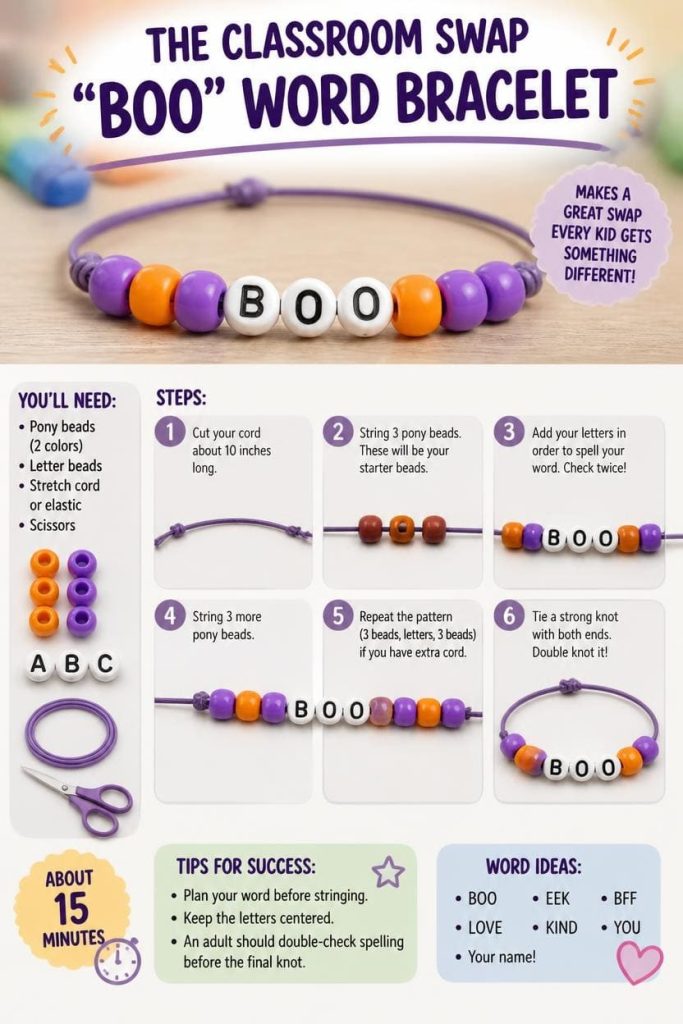
This bracelet spells out a word — BOO, EEK, or a name — using letter beads mixed in with pony beads. It’s a favorite for classroom swaps because every kid ends up with something different.
Pick your word first, then plan pony bead spacers on either side so the letters sit centered on the wrist instead of pushed to one edge. A simple layout: three pony beads, your letters, three pony beads, repeat if there’s cord left.
This one takes a little longer, closer to 15 minutes, because kids have to keep track of letter order. It’s still doable solo by most kids around age 7 and up, with an adult double-checking the spelling before the final knot.
Frequently Asked Questions
Are pony bead bracelets safe for young kids to make?
They’re generally safe for kids around 5 and up, with adult supervision. Pony beads and their large center holes are safer than tiny seed beads, but they’re still a choking hazard for kids under 3, so keep them away from toddlers and pets.
Always supervise cutting the cord and tying knots, since scissors are the real risk here, not the beads themselves.
How much does it cost to make a batch of these bracelets?
Very little. A 1,000-piece bag of Halloween pony beads usually runs under $10 and makes 30 or more bracelets, depending on size. Stretch cord adds just a few more dollars for a whole spool.
That’s what makes pony beads the right call for classroom parties and camp groups. You’re not spending real money per kid.
Where’s the best place to buy pony beads in bulk?
Amazon carries the widest range of pre-mixed Halloween color packs, usually in 500 to 1,000-piece bags with a storage box included. Craft stores like Michaels or JOANN also carry them, often cheaper if you catch a sale or use a coupon.
Buying a mixed-color Halloween pack saves you from having to buy black, orange, purple, and green separately.
Do I need a clasp, or can I just use stretch cord?
For kids, stick with stretch cord. It skips clasps entirely, which means no small parts to lose and no fine-motor struggle for little hands.
Adults making a sturdier version for themselves can swap in a lobster clasp and jewelry wire instead, but for a classroom or party setting, stretch cord is faster and just as durable for the season.
Can I use this for a classroom party without a huge prep list?
Yes, that’s exactly what pony beads are built for. Pre-cut your cord lengths ahead of time and pre-sort beads into small cups by color, and you can run a full table for 15+ kids with almost no setup beyond that.
The two-color stretch bracelet is the fastest option if you’re short on time or supervising a big group alone.
How do I store leftover pony beads and finished bracelets?
Keep loose beads in the storage box most bulk packs come with, sorted by color if you want faster access next time. Store finished bracelets flat in a small bin or zip pouch so the elastic cord doesn’t stretch out from hanging.
If you’re prepping for an event, label bags of pre-cut cord and pre-counted beads the night before so party day setup takes minutes, not an hour.
Start with the two-color stretch bracelet if this is your first time. It’s fast, it’s foolproof, and it’ll tell you in under ten minutes whether your group is ready for something a little more advanced.

Jenny is a passionate writer specializing in home decor, design, and styling. With years of experience in transforming spaces, she shares expert tips on creating beautiful, functional homes. From interior design trends to DIY decor ideas, Jenny’s work helps homeowners craft spaces that reflect their unique style. Whether it’s a cozy living room, a modern kitchen, or a serene bedroom, her articles offer practical advice and inspiration to elevate any home.