Three years ago, I hosted a “quick” Halloween craft night for six kids. I had zero plan. Just a bag of orange beads and false confidence.
Two hours later, we had tangled elastic string everywhere and exactly one finished bracelet. Mine.
That disaster taught me something: good bracelet ideas need real instructions, not just inspiration photos.
So I went back, tested projects properly, and figured out five that actually work. Beginners can finish them. Kids can finish them. You can finish them tonight.
Here’s what I use every single time.
The 3 Supplies I Always Reach For
- Goldwise Halloween Clay Beads Friendship Bracelet Kit — This one comes with letter beads, spooky charms, elastic string, clasps, and scissors, so you’re not hunting down five separate supplies.
- SUNNYCLUE 203-Piece Skull Beads Bulk Pack — A big bulk bag of skull and stone beads, ideal when you’re making more than one bracelet or outfitting a whole party.
- 450+ Piece Halloween Enamel Charms Assortment — Loose pumpkin, ghost, spider, and witch hat charms that let you personalize any plain bracelet base in minutes.
The Classic Orange-and-Black Stack Bracelet
This is the one to start with if you’ve never made a bracelet before.
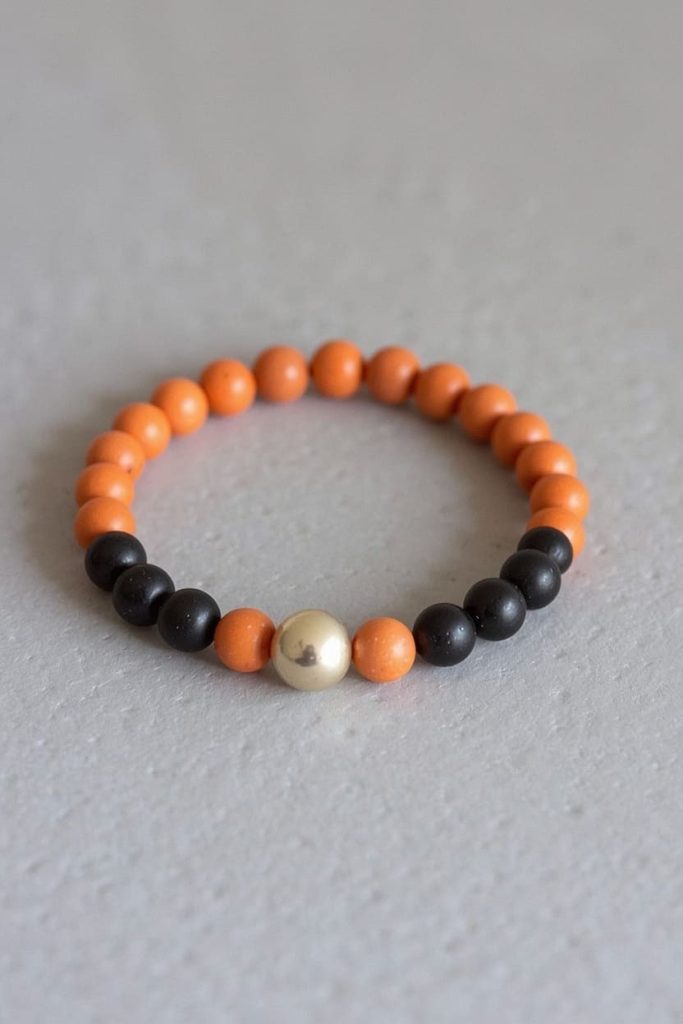
It’s a simple stretch bracelet using round beads in just two colors, layered into a stack of two or three. That contrast alone makes it look intentional, not thrown together.
Grab elastic cord, orange and black beads, and a pair of scissors. Cut about 8 inches of cord, string the beads in a pattern (I do two orange, one black, repeat), then knot the ends and trim. Twenty minutes, no charms needed.
I made this one with my niece last fall. She was nine and finished hers faster than I finished mine. That’s how forgiving this project is.
The Spooky Charm Bracelet for Costume Day
This bracelet is built for people dressing up. It’s meant to match a costume, not just the season.
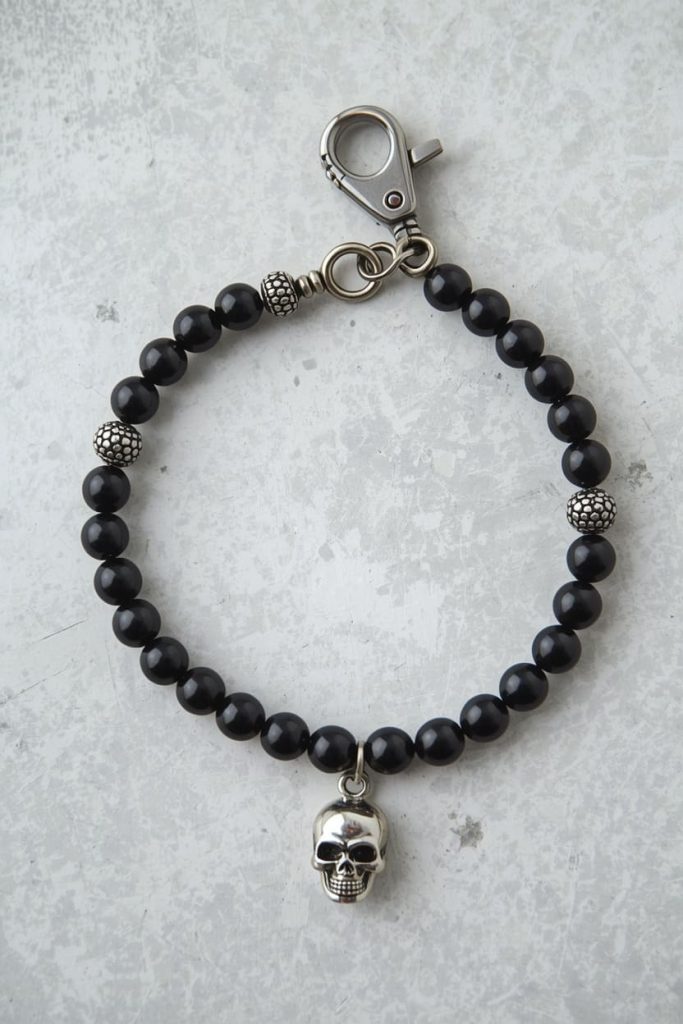
You want one focal charm — a skull, a spider, a tiny cauldron — centered on a beaded or chain base. Pick a charm that echoes your costume theme. Witch costume, witch hat charm. Skeleton costume, skull charm.
String plain black or metallic beads on each side of your charm, leave the charm dangling from a jump ring in the middle, then close with a lobster clasp. It takes about 15 minutes once your charm is chosen. I wore mine with a vampire costume two Halloweens ago, and three people asked where I bought it. I didn’t buy it.
The Glow-in-the-Dark Trick-or-Treat Bracelet
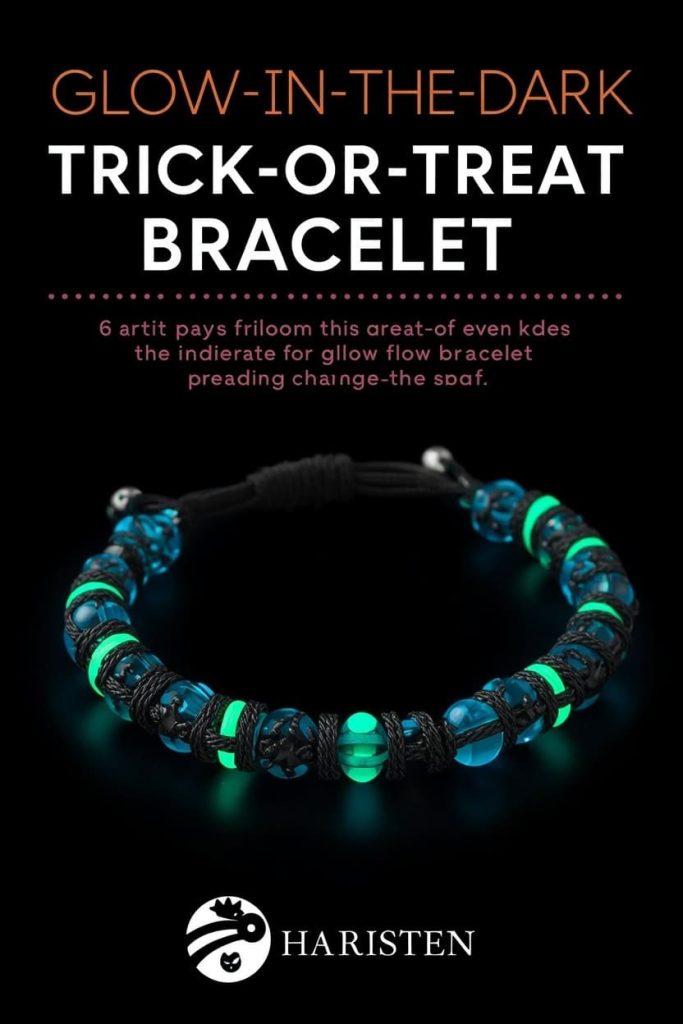
This is the one parents ask me about most. It’s a bracelet kids can wear while trick-or-treating that actually helps you spot them in the dark.
Use glow-in-the-dark beads or paracord mixed into your design. You can find glow beads sold separately or bundled into bigger Halloween bead kits. String them evenly through your pattern instead of clustering them, so the glow reads across the whole bracelet, not just one spot.
Charge the beads under a lamp or in sunlight for a few minutes before trick-or-treating starts. They’ll hold a soft glow for close to an hour outdoors. I gave a batch of these to my daughter’s whole class one year, and I still get asked to make more.
The Letter Bead “Boo” Word Bracelet
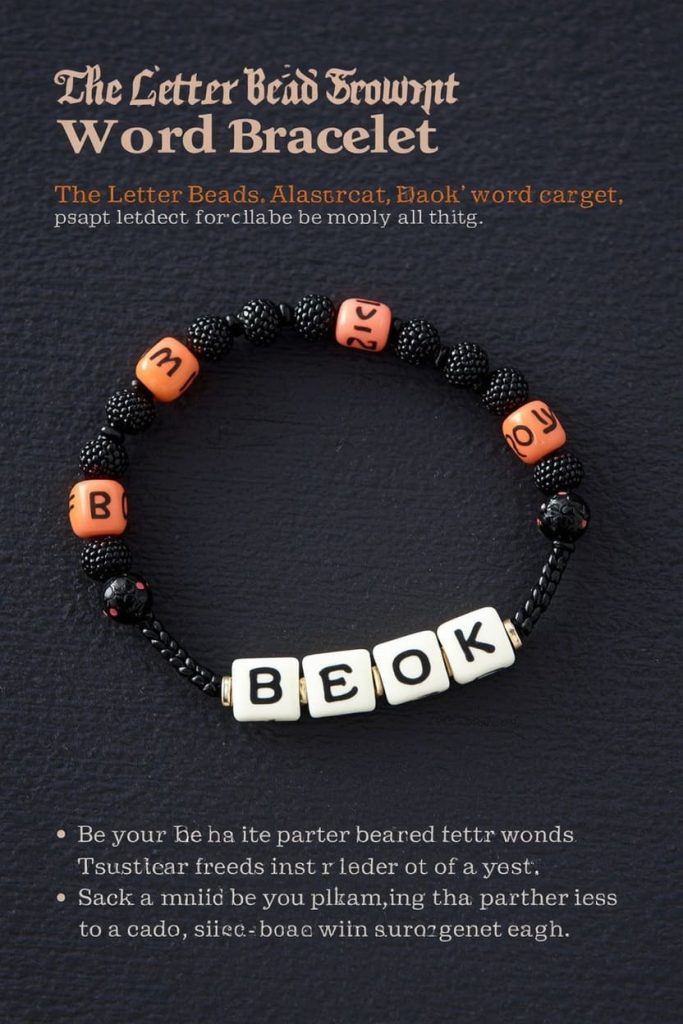
This bracelet spells something out — BOO, EEK, or a name — using alphabet beads. It’s a favorite for classroom swaps and party favors because every one looks different.
Pick your word first. Count the letters. Then plan spacer beads on either side so the letters sit centered, not jammed to one edge. A typical layout: 3-4 spacer beads, your word, 3-4 spacer beads, repeat if there’s room.
String it on stretch cord for kids (no clasp needed, easy on and off) or on a fixed cord with a clasp for a sturdier adult version. This one takes 10-15 minutes and needs zero jewelry experience. I’ve had eight-year-olds nail this on the first try.
The Elegant Black Beaded Bracelet for Adults
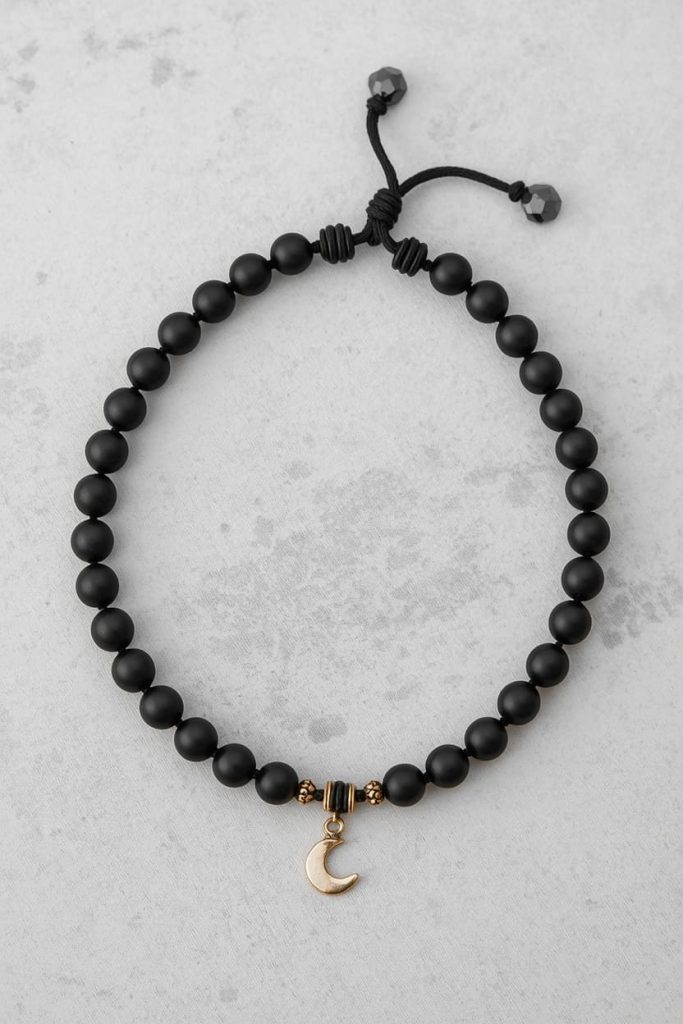
Not every Halloween bracelet has to look like a costume prop. This one is subtle. It works at an office Halloween party or a low-key adult gathering.
Use matte black beads, a few faceted glass beads for shine, and one small charm — a tiny bat or moon works well. Keep the charm off-center instead of dead in the middle. It reads more like real jewelry that way.
String your beads, place the charm about a third of the way along the strand, knot, and clasp. I wear a version of this one every October, no orange in sight. People compliment it without realizing it’s Halloween-themed at all.
Frequently Asked Questions
What materials do I need to make a basic Halloween bracelet?
You need beads, a stringing material (elastic cord or beading wire), a clasp if you’re not using stretch cord, and scissors. That’s genuinely it for a first project.
Everything else — charms, letter beads, spacers — is optional styling on top of that base. Most beginner kits bundle all four items together so you don’t have to shop separately.
Are these bracelet ideas safe for young kids to make?
The stretch cord projects (the orange-and-black stack and the letter bead bracelet) are good for kids around 6 and up with supervision. Small beads and charms are a choking hazard for anyone younger, so skip those projects with toddlers in the room.
Clasp-based bracelets are better suited for kids 8+ or adults, since clasps take more fine motor control.
How long does it actually take to make one bracelet?
Most of these take 10 to 25 minutes once your supplies are laid out. The charm bracelet and the elegant black bracelet run a bit longer because of the clasp and charm placement.
Prepping your supplies ahead of time — pre-cutting cord, sorting beads by color — cuts your actual crafting time in half.
Can I sell these bracelets, or are they just for personal use?
Yes, you can sell them, and Halloween-themed bracelets do well on Etsy and at fall craft fairs. Just check the licensing on any charms you use; generic pumpkin or skull charms are fine, but avoid anything based on copyrighted characters.
Price them based on materials plus your time, not just materials alone. A lot of new sellers undercharge on the labor side.
What’s the best way to store bracelets I’m not wearing yet?
Keep them flat in a small divided box or a zip pouch, away from direct sunlight if any beads are glow-in-the-dark or color-treated. Tangled elastic cord is the number one reason people give up on a batch of finished bracelets.
If you’re making several at once for a party or classroom, label each one loosely with a tag before storing, so you’re not untangling and guessing sizes later.
Do I need special tools to get started?
No. A basic pair of scissors and your hands are enough for stretch-cord bracelets. If you move on to clasp-based designs, a small pair of jewelry pliers makes closing jump rings easier, but it’s not required for any of the five projects above.
Pick one project tonight. Start with the orange-and-black stack if you’re new to this — it’s the fastest win, and it’ll tell you within twenty minutes whether you want to make four more.

Jenny is a passionate writer specializing in home decor, design, and styling. With years of experience in transforming spaces, she shares expert tips on creating beautiful, functional homes. From interior design trends to DIY decor ideas, Jenny’s work helps homeowners craft spaces that reflect their unique style. Whether it’s a cozy living room, a modern kitchen, or a serene bedroom, her articles offer practical advice and inspiration to elevate any home.