I made a tiny clay pumpkin one rainy Saturday, just to see if I still remembered how. It sat on my windowsill for weeks.
Then my neighbor saw it and asked where I bought it. I laughed and told her I made it in twenty minutes at my kitchen table.
That’s the thing about clay. It doesn’t look like a craft. It looks like something you’d find in a shop. If you want that same feeling, something worth keeping instead of tossing after Halloween, here are 5 complete clay projects you can make at home.
The 3 Supplies I Reach for Every Time
A pack of white air-dry clay — this is the easiest starting point for beginners, since it needs no oven and dries fully on its own.
A polymer clay variety pack in fall colors — this is the step up for tweens or adults who want more durable, vibrant pieces that bake hard in a home oven.
A basic clay sculpting tool set — this small set of picks and shapers makes detail work like faces and textures far easier than using your fingers alone.
Mini Air-Dry Clay Pumpkins
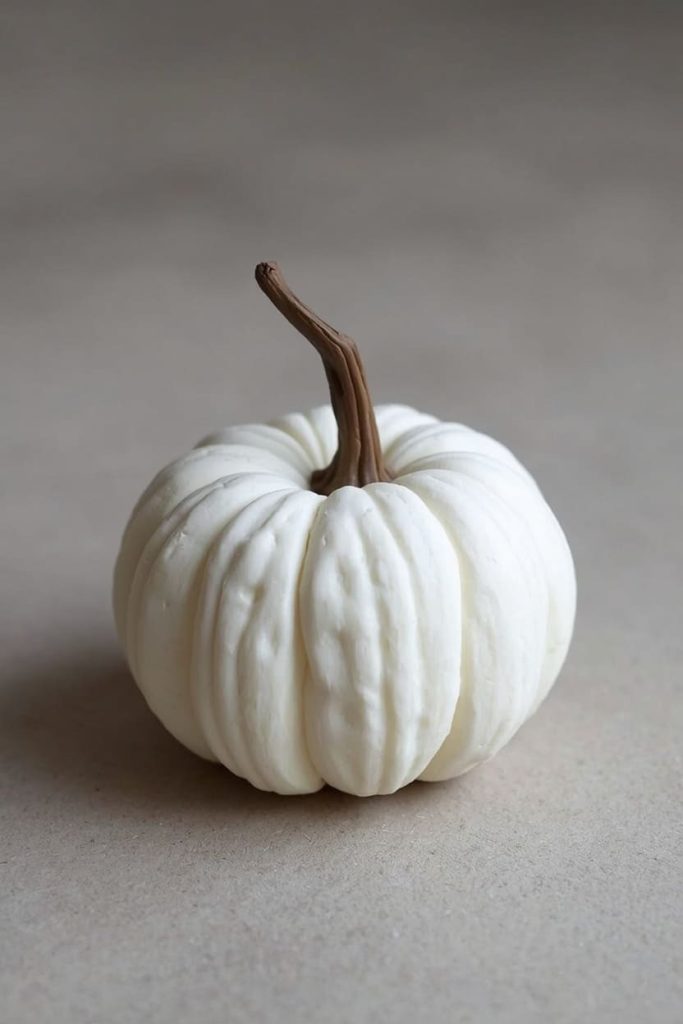
This is a small pumpkin shaped from white or orange air-dry clay, with simple ridges pressed in and a twig or clay stem on top. It’s the easiest project on this list, and it makes a great first attempt if you’ve never worked with clay before.
The proof is in how forgiving it is. Air-dry clay needs no oven, no special equipment, and no experience. I’ve handed this exact project to first-time crafters, and it always turns out something they’re proud of.
How to Make One
You’ll need air-dry clay, a clay tool or toothpick for ridges, and paint if you want color beyond natural clay. Beginner-friendly, ages 6 and up. Takes about 15 minutes to shape, plus 24 to 48 hours to dry fully.
- Roll a ball of clay in your palms until smooth.
- Flatten it slightly at the top and bottom, like a real pumpkin shape.
- Press vertical ridges around the sides using a clay tool or toothpick.
- Add a small rolled piece of clay on top for a stem, or press in a real twig.
- Let it air dry fully before handling or painting.
Display tip: Line a few up on a windowsill, or paint them and seal with a matte spray for a longer-lasting finish.
Polymer Clay Ghost Charms
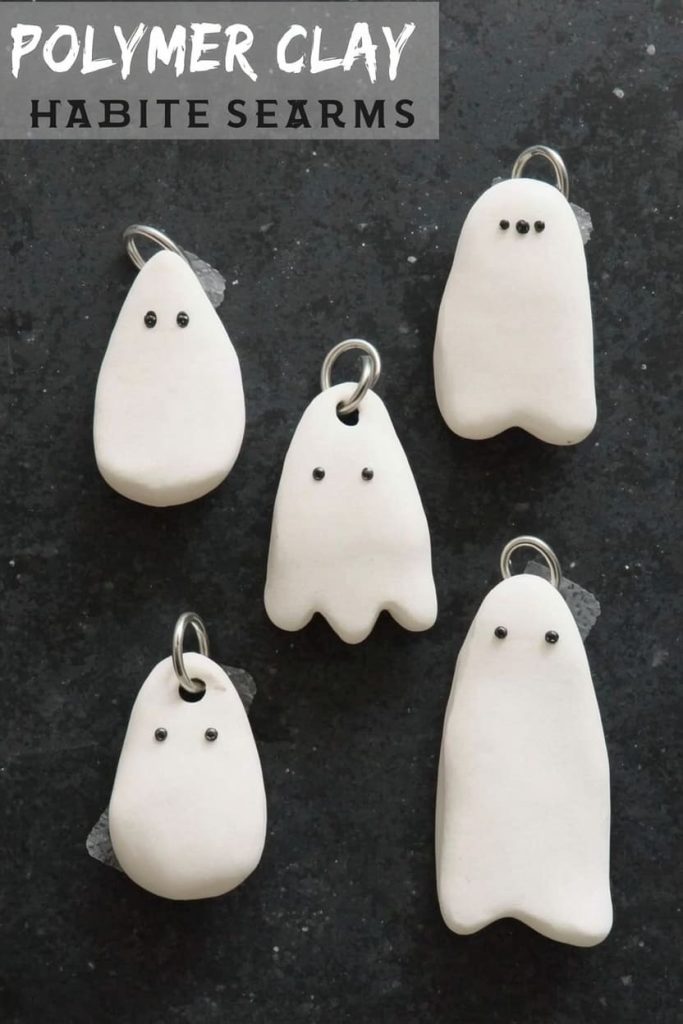
This is a small ghost shape made from white polymer clay, baked hard in a home oven, with a hole for a jump ring so it can become a keychain or necklace charm. It’s a step up in skill, but it makes something genuinely wearable.
This one works because polymer clay bakes durable. Unlike air-dry clay, these charms hold up to being carried in a bag or worn daily without crumbling, which makes them a real gift-worthy item.
How to Make One
You’ll need white polymer clay, a small tool for the face details, and jump rings or a keychain clasp. Best for tweens and adults, since it involves oven baking. Takes about 15 minutes to shape, plus 20 to 30 minutes baking time per your clay’s instructions.
- Shape a small teardrop of clay, rounding the top and giving it a wavy bottom edge like a classic ghost.
- Press in two small dot eyes with a tool or toothpick.
- Push a jump ring into the top before baking, so it’s set in place once hardened.
- Bake according to the package instructions, then let it cool completely.
- Attach to a keychain ring or necklace cord once cooled.
Display tip: Make a few at once and gift them individually, or bundle three on a keychain as a set.
Clay Trinket Dish with a Spooky Rim
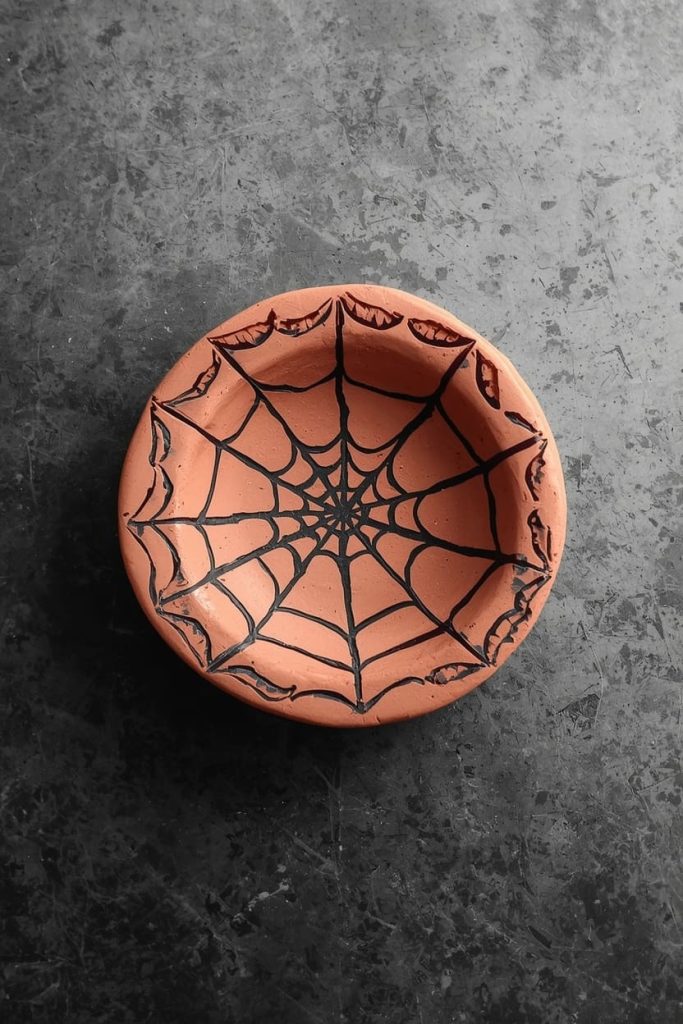
This is a small, shallow dish made from air-dry clay, shaped by pressing clay into a bowl mold and decorating the rim with a simple spiderweb or bat pattern. It’s a functional keepsake, which makes it feel like more than “just a craft.”
The proof is in the usefulness. Unlike a figurine that just sits on a shelf, a trinket dish gets used daily, holding rings, keys, or candy. That daily use is exactly why this one makes such a strong gift.
How to Make One
You’ll need air-dry clay, a small bowl or dish to use as a mold, and a fine-tip tool for detail work. Best for ages 8 and up due to the shaping precision needed. Takes about 20 minutes to shape, plus 48 hours to dry fully.
- Roll out the clay flat, about a quarter-inch thick.
- Press the flattened clay gently into a small bowl to form the dish shape.
- Trim the edges evenly with a butter knife or clay tool.
- Carve a simple spiderweb or bat pattern into the rim while the clay is still soft.
- Let it dry fully in the mold, then carefully remove once hardened.
Display tip: Once dry, seal with a matte varnish so it holds up to daily use on a nightstand or entryway table.
Polymer Clay Mini Pumpkin Earrings
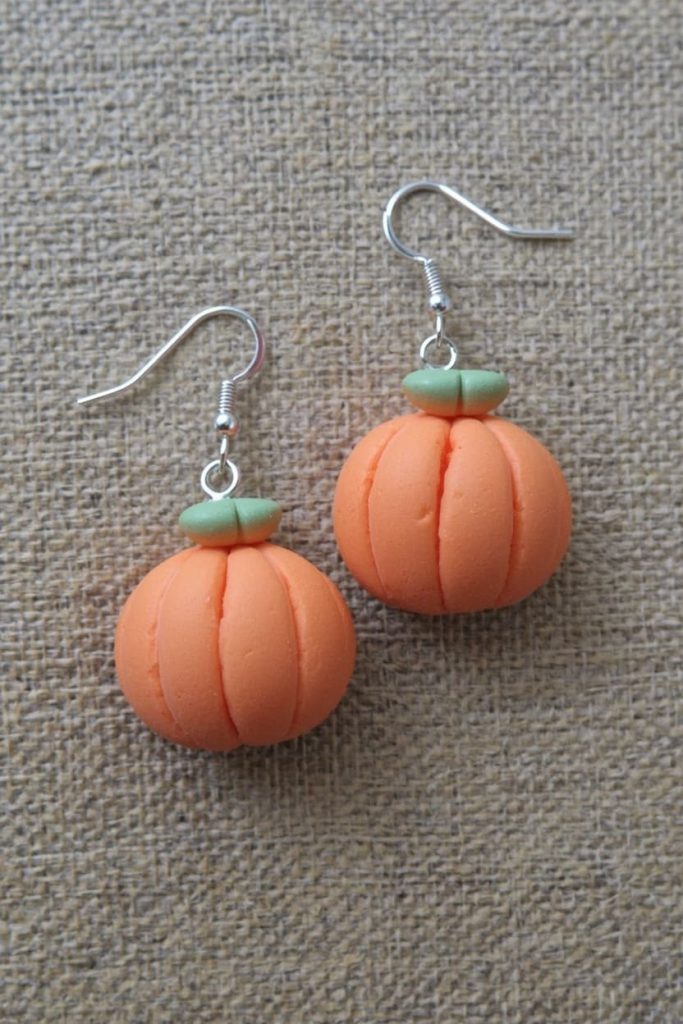
This is a pair of tiny polymer clay pumpkins, baked and finished with earring hooks, making a wearable seasonal accessory. It’s one of the most gift-friendly projects on this list, and it’s a favorite if you want something small-batch to give away.
This one works because it scales so easily. Once you know the shape, you can make five or six pairs in one baking session, which makes it perfect for gifting to a group of friends or family.
How to Make Them
You’ll need orange and green polymer clay, a small tool for ridges, and earring hooks with jump rings. Best for tweens and adults. Takes about 20 minutes to shape a few pairs, plus 20 to 30 minutes baking time.
- Roll small balls of orange clay, one for each earring.
- Flatten slightly and press ridges around the sides with a tool.
- Add a tiny green stem piece on top.
- Push a jump ring gently into the top of each pumpkin before baking.
- Bake according to package instructions, then attach earring hooks once cooled.
Display tip: Package a finished pair in a small gift box or clear bag for an easy handmade gift.
Air-Dry Clay Halloween Ornaments
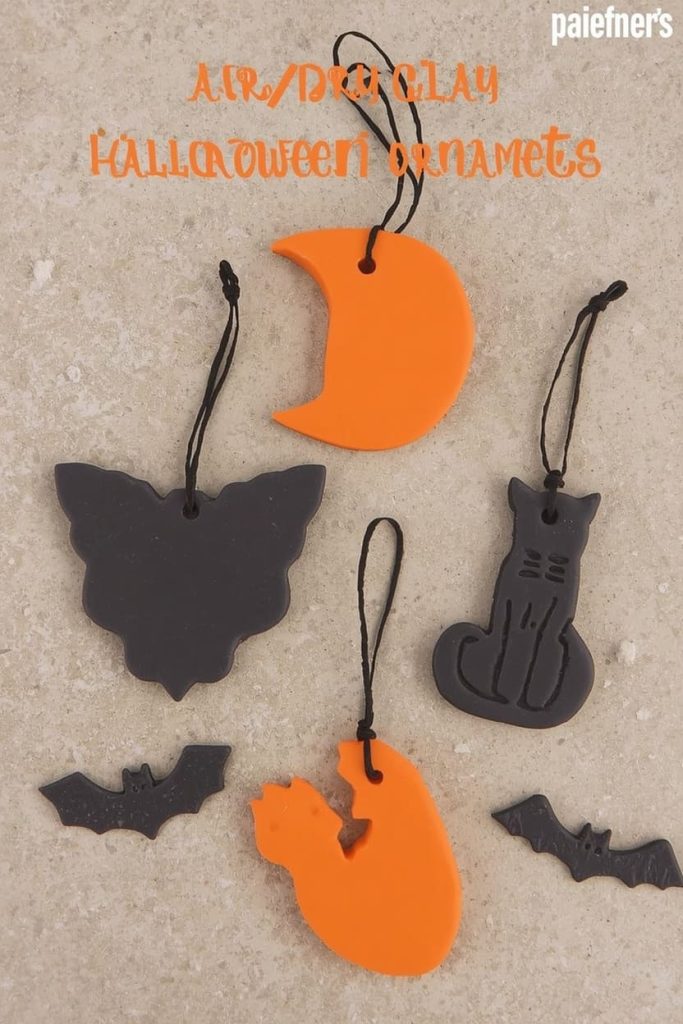
This is a flat clay shape, cut with a small cookie cutter into a bat, moon, or cat silhouette, with a hole poked at the top for hanging as an ornament. It’s a simple project that turns into a keepsake you pull out year after year.
The proof is in the repeat use. Unlike most crafts here, these get boxed up and reused every single Halloween, which makes the twenty minutes you spend on them worth far more over time.
How to Make Them
You’ll need air-dry clay, a small cookie cutter or knife for cutting shapes, and a straw or skewer for the hanging hole. Beginner-friendly, ages 6 and up. Takes about 15 minutes to shape, plus 24 to 48 hours to dry.
- Roll the clay flat to about a quarter-inch thickness.
- Cut out shapes using a small cookie cutter or a knife and a simple stencil.
- Poke a hole near the top of each shape with a straw for hanging.
- Let the pieces dry completely, flipping halfway through to prevent warping.
- Paint once fully dry if you want color, then seal.
Display tip: String with ribbon or twine and hang from a mantel, window, or small tabletop tree for a display you can reuse every year.
FAQs About Halloween Clay Crafts
What’s the difference between air-dry clay and polymer clay for Halloween crafts?
Air-dry clay hardens on its own over a day or two, no oven needed, which makes it great for beginners and younger kids. Polymer clay needs to be baked in a home oven, but it comes out more durable, which I prefer for anything meant to be worn or handled often, like charms and earrings.
Is clay crafting safe for kids?
Air-dry clay is very safe for kids, since there’s no baking involved. For polymer clay, I always handle the oven step myself, since it needs a specific temperature and timing to cure properly without kids near a hot oven.
How long does it take clay to dry or bake?
Air-dry clay usually takes 24 to 48 hours to dry fully, depending on thickness. Polymer clay bakes in 20 to 30 minutes in a home oven, so it’s actually faster if you don’t mind the extra step.
Do I need to seal or paint clay crafts?
Not always, but I usually do for anything that will be handled a lot, like trinket dishes or ornaments. A matte sealant spray adds durability and makes the paint job last longer if you’ve added color.
Can I sell clay crafts I make at home?
Yes, and honestly, clay crafts have some of the best profit margins I’ve made. Charms, earrings, and mini figurines are lightweight, cheap to produce, and sell well at fairs or online because they feel more finished than paper or candy crafts.
What’s the easiest clay Halloween craft for a first-timer?
The mini pumpkins are where I always start beginners. No oven, no special tools required beyond a toothpick, and they come out looking good on the very first try.
Give One a Try This Weekend
You don’t need experience or a full craft studio. You need a block of clay and a quiet hour. Start with the pumpkins if you’re new to this. Once you see how satisfying that first finished piece feels, you’ll want to work your way through the rest of the list.

Jenny is a passionate writer specializing in home decor, design, and styling. With years of experience in transforming spaces, she shares expert tips on creating beautiful, functional homes. From interior design trends to DIY decor ideas, Jenny’s work helps homeowners craft spaces that reflect their unique style. Whether it’s a cozy living room, a modern kitchen, or a serene bedroom, her articles offer practical advice and inspiration to elevate any home.

