My first carved pumpkin was a disaster. I freehanded a “scary face” with a steak knife. It collapsed by day two. The eyes were lopsided.
My neighbor’s kid asked if it was supposed to look like that. I laughed it off, but inside, I was determined to get it right.
The next year, I used an actual stencil and the correct tools. The difference was night and day. Clean lines. Sharp details. Compliments instead of confused looks.
You don’t need to be an artist to carve a great pumpkin. You just need the right design and the right approach. Let’s get into it.
Top 3 Products to Make Pumpkin Carving Easier
- Pumpkin Masters Carving Kit – This kit includes multiple saw tools designed specifically for pumpkin flesh, so you get cleaner cuts than any kitchen knife.
- Battery-Operated LED Pumpkin Light – This light keeps your design glowing safely for hours without the fire risk or wax mess of a candle.
- Pumpkin Carving Stencil Book – This book gives you dozens of ready-to-use patterns, so you skip the guesswork of freehand designs.
Classic Jack-O-Lantern Face (Beginner)
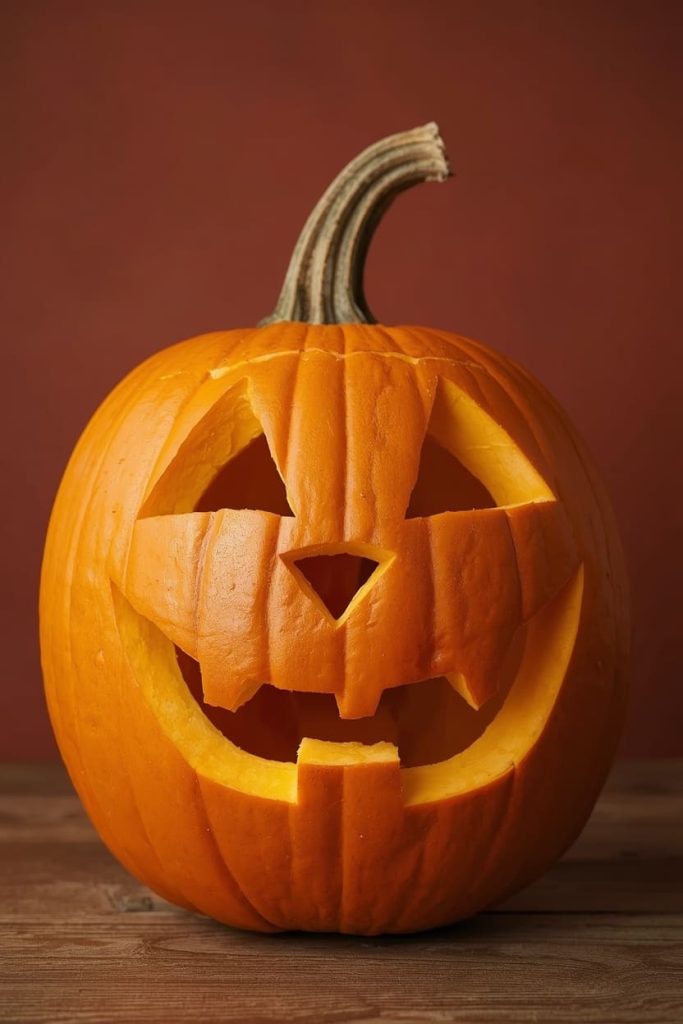
This is the design that started it all, and it’s still the best place to start if you’re new to carving.
What you’ll need:
- A medium-to-large pumpkin
- A carving saw (from a kit)
- A large spoon or pumpkin scoop
- A marker
Steps:
- Cut a circle around the stem at a slight inward angle, so the lid doesn’t fall through later.
- Scoop out all the seeds and stringy flesh. Get the walls down to about an inch thick.
- Draw a simple triangle-eyed, jagged-mouth face directly onto the pumpkin with a marker.
- Carve along your marker lines slowly, using a sawing motion rather than pushing straight through.
- Push out the cut pieces gently from the inside.
Time: 30–40 minutes.
Difficulty: Beginner.
Tip for a cleaner cut: Keep your saw perpendicular to the pumpkin’s surface. Angling it makes pieces harder to push out cleanly.
Silhouette Cat Design (Intermediate)
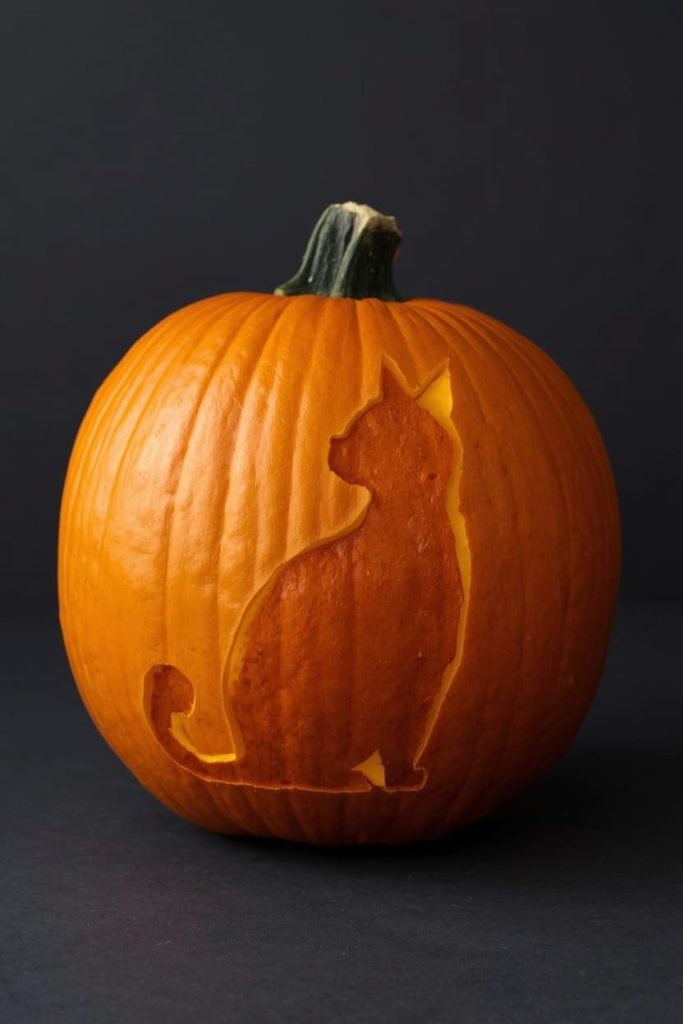
This one gives you a striking, gallery-worthy look using a single continuous shape.
What you’ll need:
- A pumpkin with a smooth, flat-ish side
- A printed cat silhouette stencil
- Tape
- A carving saw
- A small poking tool or pin
Steps:
- Prep and hollow your pumpkin the same way as the classic design above.
- Tape your printed stencil onto the cleaned, dried pumpkin surface.
- Use a pin to poke small holes along every line of the design, going straight through the paper into the pumpkin skin.
- Remove the paper. You’ll see a dotted outline on the pumpkin.
- Carve along the dots, following the outline of the cat shape.
- Push out the shape as one connected piece where possible.
Time: 45–60 minutes.
Difficulty: Intermediate.
Tip for a cleaner cut: Carve the smallest, most detailed areas (like ears or tail) first, while the pumpkin wall is still fully intact and easier to control.
Layered Depth Carving (Advanced)
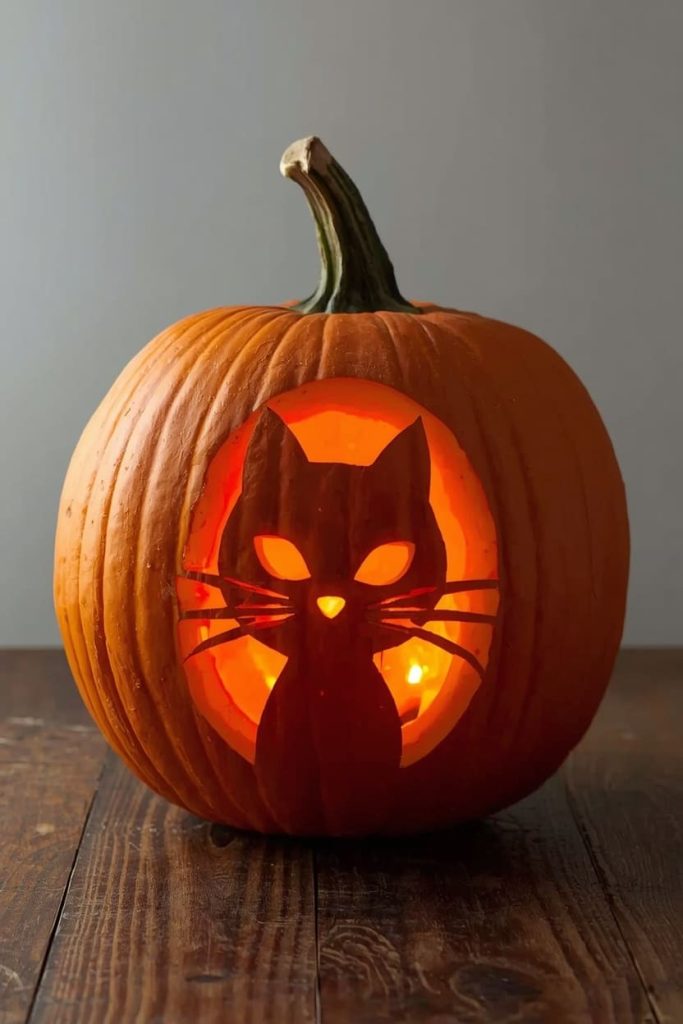
This technique doesn’t cut all the way through, so it creates shading and dimension instead of just a silhouette.
What you’ll need:
- A pumpkin with thick, even walls
- A detailed stencil with shading guides
- A carving loop tool or clay-sculpting tool
- A carving saw
Steps:
- Prep and hollow your pumpkin, but leave the walls slightly thicker than usual — about 1.5 inches.
- Transfer your stencil using the poke method from the cat design.
- For areas marked “cut through,” use your saw as normal.
- For areas marked “shade only,” use the loop tool to scrape away just the outer skin and a thin layer of flesh, without going all the way through.
- Hold the pumpkin up to a light periodically to check how the shaded areas glow compared to the fully cut ones.
Time: 60–90 minutes.
Difficulty: Advanced.
Tip for a cleaner cut: Work in a well-lit room and check your shading depth often. It’s easy to scrape too deep and accidentally cut all the way through.
Geometric Pattern Pumpkin (Intermediate)
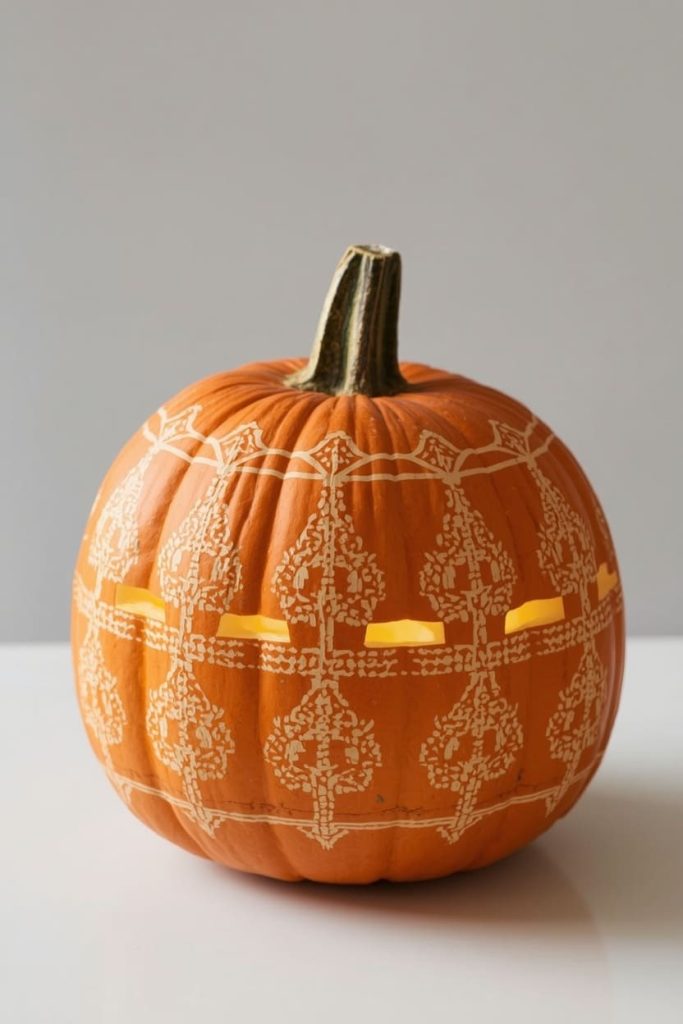
This design skips faces entirely and goes for a modern, symmetrical look instead.
What you’ll need:
- A pumpkin
- A ruler
- A marker
- A carving saw
- A drill with various bit sizes (optional, for extra texture)
Steps:
- Prep and hollow your pumpkin as usual.
- Use your ruler to lightly mark a grid or triangle pattern across the surface.
- Carve along your marked lines to create a repeating geometric design, like triangles or diamonds.
- For extra texture, drill varying-sized holes into some of the shapes instead of cutting them out fully. This creates a speckled light effect.
Time: 45 minutes.
Difficulty: Intermediate.
Tip for a cleaner cut: Measure twice before you cut once. Geometric designs show every uneven line much more obviously than organic shapes do.
Movie-Inspired Character Pumpkin (Advanced)

If you want something people stop and take photos of, this is the one to try.
What you’ll need:
- A large pumpkin with a smooth surface
- A detailed printed stencil of your chosen character
- A poking tool
- A fine carving saw
- A small loop tool for detail work
Steps:
- Prep and hollow your pumpkin, keeping the walls a bit thicker for detail work.
- Transfer your stencil using the poke method.
- Start with the largest sections first — outlines of the face or body.
- Move to smaller details like eyes, texture lines, or shading last, using the loop tool for anything that shouldn’t be fully cut through.
- Take breaks and step back often to check the overall look under light.
Time: 90+ minutes.
Difficulty: Advanced.
Tip for a cleaner cut: Print your stencil at the exact size of your pumpkin’s flattest surface. A design that’s too big or small distorts badly once it’s transferred.
How to Prep Your Pumpkin Before Carving
A good carve starts before you even pick up a tool.
- Wipe the outside down with a damp cloth to remove dirt.
- Cut around the stem at a slight angle, not straight down, so the lid sits snugly when you put it back.
- Scoop thoroughly. Leave the walls about an inch thick for most designs, thicker for shading techniques.
- Dry the inside with a paper towel before you start marking or transferring your design. A wet surface makes stencils slip.
Tools You Need for Clean, Safe Carving
Skip the kitchen knife. Here’s what actually works:
- A dedicated carving saw (from a pumpkin carving kit) — thinner and easier to control than a regular knife.
- A large metal scoop or spoon for cleaning out the inside efficiently.
- A poking tool or pin for transferring stencils accurately.
- A small loop or clay tool if you’re doing any shading or detail work.
- A marker for freehand designs or touch-ups.
How to Preserve a Carved Pumpkin So It Lasts Longer
You put in real effort, so keep it looking good as long as possible:
- Coat all cut edges with petroleum jelly. This slows moisture loss significantly.
- Spray the inside and cut areas with a diluted bleach solution (1 tsp bleach per quart of water) to kill bacteria that speeds up rot.
- Keep it out of direct sunlight and heat.
- Bring it inside overnight if you can, especially in warmer or more humid climates.
- Rehydrate a wilting pumpkin by submerging it in cold water for a few hours.
How to Safely Light a Carved Pumpkin
Both options work, but they serve different needs.
- Candles give you that classic flicker and warm glow, but they carry fire risk, especially near dry leaves or decorations. Keep them away from curtains, kids, and pets.
- LED lights are safer, last longer, and don’t melt the inside of your pumpkin. They’re a better choice if your pumpkin will be out for multiple nights unsupervised.
- Battery-operated LED lights are ideal for porches, since you don’t have to worry about wind blowing out a flame.
FAQs
How do I keep a carved pumpkin from rotting fast?
Coat the cut edges with petroleum jelly, spray the inside with a diluted bleach solution, and keep it out of direct sun and heat.
What’s the best tool for carving detailed designs?
A pumpkin carving saw paired with a small loop or clay tool gives you the control needed for fine details and shading.
Can I reuse a stencil pattern?
Yes. As long as the paper stays intact, you can reuse a stencil on multiple pumpkins across different years.
How far in advance can I carve my pumpkin?
Carve it 2–3 days before you plan to display it for the best look. Any earlier, and it may start wilting before the big day.
Should I use a candle or LED light inside my pumpkin?
LED lights are safer and longer-lasting, especially if your pumpkin will be unattended. Candles give a classic glow but need more supervision.
Why does my carved design look uneven?
Uneven designs usually come from freehanding without a stencil, or angling your saw instead of keeping it perpendicular to the surface.
Do I need special tools, or can I use a kitchen knife?
A dedicated carving saw is thinner, sharper for this purpose, and much safer to control than a standard kitchen knife.
You don’t need to be a professional to carve something impressive. Pick a design that matches your comfort level, grab the right tools, and take your time. That first uneven pumpkin taught me more than any tutorial could. Your best carve is probably closer than you think.

Jenny is a passionate writer specializing in home decor, design, and styling. With years of experience in transforming spaces, she shares expert tips on creating beautiful, functional homes. From interior design trends to DIY decor ideas, Jenny’s work helps homeowners craft spaces that reflect their unique style. Whether it’s a cozy living room, a modern kitchen, or a serene bedroom, her articles offer practical advice and inspiration to elevate any home.