The first time I used bleach on a pair of white sneakers, I got cocky.
I had a pair of canvas slip-ons that had gone from “fresh out the box” to “stepped in a parking lot puddle” in about three weeks, and I figured more bleach meant more clean.
I poured it on almost straight, walked away to answer the door, and came back to find the toe caps had gone a weird streaky gray-yellow, like the shoe was bruising. I had to toss them.
That mistake taught me the one thing I wish someone had told me sooner: bleach doesn’t fail because it’s too weak. It fails because people use it wrong.
Once I learned the actual ratio and technique, bleach became my go-to for reviving white shoes — it’s cheap, it’s already in your house, and when you do it right, it works better than almost anything you’ll find in a shoe-care aisle.
So let’s do this properly.
When Bleach Is Actually a Good Idea
Bleach loves canvas, rubber, and most cotton-based white sneakers. Think Converse, Vans, canvas Toms, plain white rubber soles. Those materials can handle it.
What bleach does not love: leather, suede, mesh, or anything with glued-on decorative elements. Leather can dry out and crack. Suede will just be destroyed, full stop. Mesh can weaken and tear.
If your shoes are canvas specifically, I’ve got a whole breakdown of canvas-safe methods in How to Clean White Canvas Shoes that’s worth a look before you start, since canvas has its own quirks depending on the shoe.
And if bleach genuinely isn’t the right call for your material, it’s not your only option — I walk through several other approaches in How To Clean White Shoes.
What You’ll Need
- Regular household bleach (not color-safe, not splash-less — plain bleach)
- Water
- A small bowl for mixing
- An old toothbrush or soft-bristle brush
- Rubber gloves
- A clean cloth or paper towels
- A well-ventilated space (open window, garage, porch)
That’s it. No specialty products required.
The Step-by-Step Method: How To Clean White Shoes With Bleach Safely
1. Remove the laces and insoles.
Do this first. Laces and insoles bleach unevenly and can end up looking worse than before you started. Set them aside — you can bleach laces separately in a diluted solution if they need it, or just replace them.
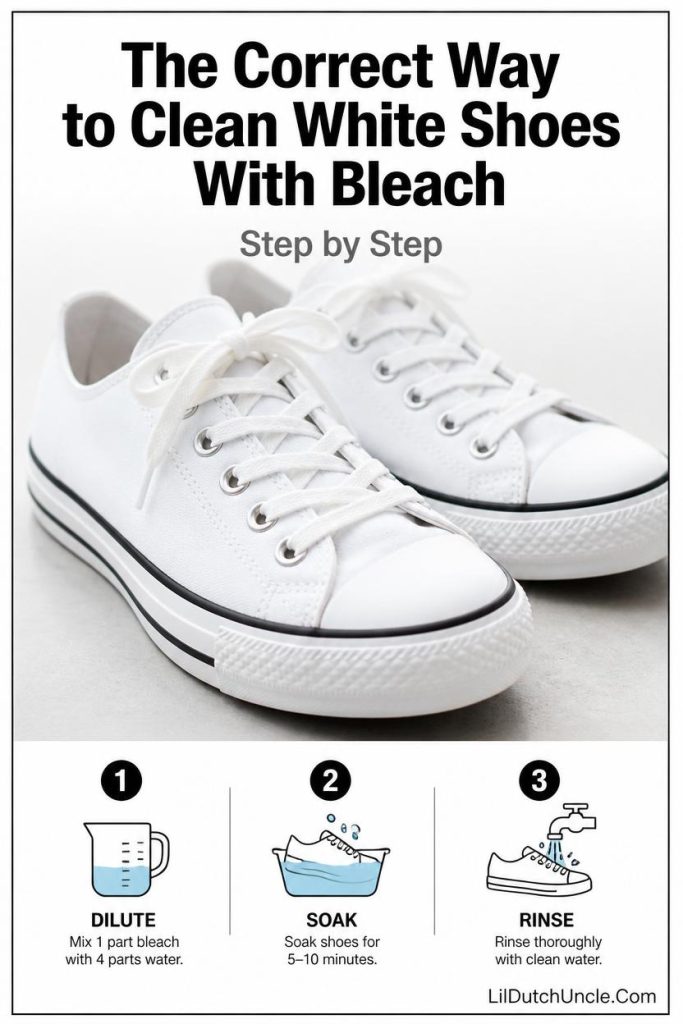
2. Mix your solution.
This is the part people get wrong. You want roughly 1 part bleach to 4 parts water. That’s it. Not equal parts, not “a splash.” A diluted mix cleans just as effectively over a slightly longer contact time, and it won’t eat into the material or cause that yellow-tinged damage I dealt with on my first try.
3. Do a spot test.
Dab a small amount of your diluted solution on a hidden part of the shoe — the inside seam or under the tongue works well. Wait five minutes. If the color looks even and nothing feels stiff or damaged, you’re clear to move forward.
4. Apply the solution with your brush.
Dip your toothbrush into the mixture and work it into the shoe in small circular motions, focusing on stained or discolored areas. Don’t soak the shoe — you’re coating it, not drowning it.
5. Let it sit — but don’t walk away for too long.
Give it 5 to 10 minutes. This is exactly where I went wrong the first time. Bleach left too long doesn’t get you a whiter shoe, it gets you a damaged one. Set a timer if you’re the type to get distracted.
6. Rinse thoroughly.
Rinse with clean water until you can’t smell bleach anymore. Any residue left behind can keep working on the material even after you think you’re done, which is part of what causes that patchy, uneven look later.
7. Wipe and air dry.
Pat the shoes down with a clean cloth to remove excess moisture, then let them air dry away from direct sunlight. Stuff them loosely with paper towels to help them keep their shape as they dry.
That’s genuinely the whole process. The steps aren’t complicated — the ratio and the timing are what separate a clean white shoe from a ruined one.
How to Avoid Yellowing (This Is the Part That Matters Most)
I know this is the actual reason you’re reading this article, so let’s be direct about it.
Dilution is everything. Straight or overly concentrated bleach is the number one cause of yellowing, not the bleach itself. That 1:4 ratio isn’t a suggestion — it’s the difference between a bright shoe and a stained one.
Sunlight and bleach don’t mix. Never dry bleached shoes in direct sun. It sounds like it’d speed up the “whitening,” but it actually triggers oxidation that turns the material yellow, sometimes hours after they look fine.
Don’t leave solution sitting on the shoe. The longer bleach sits, especially if it starts to dry on the material instead of getting rinsed, the more likely it is to leave uneven, yellow-tinted patches behind.
Rinse until it’s actually gone. Half-rinsed shoes are a common cause of the streaky, yellow-gray look days later, because the bleach keeps reacting even after you think you’re finished.
If you’re reading this because your shoes already turned yellow — maybe from age, from a previous cleaning attempt, or from sun exposure — this method can help, but you’ll get better results from the targeted approach in How to Clean White Shoes That Turned Yellow, since reversing yellowing takes a slightly different technique than routine cleaning.
Keeping Them White Longer
A few habits that have saved me a lot of repeat bleach sessions:
- Spray them with a fabric protector once they’re clean and fully dry. It won’t make them stain-proof, but it buys you time before dirt sets in.
- Wipe them down after wear, especially after a day where they got dusty or damp. Dirt that sits overnight is much harder to lift than dirt from that same afternoon.
- Store them away from direct sunlight, even when you’re not actively cleaning them — sun exposure alone will slowly yellow white materials over time.
- Avoid the washing machine if you can help it. It’s tempting, but it tends to break down glue and warp shape faster than hand cleaning does.
Back to Where We Started
Those canvas slip-ons I ruined years ago taught me more than any tutorial could have. Now when I bleach a pair of white shoes, I’m not guessing — I know the ratio, I know the timing, and I know exactly what to avoid. It takes maybe twenty minutes from start to finish, most of which is just letting them dry.
If your shoes are sitting by the door right now looking a little sad, you’ve got everything you need to fix that today.

Emma Vanderlyn is a home enthusiast with a passion for all things natural and eco-friendly. With years of experience experimenting with DIY solutions, she’s dedicated to creating safe, effective, and budget-friendly cleaning recipes that are kind to both your home and the planet. Emma believes that a clean home shouldn’t come at the cost of harsh chemicals, and her easy-to-follow guides make natural cleaning accessible to everyone.
When she’s not whipping up a new cleaner in her kitchen, Emma can be found researching the latest in green living or transforming her space with mindful, stylish decor ideas. She’s here to share her love of natural living and help you create a home that shines—naturally.