Navien 240A Tankless Water Heater has a number of DIP Switches. They control the entire functionality of your water heater. So, it’s indispensable for you to learn about the DIP Switch Settings to make it easy to run the unit.
And this guide will inform you about the DIP switches, their location, and how you can use them. Without further ado, let’s get started right here.
Table of Contents
Navien 240A Dip Switch Settings [Explained Everything]
Every Navien Tankless Model, either 240A or 180A2, has two DIP switch locations. You can find one on the PCB and the other one on the front panel.
Specifically, you can find a number of dip switches on these two locations. Each DIP switch controls the entire functionality of the hot water heater.
Generally, installers or plumbers set those DIP switches based on the installation environment.
Now, let’s see how the DIP switches on those two locations work and how you should set them.
Circuit Board (PCB) Dip Switches
There are actually two dip switches on the PCB area, which generally configure the model settings of the water heater. You shouldn’t change these configurations as they are default or set at the factory. In short, you don’t need to play around the dip switches on the PCB.
Front Panel Dip Switches
You can find two DIP switches on the front panel of this Navien Tankless Water Heater. The following screenshot will show you the DIP switch location on the front panel:
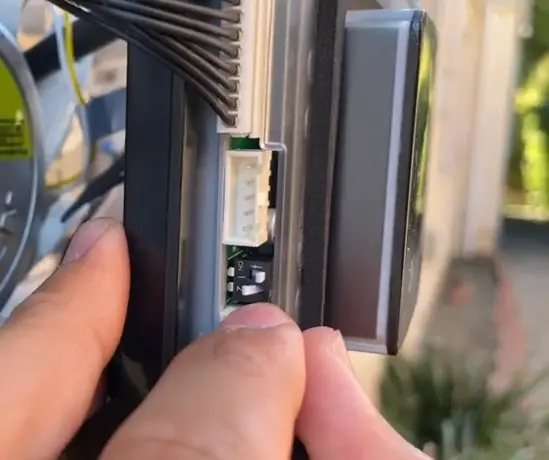
These switches are- Switch 1 and Switch 2. The Switch 1 on the front panel configures the gas type setting of your water heater. On the other hand, the Switch 2 controls the Temperature Lock.
How Do the Front Panel Dip Switches Work:
First off, let’s discuss how the Switch 1 on the front panel functions. As I mentioned, this switch configures the water heater’s gas type setting. But you shouldn’t change it until you convert the unit for propane use because gas type configuration is factory default.
FYI: If you need to convert the water heater to propane, use the Propane Conversion Kit supplied with the unit. You can find this kit inside the product’s case. Ensure you hire a certified service agency to install the conversion kit, maintaining Navien’s instructions and all applicable codes & requirements.
Once you make the propane conversion, you can adjust the Switch 1 on the front panel. Just set it to the On position to operate your Navien water heater with propane.
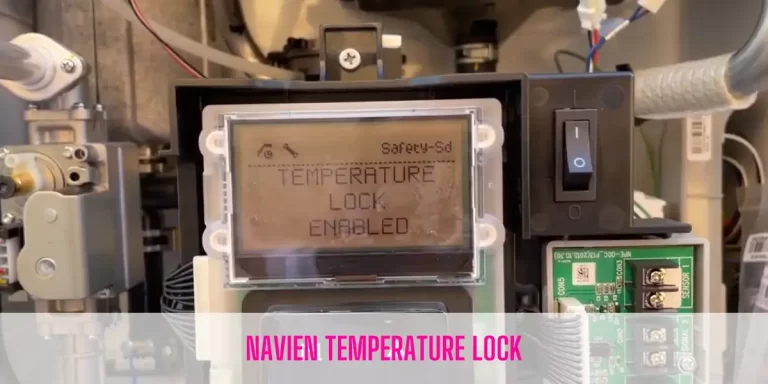
Now, it’s time to describe how you can adjust the Switch-2. It generally controls the Temperature Lock.
If you set this DIP Switch to Off, you can set the temperature of your water heater. Otherwise, you can’t adjust your water heater temperature if you position this DIP switch to On.
End-Note
I discussed everything you need to know about the Navien 240A Dip Switch Settings. However, I highly recommend you to not fine-tune with these DIP switches. Otherwise, it will void the Navien warranty if you or an untrained person tries to service the unit.
Read Also:

Eric Alvarez is the head of content on LilDutchUncle.Com. He is an HVAC guy based in El Paso, Texas, United States. He obtained his Bachelor of Science degree from the University Of Texas at El Paso. Years of experience in the HVAC field have taught him many lessons, not the least of which is that the value of quality and knowledge far exceeds any promised initial savings. He has a good standing reputation for superior skills in heating, air conditioning, hot water tanks, and indoor air quality systems.