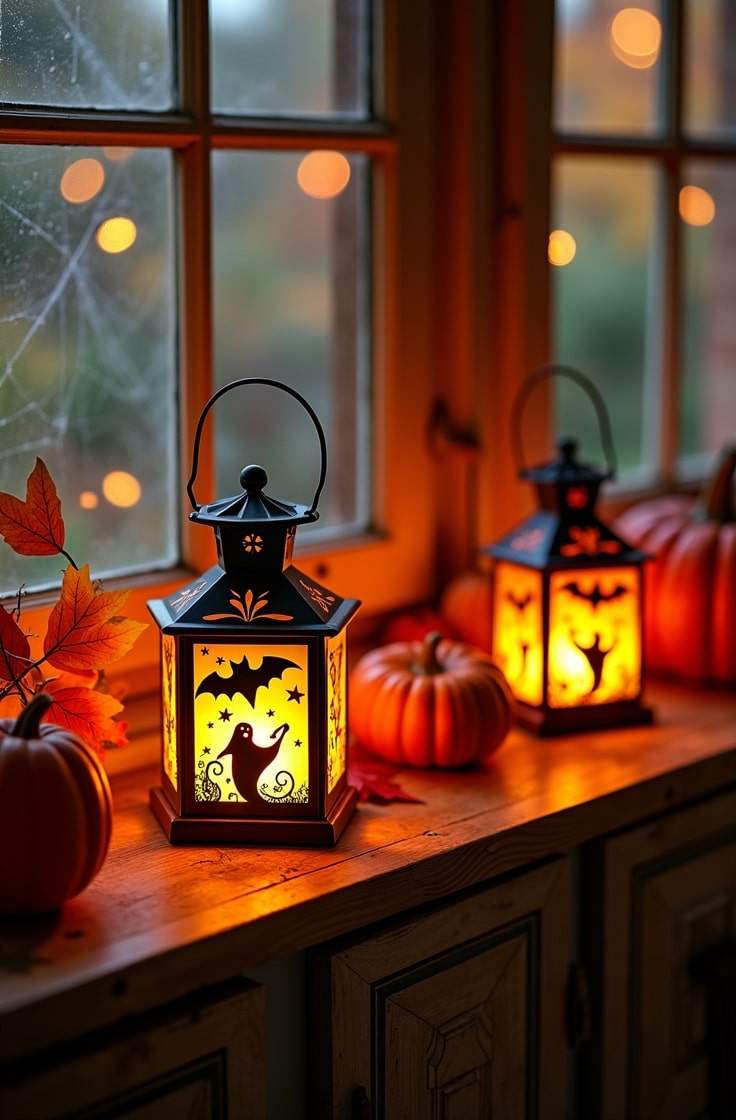
Two years ago, I had twenty dollars and a mostly empty house to decorate for Halloween. I walked into the dollar store with zero plan.
I walked out with cheesecloth, mason jars, and a can of black spray paint. By the end of that weekend, my porch looked like I’d spent way more than I did.
That’s the whole appeal of DIY Halloween crafts. You don’t need a big budget or fancy skills. You just need a few cheap supplies and an hour to spare.
Below are five projects anyone can make at home. No special tools. No crafting experience required. Just clear steps you can follow start to finish.
Budget-Friendly Supplies That Make These Projects Easier
A few basic supplies go a long way here. These three are worth having on hand.
- Cheesecloth — Cheap, stretchy, and perfect for draping over shapes to create ghost decorations with almost no skill required.
- Black Matte Spray Paint — One can transformd plastic bins, glass jars, or plain pumpkins into moody Halloween decor in minutes.
- Hot Glue Gun with Glue Sticks — This is the tool that holds almost every DIY Halloween project together, and a basic kit costs less than ten dollars.
Now let’s get into the projects.
Cheesecloth Ghosts for an Instant Spooky Porch
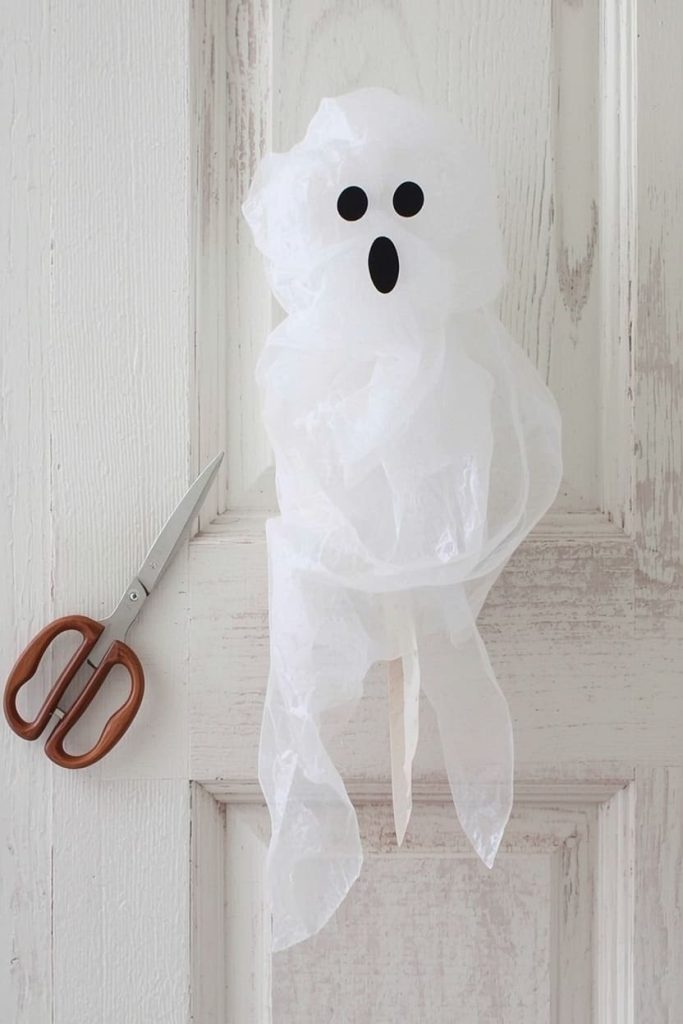
This is the easiest project on this list, and it barely costs anything. It’s a classic for a reason.
Materials:
- Cheesecloth (found at any dollar store or craft store)
- A balloon or a small jar
- Liquid starch, Mod Podge, or a mix of white glue and water
- A bowl for dipping
- Black felt or a black marker
- Scissors
Steps:
- Blow up a balloon to the size you want your ghost’s head to be, or place a small jar upside down as your form.
- Cut a piece of cheesecloth large enough to drape over the whole shape with extra hanging down for the ghost’s “body.”
- Mix your liquid starch or watered-down glue in a bowl. Dip the cheesecloth in, then squeeze out the excess so it’s damp, not dripping.
- Drape the soaked cheesecloth over your balloon or jar, arranging the folds so it looks natural and ghostly.
- Let it dry for 6 to 8 hours, or overnight, until it’s stiff to the touch.
- Once dry, pop and remove the balloon (or gently lift off the jar), then trim any uneven edges.
- Cut small circles or ovals from black felt for eyes and glue them on, or draw a simple face with a marker.
Tip: For a cheaper version, skip the liquid starch and use a mix of white glue and water instead. For a spookier upgrade, hang your ghosts from a porch light or tree branch using clear fishing line.
Painted Mason Jar Lanterns for a Moody Glow
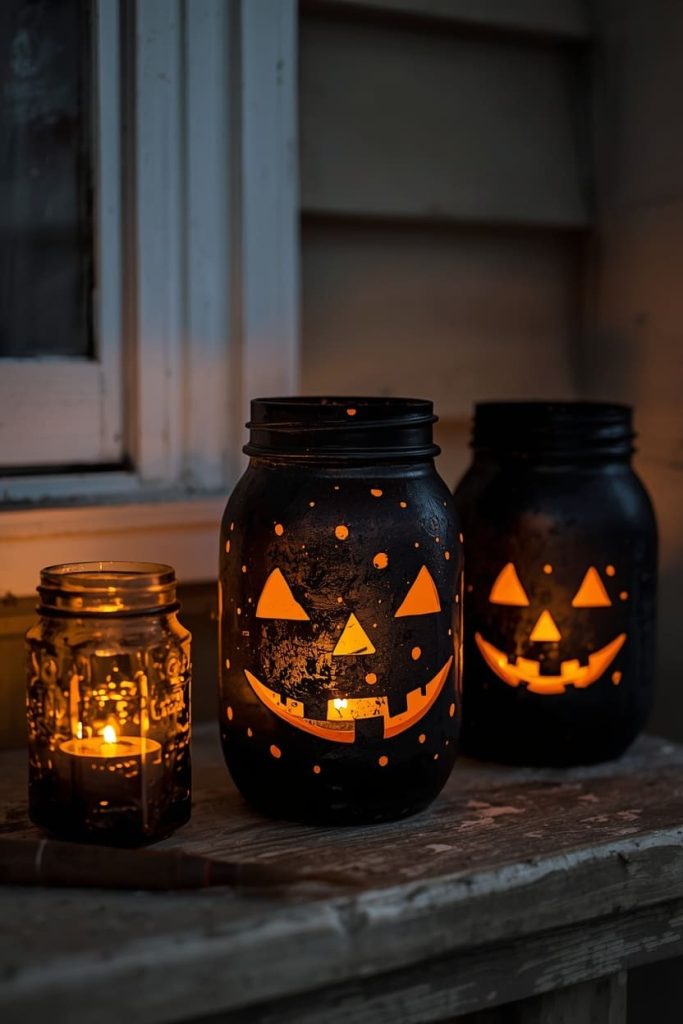
This one is great if you already have jars sitting around your kitchen. It takes ten minutes and instantly upgrades a porch step or windowsill.
Materials:
- Empty glass jars (mason jars, pasta sauce jars, anything glass)
- Black or orange craft paint
- A paintbrush
- Battery-operated tea lights
- Black paint pen (optional, for faces)
Steps:
- Wash and fully dry your jars, making sure there’s no leftover label residue.
- Paint the outside of each jar, leaving small uneven gaps where light can shine through. A slightly messy coat actually looks better here.
- Let the paint dry for about an hour.
- Once dry, use a black paint pen to draw a simple jack-o’-lantern face on one or two jars if you want variety.
- Drop a battery tea light into each jar and set them along your porch steps, windowsill, or entryway table.
Tip: If you’re short on time, skip painting the whole jar and just paint a simple face instead, leaving the rest of the glass clear.
No-Carve Pumpkin Makeover Using Paint and Scraps
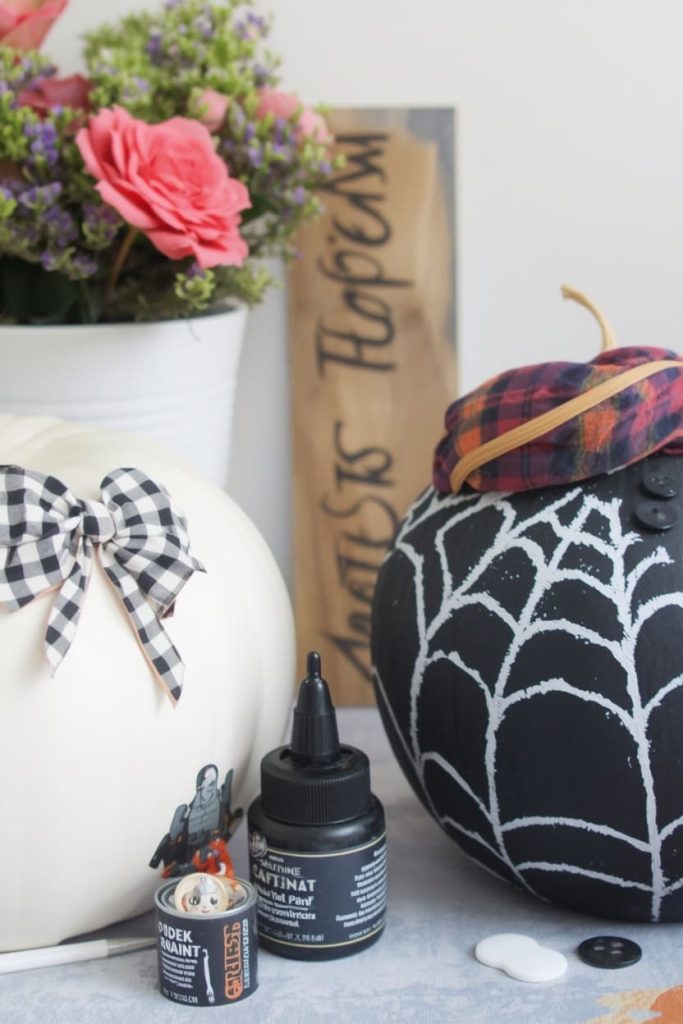
Carving pumpkins is messy and the results don’t always last. This version skips the mess completely and still gives you something worth putting on display.
Materials:
- 1 or more real or plastic pumpkins
- Black or white craft paint
- A paintbrush
- Leftover buttons, fabric scraps, or yarn (optional)
- Hot glue gun
Steps:
- Clean your pumpkin and make sure it’s completely dry.
- Paint the whole pumpkin one solid color, or paint a simple shape like stripes or a spiderweb pattern.
- Let the first coat dry fully, about 30 minutes, before adding more detail on top.
- Once dry, glue on any extra details you want, like button eyes, a fabric bow, or a yarn “stem wrap.”
- Set your finished pumpkin on your porch, entryway table, or mantel.
Tip: Use leftover craft supplies you already have at home instead of buying new embellishments. It keeps this project essentially free.
Black Spider Web Window Silhouette
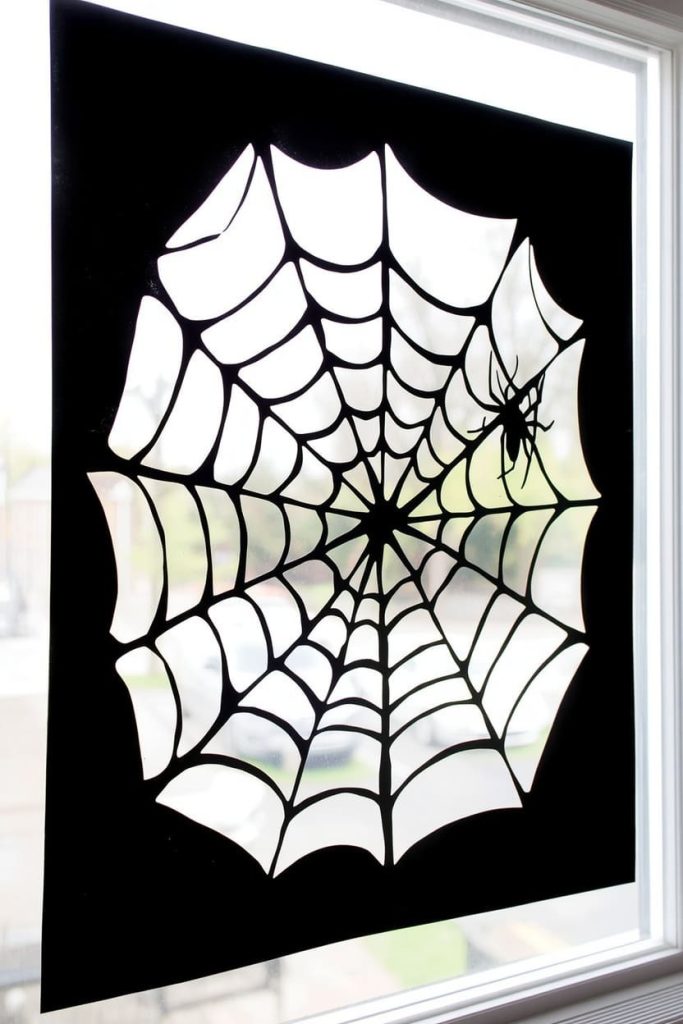
This project takes under 20 minutes and makes a huge visual impact from the street. It’s one of my favorite “big look, tiny effort” projects.
Materials:
- Black construction paper or a black trash bag
- White chalk or a white paint pen
- Scissors
- Painter’s tape or removable window clings
Steps:
- Cut a large circle or square from black paper or a flattened trash bag, sized to fit your window.
- Fold the shape in half, then in half again, and again, until you have a small triangle.
- Cut small notches and lines along the folded edges, similar to cutting a paper snowflake.
- Unfold carefully. You’ll have a web-like pattern.
- Tape the silhouette to the inside of your window using painter’s tape so it’s visible from outside.
Tip: For a nicer finish, trace a spider shape separately and add it to the corner of your web using the same black paper.
Dollar Store Skeleton Wreath for Your Front Door
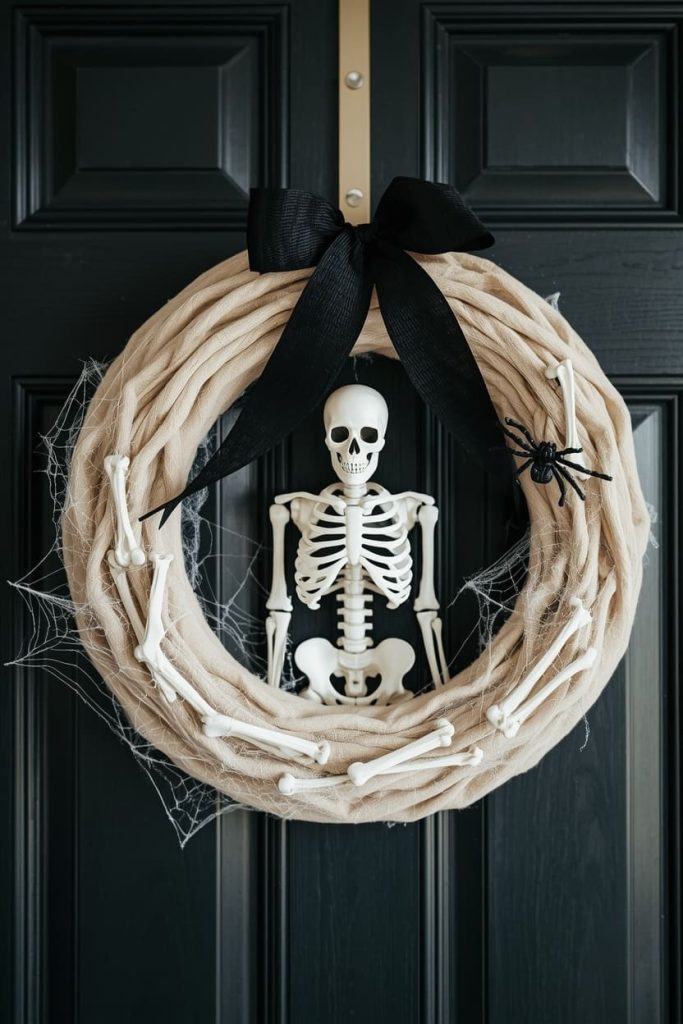
This one takes basic dollar store finds and turns them into something that actually looks put-together. It’s my go-to when I want a quick statement piece.
Materials:
- A plain wreath form (foam, straw, or wire) or a large embroidery hoop
- A small plastic skeleton, or skeleton hand and bone pieces
- Black ribbon
- Fake spiderweb material
- Hot glue gun
Steps:
- Stretch a small amount of fake spiderweb material across the wreath form to create a base texture.
- Arrange your skeleton pieces on top, deciding how you want them to sit before gluing anything down.
- Hot glue each piece in place, starting with the largest pieces first, then filling in with smaller bones or details.
- Tie a black ribbon into a bow and glue it near the top or side of the wreath.
- Hang on your front door with a wreath hook or over-the-door hanger.
Tip: If your budget is tight, skip the ribbon and skeleton pieces and use one bold element instead, like a single plastic spider or a strip of orange fabric.
FAQs About DIY Halloween Crafts
What are the cheapest materials to use for DIY Halloween crafts? Dollar stores are your best resource for cheesecloth, black construction paper, small plastic decorations, and paint. Thrift stores are also great for finding glass jars, fabric scraps, and picture frames you can repurpose.
How do I make dollar store decor look more expensive? Stick to one or two colors instead of mixing too many. Matte black paint especially makes plastic and dollar store items look much more polished than their original finish.
How much time do these projects usually take? Most of these take 20 minutes to an hour of hands-on work. The cheesecloth ghosts need extra drying time overnight, but the actual work is quick.
Do I need any crafting experience to make these? No. Every project on this list uses basic skills like painting, gluing, and cutting. If you’ve ever wrapped a present or painted a wall, you can handle these.
Where’s the best place to shop for Halloween craft supplies? Dollar stores, big-box craft stores, and Amazon all work well. Dollar stores are best for small quantities and quick projects, while Amazon is useful if you want a bulk supply of one item, like cheesecloth or spray paint.
Wrapping Up
That’s five Halloween crafts that won’t blow your budget or your weekend. Pick whichever one looks doable to you right now, grab what you’ve got around the house, and get started. I’d love to see how yours turns out.

Jenny is a passionate writer specializing in home decor, design, and styling. With years of experience in transforming spaces, she shares expert tips on creating beautiful, functional homes. From interior design trends to DIY decor ideas, Jenny’s work helps homeowners craft spaces that reflect their unique style. Whether it’s a cozy living room, a modern kitchen, or a serene bedroom, her articles offer practical advice and inspiration to elevate any home.