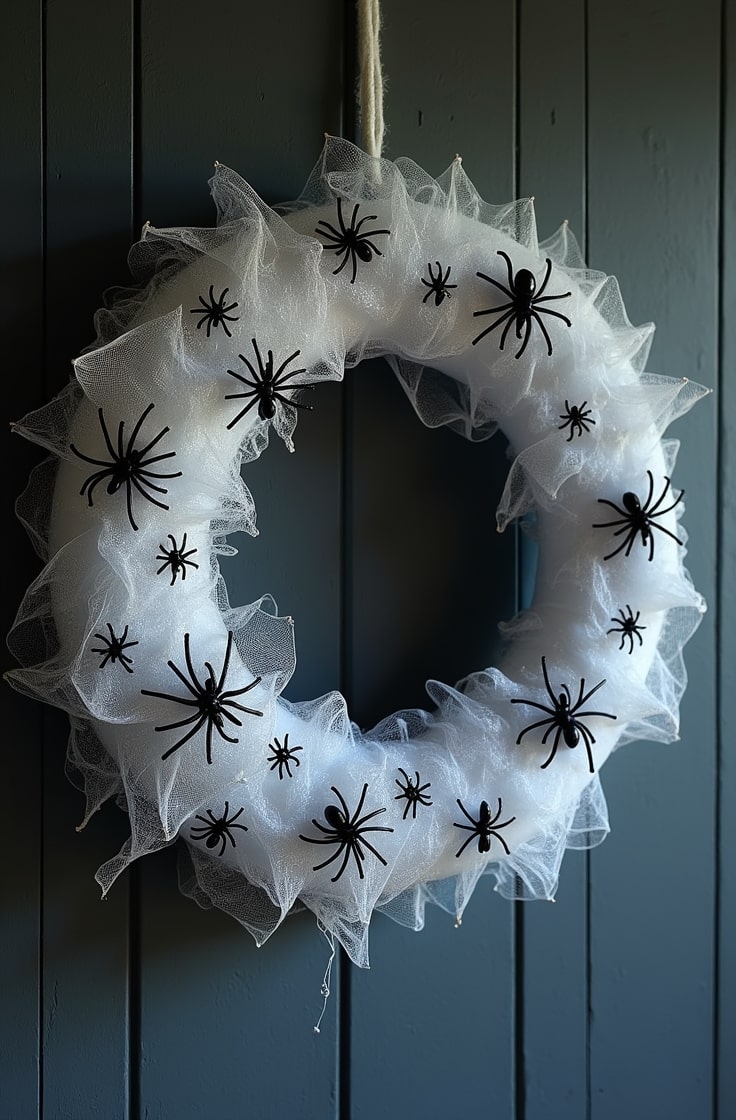
Last October, I set up a “simple” pumpkin craft for my daughter’s preschool class.
Within two minutes, one kid had orange paint on his eyebrows, another had glued her fingers together, and someone tried to eat a pom-pom.
We survived.
The pumpkins turned out adorable. And I learned that with preschoolers, simple really has to mean simple.
If you’re planning Halloween crafts for 3 to 5 year olds, you need projects that are fast, safe, and easy to guide.
Below are five ideas that check all three boxes. I’ll flag exactly where you need to step in and help.
Preschool-Safe Supplies Worth Having on Hand
These three supplies make preschool crafting so much easier, for you and for little hands.
- Crayola Toddler Safety Scissors — Blunt plastic tips let 3 to 5 year olds practice cutting with almost no risk, even with light supervision.
- Colorations Washable Tempera Paint — Bright, non-toxic, and washes off skin and clothes easily, which matters more than you’d think at this age.
- Shuttle Art Dot Markers — These chunky, no-mess markers are perfect for preschoolers who aren’t ready for tiny paintbrushes yet.
Now let’s get into the crafts.
Paper Plate Pumpkin Craft for Beginner Cutters
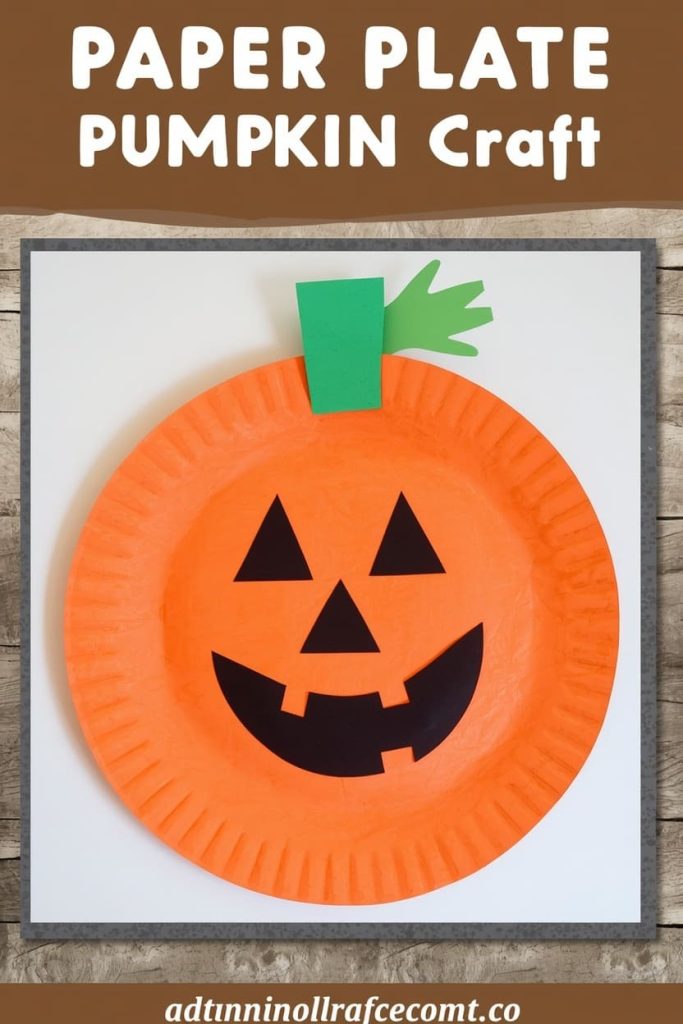
This is the easiest project on this list. It works for a first-time crafter or a full classroom.
Materials:
- 1 orange paper plate per child (or white plate plus orange paint)
- Green construction paper
- Black construction paper
- Glue stick
- Safety scissors
Steps:
- If using a white plate, have your child paint it orange using a paintbrush or sponge. Let it dry for 20 minutes.
- Adult step: Pre-cut a small green rectangle for a stem and a few simple triangle or circle shapes from black paper for the face.
- Let your child glue the green stem to the top of the plate.
- Have them glue the black shapes onto the plate to create the pumpkin’s face, placing them wherever they like.
- Let dry flat for 10 minutes before hanging or displaying.
Tip: For 3 year olds, pre-cut everything and let them focus only on gluing and placement. For 5 year olds, let them try cutting the stem shape themselves with safety scissors.
Handprint Ghost Craft for a Sweet Keepsake
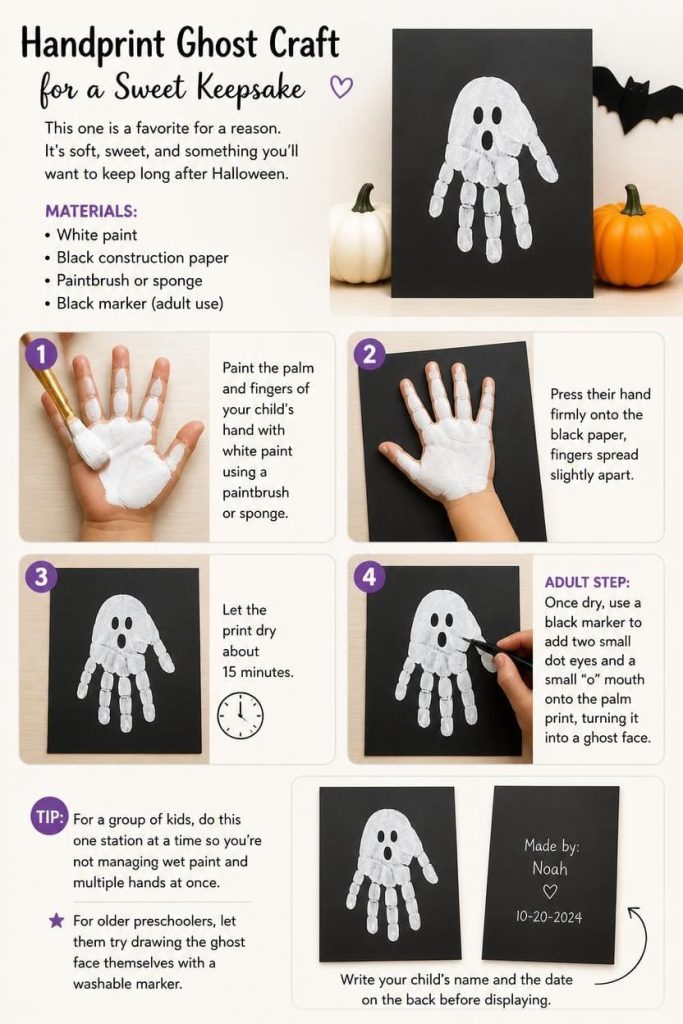
This one is a favorite for a reason. It’s soft, sweet, and something you’ll want to keep long after Halloween.
Materials:
- White paint
- Black construction paper
- Paintbrush or sponge
- Black marker (adult use)
Steps:
- Paint the palm and fingers of your child’s hand with white paint using a paintbrush or sponge.
- Press their hand firmly onto the black paper, fingers spread slightly apart.
- Let the print dry for about 15 minutes.
- Adult step: Once dry, use a black marker to add two small dot eyes and a small “o” mouth onto the palm print, turning it into a ghost face.
- Write your child’s name and the date on the back before displaying.
Tip: For a group of kids, do this one station at a time so you’re not managing wet paint and multiple hands at once. For older preschoolers, let them try drawing the ghost face themselves with a washable marker.
Torn Paper Spider Web for Fine Motor Practice
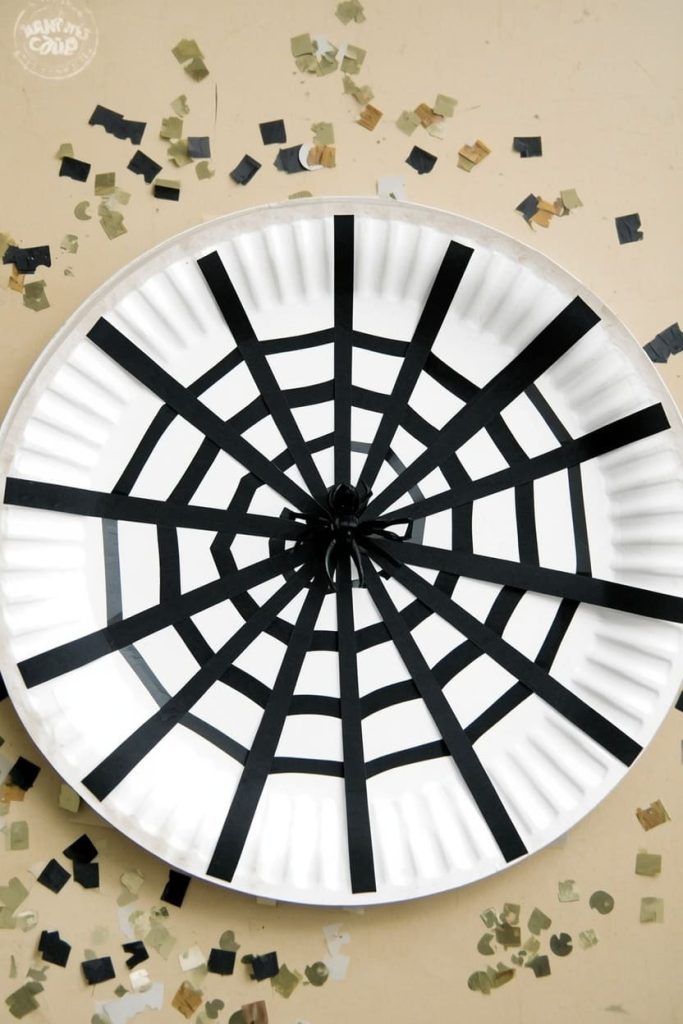
This craft skips scissors entirely and focuses on tearing, which is a great fine motor skill for this age group.
Materials:
- White paper plate
- Black construction paper
- Glue stick
- A small plastic spider (large enough it’s not a choking hazard) or a black paper circle for a spider
Steps:
- Adult step: Cut small slits around the edge of the paper plate ahead of time, spaced evenly like a clock face.
- Have your child tear black construction paper into thin strips. This is the main hands-on part, and it’s great for building hand strength.
- Help your child weave or glue the black strips across the plate from slit to slit, crisscrossing them to form a web pattern.
- Once the web is glued down, place a plastic spider in the center, or glue on a black paper circle spider instead.
- Let dry flat before hanging.
Tip: For 3 year olds, skip the weaving and just have them glue torn strips randomly across the plate. It still reads as a “web” and keeps the project frustration-free.
Paper Bag Pumpkin Stuffing Craft
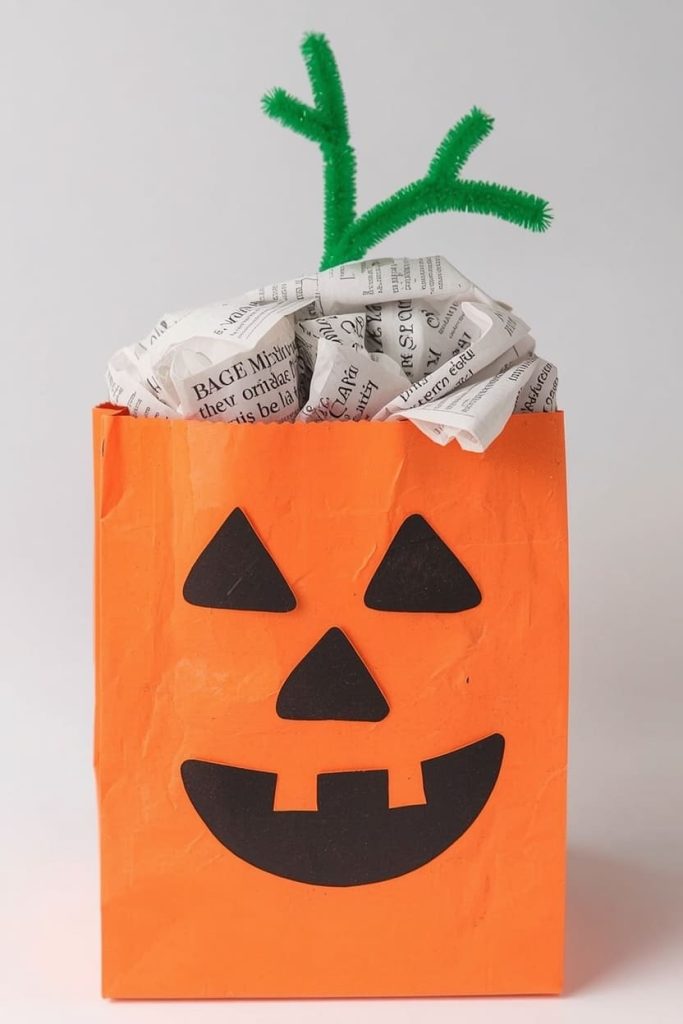
This one is hands-on, low-mess, and gives kids a 3D result they can actually hold and show off.
Materials:
- 1 small orange or white paper bag per child
- Newspaper for stuffing
- Green pipe cleaner (secured, not loose small parts)
- Black construction paper shapes (pre-cut)
- Tape or a rubber band
- Glue stick
Steps:
- If using a white bag, let your child paint or color it orange first and let it dry.
- Have your child scrunch up pieces of newspaper and stuff them into the bag until it’s about two-thirds full.
- Adult step: Gather the top of the bag and secure it closed with tape or a rubber band.
- Twist a green pipe cleaner around the gathered top to create a stem, securing the ends so nothing sticks out sharply.
- Let your child glue on pre-cut black paper shapes to create a face.
Tip: For younger preschoolers, pre-stuff the bag partially so they just need to add a few final pieces. For older kids, let them scrunch and stuff the entire bag independently.
Bat Cutout Craft Using Simple Shapes
This project introduces basic shape recognition while making a fun Halloween decoration.
Materials:
- Black construction paper
- White paper (for the background)
- Glue stick
- Safety scissors
- White crayon or chalk (optional, for eyes)
Steps:
- Adult step: Draw or trace a simple bat body shape (one oval with two triangle wing shapes) onto black paper ahead of time.
- If your child is ready, let them cut along the lines with safety scissors. If not, you can pre-cut the pieces instead.
- Have your child glue the body and wings onto a piece of white paper to assemble the bat.
- Let them add two small white dot eyes using a crayon, chalk, or a dot marker.
- Let dry flat for a few minutes before displaying.
Tip: For 3 year olds, pre-cut all shapes so the activity is purely about gluing and assembling. For 5 year olds, let them practice cutting the wing shapes themselves as a fine motor challenge.
FAQs About Halloween Crafts for Preschoolers
How do I keep these crafts mess-free? Cover your table with a plastic tablecloth or newspaper before starting, and keep a damp washcloth nearby for quick hand wipes. Washable paint and glue sticks instead of liquid glue also cut down on mess significantly.
How long do these crafts usually take? Most of these take 15 to 20 minutes with a preschooler, not counting drying time. Shorter is better at this age, since attention spans start to drop off after about 20 minutes.
What’s the best way to do these with a group of kids? Set up craft stations so kids rotate through steps instead of waiting for one adult to help everyone at once. Pre-cutting shapes ahead of time for the whole group saves a huge amount of time during the activity itself.
What safety precautions should I keep in mind? Avoid any loose small parts like beads or googly eyes unless they’re securely glued and can’t be pulled off. Always handle scissors and any cutting steps yourself, and supervise closely anytime paint or glue is involved.
Can these crafts work for both 3 year olds and 5 year olds at the same time? Yes, most of these can flex both ways. Pre-cut more pieces for younger kids so they can focus on gluing and decorating, and let older kids try the cutting or assembly steps themselves for more of a challenge.
Wrapping Up
That’s five Halloween crafts that are simple enough for little hands and quick enough to fit into any preschool day. Pick whichever one feels most doable for your group, gather your supplies, and let the kids make something they’re proud of. I’d love to see how yours turn out.

Jenny is a passionate writer specializing in home decor, design, and styling. With years of experience in transforming spaces, she shares expert tips on creating beautiful, functional homes. From interior design trends to DIY decor ideas, Jenny’s work helps homeowners craft spaces that reflect their unique style. Whether it’s a cozy living room, a modern kitchen, or a serene bedroom, her articles offer practical advice and inspiration to elevate any home.