Liberty Pump 404 Installation Manual
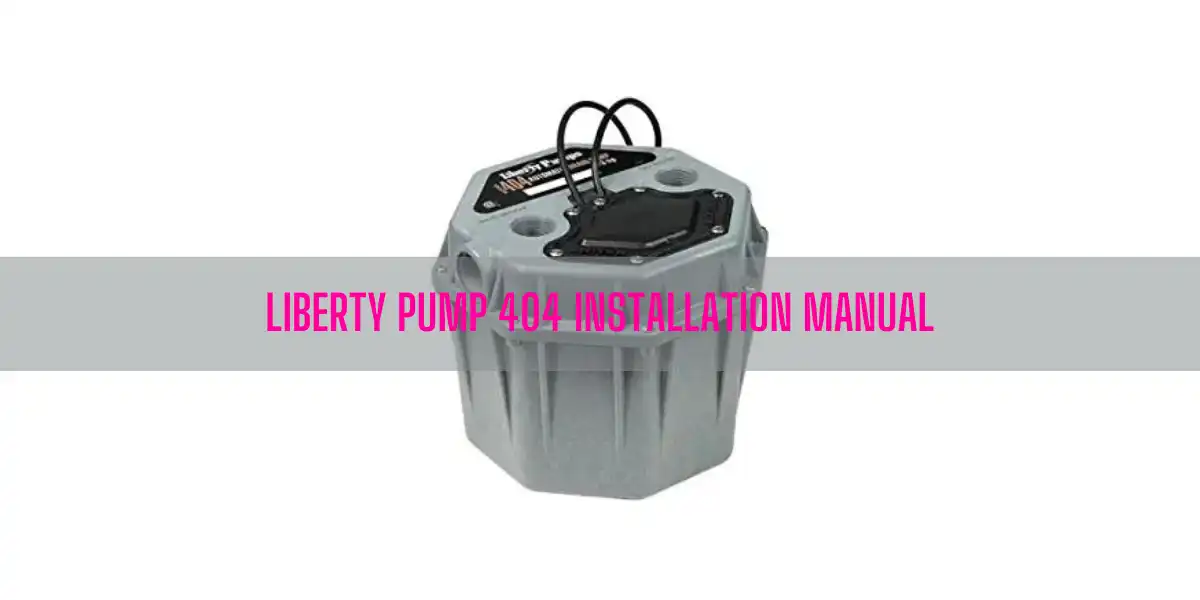
This guide on Liberty Pump 404 Installation Manual will help you install the pump in your basement or wherever you want. Turns out, I will also share a tutorial at the end of this article that will come handy when it comes to installing the pump.
Table of Contents
Liberty Pump 404 Installation Manual [A Complete Instruction]
Installing the Liberty Pump 404 is not rocket science. It takes you to connect some pipings to the pump’s available ports. Then, attach the pump to the sink. Below, I will walk you through the steps you need to follow to make the installation successfully.
Note: If you are not handy, it will be better to hand over this task to a certified professional as this project involves cutting & setting pipes, dealing with electricity.
Inlet:
This pump comes with two ports- one on the top and the other on the side of the unit. Either of the ports can be used as inlet or vent. Using a 1-¼” piping, connect the fixture to the pump.
Note: You must install a trap between the fixture and the pump. Ensure you use a flange type trap for the Liberty 404.
Discharge:
Get a discharge stack from your local plumbing store and install it. Size up the discharge pipe according to your needs or where you are going to use the pump.
Don’t forget to install a union above the pump which will help you remove the pump when you need to clean or service the unit.
Of course, you need to install a check valve just above the union to prevent the backflow of water after each pump cycle. Be sure that you seal the check valve with Teflon tape.
Vent:
The vent pipe will ensure the proper drainage of the fixture. Install a vent stack that helps to drain extra volume for high suds conditions. Keep in mind; hand-tight the vent stack.
Note: Never install Quick-Vents as they will not guarantee proper fixture performance. Also, ensure the vent pipe has a union to facilitate removal if needed. Connect the vent pipe of the pump directly to your home’s vent.
Power Cord:
The power cord comes with a grounding conductor and grounding-type 3-prong plug. You must connect it to a separately fused, grounded, 15-amp receptacle that will provide sufficient voltage (115V) to the pump.
Liberty 4o4 is equipped with a float switch mounted within the tank. It has two cords- one to the float switch and the second one to the pump motor. This switch cord has a piggyback plug. As a result, you can easily connect the pump cord to the back of the piggyback plug.
Because of the design, you can operate the unit manually in the event of switch failure.
For automatic operation, interconnect the two power cords and plug them into a separately fused, grounded outlet of proper amp capacity for your Liberty 4o4.
For manual operation, just separate the pump cord and plug it into the electric outlet directly to bypass the switch.
By maintaining the instructions I mentioned above, you can easily install this pump. You can also watch the following tutorial to install the Liberty 404 correctly:
End-Note
Though it’s not rocket science to install the Liberty Pump 404, you should have enough knowledge about plumbing. On the other hand, if you are mechanically inclined, just follow the instructions and forget the rest. Good Luck!
Read Also:

Eric Alvarez is the head of content on LilDutchUncle.Com. He is an HVAC guy based in El Paso, Texas, United States. He obtained his Bachelor of Science degree from the University Of Texas at El Paso. Years of experience in the HVAC field have taught him many lessons, not the least of which is that the value of quality and knowledge far exceeds any promised initial savings. He has a good standing reputation for superior skills in heating, air conditioning, hot water tanks, and indoor air quality systems.


