This guide on Rheem Water Heater Element Replacement will walk you through 7 simple steps to replace the heating element like a pro, including:
- Shut off electric power to the water heater
- Unscrew the access panel, remove the insulation, and the plastic protective cover to expose the heating element.
- Re-ensure that there is no electric power at the unit by using a voltmeter.
- Drain your water heater.
- Remove two wires that are attached to the heating element and remove the heating element using an element wrench.
- Install a new heating element that will match the old one.
- Replace the plastic protective cover, insulation, and the access panel. Then, restore the power to the unit.
To learn details, keep scrolling.
Rheem Water Heater Element Replacement [7 Easy-to-Follow Instructions]
Replacing the heating element on a Rheem Water Heater is not rocket science. Just take proper precautions and go along with the 7 steps I mentioned below to have the element replaced professionally.
1. Tools You Need
First off, make sure you have the following pieces of tools in your fingertips, including:
- Replacement heating element
- #2 Phillips screwdriver
- 1 ½” element wrench for screw-in heating elements
- ⅜” socket wrench for heating elements
- A voltmeter
- Garden hose
- Rags or towels
The replacement you get should match the new heating element length to the element you are replacing. Of course, check the replacement part numbers and buy the same one from Rheem Replacement Parts.
2. Shut-off Power To The Water Heater
Before replacing the heating element, you must disconnect all electric connections to your water heater. Failure to do so may result in electric shock, personal injury, or loss of life.
3. Remove the Insulation & Plastic Cover
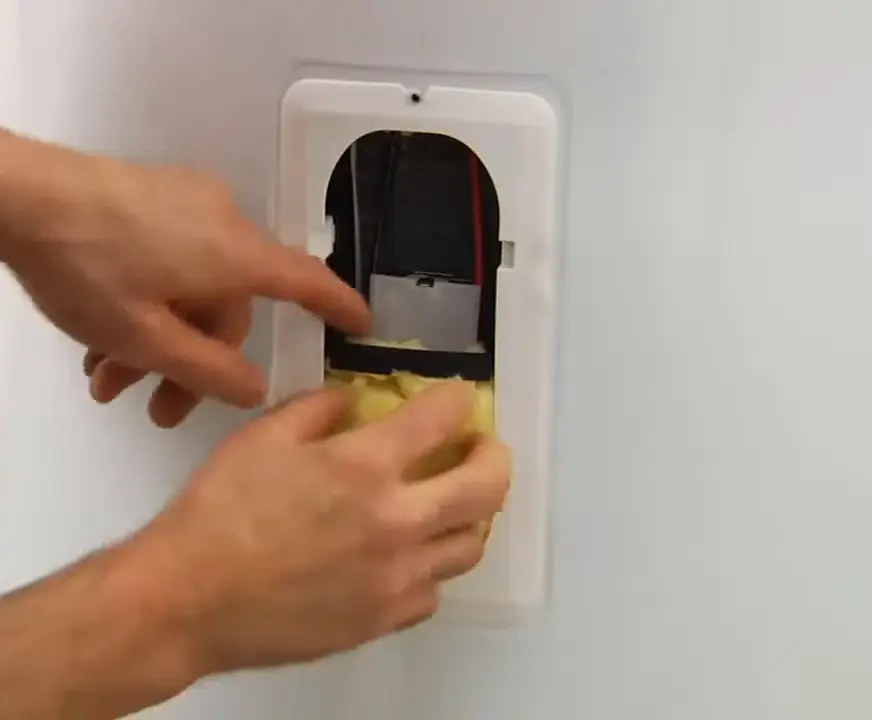
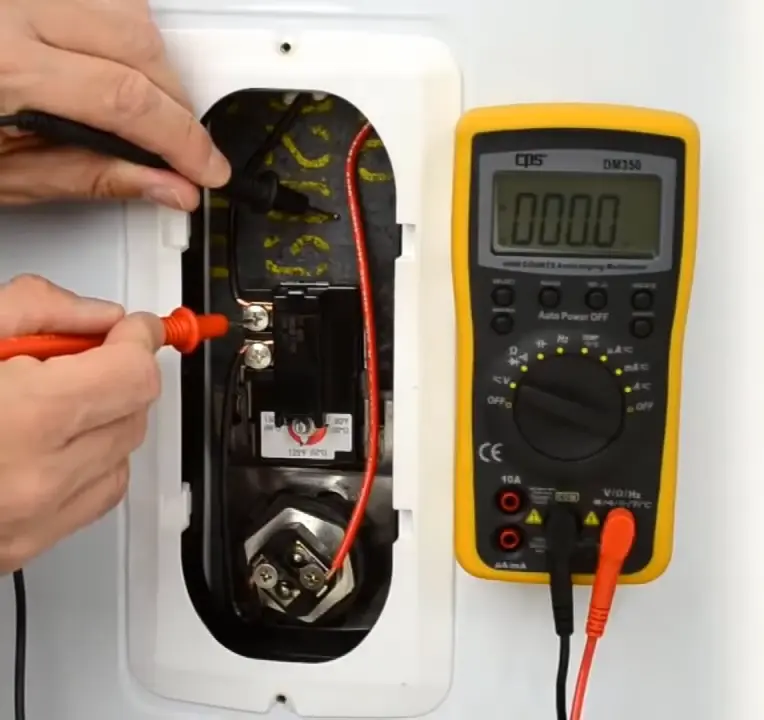
Take out the access panel using a screwdriver, remove the insulation, and the plastic protective cover to expose the thermostat. Using a voltmeter, verify the power is disconnected. Regarding this,
- Touch one probe to ground metal. The unpainted metal tank housing is a good location.
- Touch the other probe to all thermostat terminals and both heating element terminals.
In both cases, voltmeter should indicate no voltage at all times.
4. Drain The Water Heater
Now, it’s time to drain the unit. Close the shut-off valve at the cold water inlet line or main water supply. Then, open a hot water faucet somewhere in the house that will relieve the system pressure inside the tank.
Next, connect a garden hose to the drain valve at the bottom of the heater and place the other end of the hose to the nearest floor drain or a safe place. Afterward, open the drain valve to drain water.
Tips: If you are going to replace the upper heating element, drain approximately half the tank volume. On the other hand, drain the entire tank when it comes to replacing the lower heating element.
5. Remove the Heating Element
Once you drain water, you are ready to remove the heating element. Detach the two wear leads that are connected to the heating element.
Remove the heating element using an element wrench with a 1 and ½” socket for a screw-in type element. Once you unfasten the heating element completely, pull it out of the water heater.
6. Install the New Heating Element
After removing the old one, install the new heating element into your water heater. Don’t forget to install the gasket as well. Keep tightening up the element until it’s snug.
Reconnect the two wires, no matter which wire goes to which screw terminal. Then, open the shut-off valve at the cold water inlet line or the main water supply line.
You will hear the unit starts to fill. When you have a steady stream of water from the open faucet, turn the faucet off.
Double check to ensure the wire connections are tight. Also, check for leaks around the heating element. Tighten it a bit if required.
7. Replace Everything Back Into Place & Restore the Power
Put the plastic protective cover back to the thermostat and heating element. Then, replace the insulation and the access panel back into their places. Finally, restore the power to your water heater at the circuit breaker to complete the installation task.
End-Note
A heating element is the key component that will help heat the water. If it gets defective, you must replace it with a new one. And throughout this guideline, I broke down 7 simple steps to replace it like a pro. Just follow those 7 steps and have the heating element replaced like a pro.
Read Also:

Eric Alvarez is the head of content on LilDutchUncle.Com. He is an HVAC guy based in El Paso, Texas, United States. He obtained his Bachelor of Science degree from the University Of Texas at El Paso. Years of experience in the HVAC field have taught him many lessons, not the least of which is that the value of quality and knowledge far exceeds any promised initial savings. He has a good standing reputation for superior skills in heating, air conditioning, hot water tanks, and indoor air quality systems.