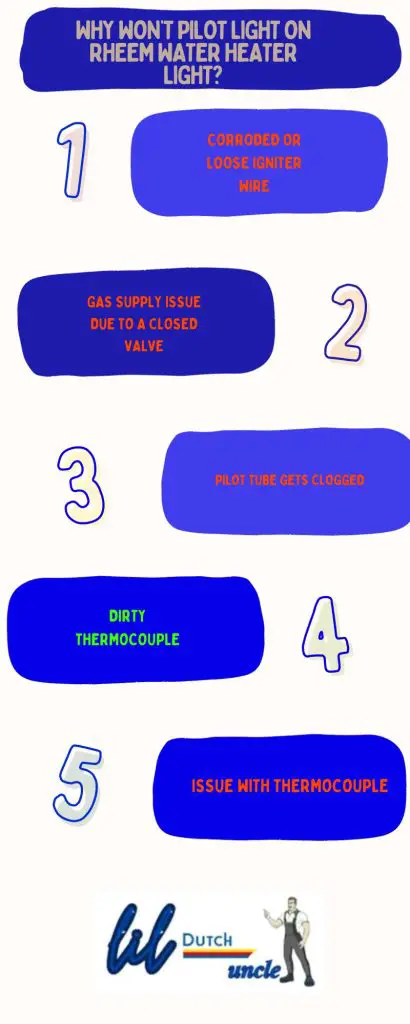
Rheem Water Heater Pilot Light won’t light or stay lit due to:
- Corroded or loose igniter wire
- Gas supply issue
- Pilot tube gets clogged
- Dirty thermocouple
- Defective combination gas control valve/thermostat
To troubleshoot each problem, continue to read till the end.
Why Won’t The Pilot Light Of My Rheem Water Heater Light? [Reasons & Solutions]
Rheem Water Heater Pilot Light won’t light or stay lit due to a corroded igniter wire, gas supply issue, and clogged pilot tube.
Corroded or Loose Igniter Wire
If you try to light the pilot several times but fail, I bet the igniter wire is a problem.
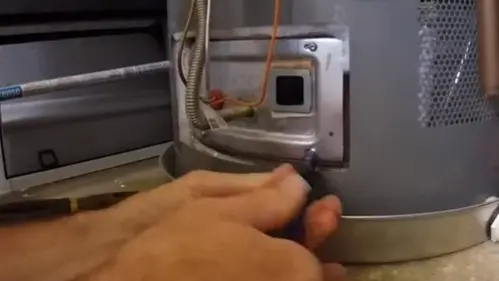
Locate the igniter wire on the combination gas control valve and disconnect the wire from the connector.
Insert the igniter wire again and verify that the wire connection is secure & tight. It helps remove corrosion and ensures good electric contact.
Now, it’s time to check for spark. Regarding this, look through the sight glass for spark while pressing the igniter button repeatedly.
If you can see a spark but the pilot light won’t come, set the gas control knob to Off and go forward to the next troubleshooting step.
Gas Supply Issue
If you can see a tiny blue spark but the pilot light won’t come on, understand the pilot is not getting gas supply. Ensure you turn on the gas supply valve for continuous gas supply.
Newly installed water heaters have air in the gas line. In this case, you need to purge the air from the gas line.
Regarding this, ensure you turn the knob on the gas control valve to the Pilot. Keep the knob pushed in while pressing the igniter button repeatedly. It will help you remove air from the gas line.
Pilot Tube Gets Clogged
The pilot tube is a small metal tube. Gas will flow through the pilot tube to let the pilot ignite. If the tube gets clogged by debris, no gas will flow. As a result, the pilot light won’t come on.
Release the blockage from the pilot tube with a thin piece of wire if you suspect the pilot tube gets restricted. Once you clean the pilot tube, try to relight the pilot.
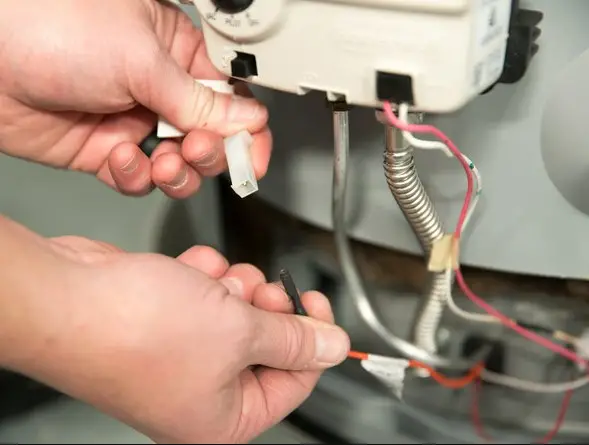
Dirty Thermocouple
The thermocouple is a safety device. If the thermocouple gets covered by dirt or debris, it detects no flame and shuts off the gas valve to stop the gas supply. As a result, the pilot light won’t come on or stay lit.
Cleaning the thermocouple will be a simple fix. But the heck is- the thermocouple is so fragile. It can get bent if you try to clean it with fine-grit sandpaper. So, I recommend you replace the thermocouple with a new one.
Defective Combination Gas Control Valve/Thermostat
The pilot light won’t stay lit due to a defective combination gas control valve/thermostat. In this case, you should replace this part with a new one.
I suggest you read this guide on the Rheem Water Heater Gas Valve Problem. It will help you learn about the signs of a faulty gas valve and how you can replace it.
How Do You Clean Gas Chamber Area On Rheem Water Heater?
If the gas chamber area gets covered with dirt, enough air won’t flow to the unit for proper ignition. It can also cause the pilot light to not come on. So, you should clean this area to resolve this issue. Before starting the cleaning workflow, ensure you turn off the power, gas, and water supply. Then, follow the below step-by-step process:
Step 1. Unhook the Lines From Gas Control Valve
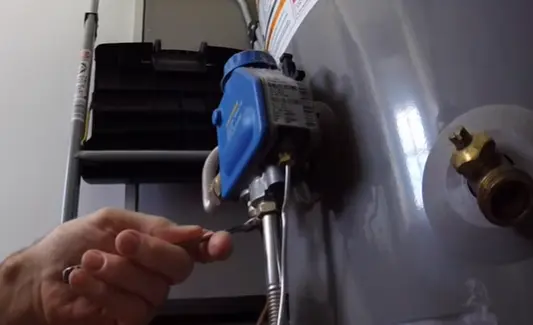
Start with disconnecting all the lines like thermocouple connector, gas supply tube, and others from the gas control valve. You can use an adjustable wrench to detach those lines from the gas valve.
Step 2. Remove Gas Burner Cover & The Burner Assembly
Once you detach every line leading to the gas control valve, it’s time to pull out the bottom cover panel to access the burner or pilot assembly.
Use a screwdriver to unscrew the four nuts that hold the panel in place. Don’t forget to store those nuts as you need them again.
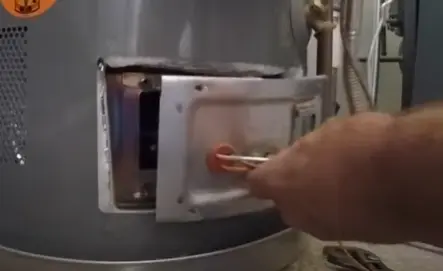
Afterward, remove the burner assembly and keep it aside.
Step 3. Clean The Gas Chamber Area
Now, it’s time to get rid of dirt and debris from the gas chamber of your water heater. Use a shop-vac to suck away every speck of dust from the burner chamber. Don’t forget to use a torch light to illuminate the dark area so that a single speck of dirt can’t escape. You can also apply a cleaning solution that will help you deep clean the gas chamber.

After cleaning the gas chamber, put the burner assembly back into the gas chamber. Then, replace the gas chamber cover to its place and screw it. Next, connect every line like thermocouple connector and gas supply tube with the gas control valve.
Finally, turn on the power and open the gas shut-off valve. Also, open the main water supply valve or cold inlet water valve. Before starting the Rheem water heater again, you must relight the water heater.
How Do You Relight Your Rheem Water Heater?
You should relight the pilot before starting the water heater. Hold down the pilot button on the gas control valve to let the air in the gas line bleed and get some gas down into the chamber.
I highly recommend you do it because as long as there is air in the gas chamber area, it will be challenging to light the water heater. Now, follow the below steps to relight the pilot:
- Rotate the gas control knob counterclockwise to set it to the off position.
- After 5 minutes, turn the gas control knob clockwise to set it to the pilot position.
- Locate the igniter button and keep depressing it while pressing the gas control knob all the way in. Repeat this several times until the status light begins to blink.
- Once the status light is blinking, take a look through the sight glass window to verify the pilot is lit.
- Now, release the gas control knob and set it to the desired setting.
FAQs
You can’t light the pilot light on your water heater if the thermocouple is bad. You can easily verify whether it’s malfunctioning or not. Just use a multimeter and set it to Ohm scale.
Then, attach the lead of the multimeter to the thermocouple’s wires. A healthy thermocouple should give a reading between 650 to 850 millivolts. If you don’t get this voltage reading, you should replace it to light the pilot light again.
It will cost you around $15o to replace the thermocouple of your water heater professionally. However, the price of this part is only $20. I recommend you do it yourself if you are electrically inclined to save the labor cost.
A dirty or damaged thermocouple, bad igniter or dirty gas chamber will cause a pilot light to keep going out.
End-Note
The dirty gas chamber is the main culprit that causes your Rheem water heater to not light the pilot light.
So, clean the gas chamber following the step-by-step guide I mentioned above.
Sometimes, the pilot light of your water heater will not stay lit if the thermocouple goes bad or the igniter wiring gets damaged. So, inspect both the thermocouple and igniter or its wiring. If needed, replace them.
Once you clean the gas chamber and reassemble everything, relight the pilot light before starting the water heater. I hope it will solve the pilot light issue.

Eric Alvarez is the head of content on LilDutchUncle.Com. He is an HVAC guy based in El Paso, Texas, United States. He obtained his Bachelor of Science degree from the University Of Texas at El Paso. Years of experience in the HVAC field have taught him many lessons, not the least of which is that the value of quality and knowledge far exceeds any promised initial savings. He has a good standing reputation for superior skills in heating, air conditioning, hot water tanks, and indoor air quality systems.