A dip tube is a plastic tube that draws water down to the bottom of the tank where the thermal device like gas burner or thermostat is located. As those devices heat the water, the heated water rises to the top of the tank. This cycle continues until the dip tube gets defective. You will need a new Rheem dip tube replacement and install it if the component gets faulty.
Throughout this article, I will describe:
- What is dip tube and how does it work?
- What are the signs of a bad water heater dip tube?
- Rheem Dip Tube Replacement: The How-to Steps
- What causes a water heater dip tube to break?
- And more
So, keep reading till the end.
Table of Contents
- What Is A Dip Tube and How Does It Work On Your Water Heater?
- What Are The Signs Of A Bad Water Heater Dip Tube?
- Rheem Dip Tube Replacement: The How-To Steps
- What Causes A Water Heater Dip Tube To Break?
- FAQs
- End-Note
What Is A Dip Tube and How Does It Work On Your Water Heater?
A dip tube is actually a plastic tube that directs water at the bottom of the tank, where devices like the gas burner or the thermostat heat the water.
Generally, you can locate the dip tube at the cold water inlet. It extends up to 8 inches at the bottom of the tank. When water is heated, it rises to the top of the tank at the discharge point.
Once you open a hot water faucet, the pressure inside the system draws the cold water down to the bottom of the tank through the dip tube. Similarly, the same pressure leads the heated water to the top of the tank.
Apart from this, the dib tube keeps the cold and heated water separate.
What Are The Signs Of A Bad Water Heater Dip Tube?
When the dip tube has reached the end of its lifespan, it will provide a notification indicating the following:
Shorter spell of hot water: A functional dip tube draws cold water to the bottom of the tank quickly. As a result, the thermal device can heat the water, and the heater water rises. This cycle continues. But if the dip tube is at fault, it disrupts the cycle, and the hot water runs out fast.
Lukewarm water: A properly functioning dip tube prevents the cold water from mixing with the heated water. If the dip tube gets defective, it mixes cold and hot water. As a result, you will get insufficient or lukewarm water from your water heater.
White Flecks: You may see white flecks of plastic in your hot water supply if the dip tube gets defective.
Rheem Dip Tube Replacement: The How-To Steps
This chapter will help you change the defective Rheem dip tube with a new one.
Step 1. Shut off the Gas Supply & The Cold Water Supply
Turning off the gas supply is the first step you should follow before replacing a dip tube. Set your main gas control to the pilot position so that the burner won’t fire during this repair.
Then, go back to your common gas control knob (placed on the water heater body) and turn it also to the pilot position.
Now, close the cold water supply to the water heater by turning the cold water inlet valve. Its position should be perpendicular like this:
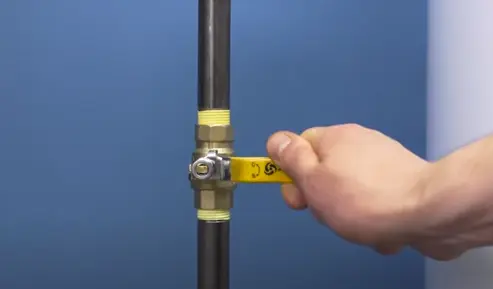
Alternatively, you can also shut off the main water supply.
Now, open a hot faucet somewhere in your house to relieve the pressure.
Step 2. Drain Your Water Heater
In the second step, what you need to do is- drain your Rheem water heater. You can drain water in two ways:
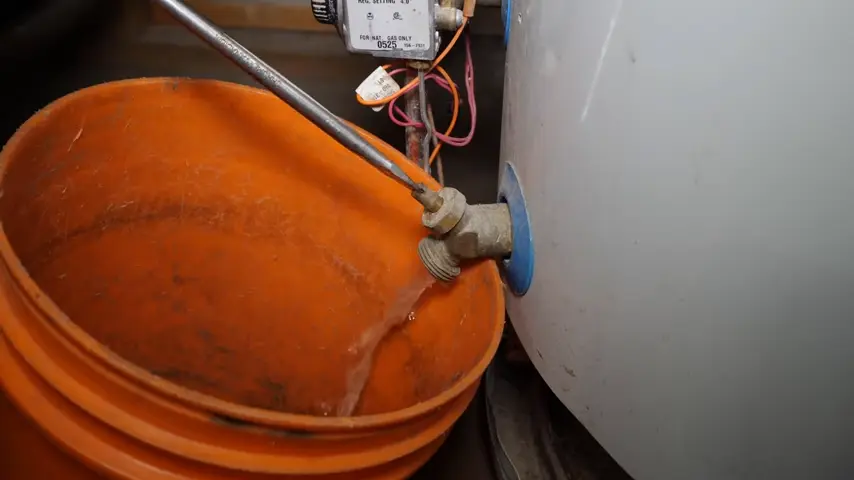
Firstly, place a bucket right underneath the drain valve and open it to let the water empty into the bucket just like the below screenshot:
Or, you can attach a garden hose to the drain hole and set the other end of the hose to the nearest floor drain. Now, open the drain valve to let the water drain.
You don’t need to drain the complete tank. Just drain roughly 5 to 10 gallons of water.
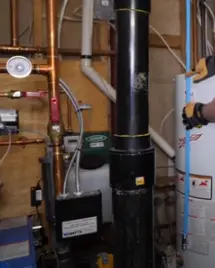
Step 3. Disconnect The Cold Water Supply Pipe & Remove the Dip Tube
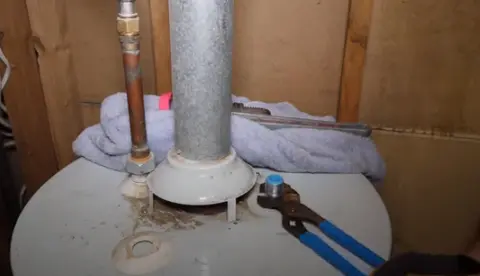
Detach the cold water supply. This tank used a flex connector that you can easily put off using a wrench. Of course, you need to remove the rigid copper tubing and cut it off.
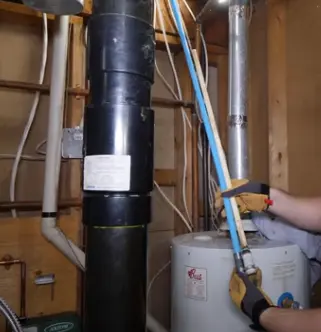
If you don’t have the tools to solder, you can reuse the flex connector to attach a new dip tube if the gasket is in good condition. Most dib tube sections have a minimum copper or braided riser length of 18 inches and 6 inches from the type-c venting to any combustible.
This braided riser is 12 inches. So, the white PEX tubing is connected too close to the top of the tank and to the type-c venting.
I am going to replace the whole section with ¾” copper.
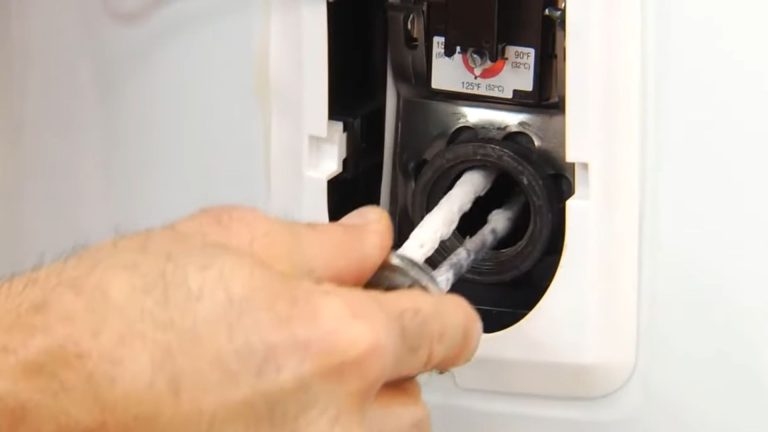
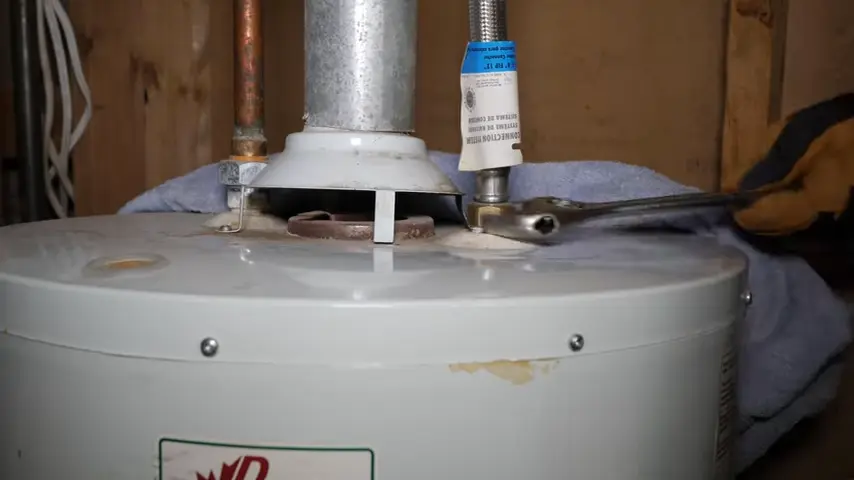
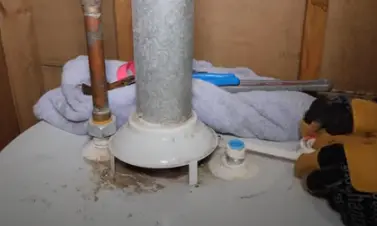
Now, access the dip tube by removing the plastic shroud.
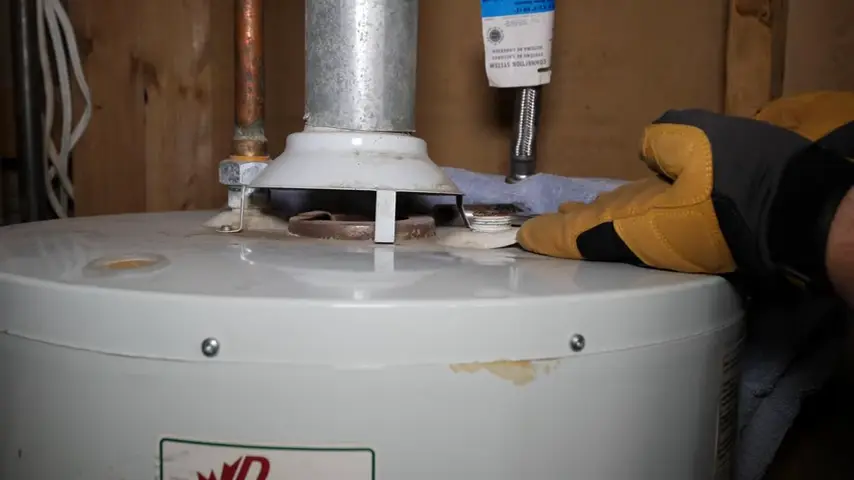
Then, use a pipe wrench to pull out the dip tube. You should turn the pipe wrench in a counterclockwise direction.
You may need someone to hold the tank as the connection is very tight.
Remove the dip tube once the connection comes loose.
Step 4. Replace The Dip Tube
After removing the dip tube, it’s time to install the new one. To get the correct length, line up the old dip tube with the new one and cut the length.
There is another way to measure and size up the dip tube length correctly.
Just flip the dip tube around, put the threaded portion 3-4 inches above the control valve, and cut the other end flush to the top of the tank.
Now, you are ready to put things back together. Apply a Teflon tape to the lower thread portion.
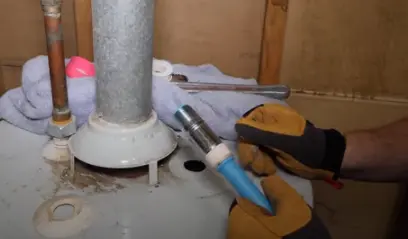
Then, drop the dip tube into the tank and hand tighten it. Use an adjustable pipe wrench with thinner jaws to finish tightening.
Next, install the plastic shroud and seal the upper part of the dip tube using Teflon tape.
And then, install a dielectric Union, ¾” copper, ¾” ball valve, and a female Pex adapter to finish the connection. Keep in mind, the size of these pieces of equipment may differ depending on the current piping.
Note: This step will be much easier if you use a push-fit flex connector. You just need to use a wrench to detach the flexible hoses from the cold water inlet nipple.
Finally, solder all the fittings and connections.
Tips: I highly recommend you avoid this if you don’t have tools as you need to solder the fittings. It will be a safe route to go with the push-fit flex connector or flexible hoses that have a nut on both ends. You can even find water heater flex connectors with shut-offs already installed.
If you have all the tools, you can go with rigid copper and solder the fittings. I suggest you never solder these fittings directly connected to the tank as the heat can travel down the copper and damage the tank fittings and dip tube.
You can watch the last few minutes of this video to learn how to solder connections:
Finish with crimping the cold water supply to the copper riser. And this is the last connection.
Step 5. Finishing Workflow
Open the main water supply slightly to allow the lines to fill once. Once they are filled, open the main water supply fully.
Then, head over to the cold water supply valve and open it slightly to start filling the tank.
Now, open a hot water faucet to purge the air from the faucet. Once the faucet flows without air, fully open the cold water supply valve and close the hot water faucet.
Don’t forget to check the leak before turning the gas control back to the on position. Check for leaks at all the connections.
What Causes A Water Heater Dip Tube To Break?
A dip tube in a water heater can break for various reasons. Some common causes include:
- Age: As time passes, materials can deteriorate, making the dip tube brittle and prone to breaks.
- Corrosion: Corrosive materials like iron come with cold water. Over time, those materials corrode the dip tube due to chemical reactions, resulting in cracks or breaks.
- Chemical reactions: The interaction between water chemicals and the dip tube materials can weaken the structure over time. As a result, the dip tube breaks down.
- High water temperature: Excessive temperatures can accelerate the degradation of the dip tube, making it more prone to breakage.
- Poor water quality: Sediment buildup and impurities in the water can contribute to the corrosion and deterioration of the dip tube.
FAQs
Yes, you can replace a broken dip tube with a new one. In this case, I recommend you to change the defective dip tube with a polyethylene one.
Yes, Rheem water heaters have dip tubes like other water heaters from different brands. Without them, your Rheem water heater won’t heat the water and run in its peak condition.
You should spend around $150 to replace a dip tube professionally when the part itself is only $10-$15.
No, your water heater won’t work without a dip tube because it’s the part responsible for heating water.
End-Note
Replacing a dip tube is not rocket science. Just follow the step-by-step guide we mentioned to change the defective dip tube with a new one.
At the end of this guide, I want to mention that you should replace the dip tube with flexible hoses. If you have copper piping, it will be a bit challenging as you need to cut the pipes and all the tools to solder the connections.
However, you can watch the tutorial I referred to in the ‘Replace the Dip Tube’ section. It will help you to go with the copper piping option and complete the dip tube replacement workflow successfully.
Don’t forget to give us feedback if you find this guide helpful to replace the dip tube.
Read Also:

Eric Alvarez is the head of content on LilDutchUncle.Com. He is an HVAC guy based in El Paso, Texas, United States. He obtained his Bachelor of Science degree from the University Of Texas at El Paso. Years of experience in the HVAC field have taught him many lessons, not the least of which is that the value of quality and knowledge far exceeds any promised initial savings. He has a good standing reputation for superior skills in heating, air conditioning, hot water tanks, and indoor air quality systems.