This is a complete guide on Honeywell Water Heater Status Light Not Blinking. In this article, I will reveal 7 common reasons that cause the status light to not flash. At the same time, I will also break down how to fix those issues. So, keep reading till the end.
Table of Contents
Why Is Honeywell Water Heater Status Light Not Blinking?
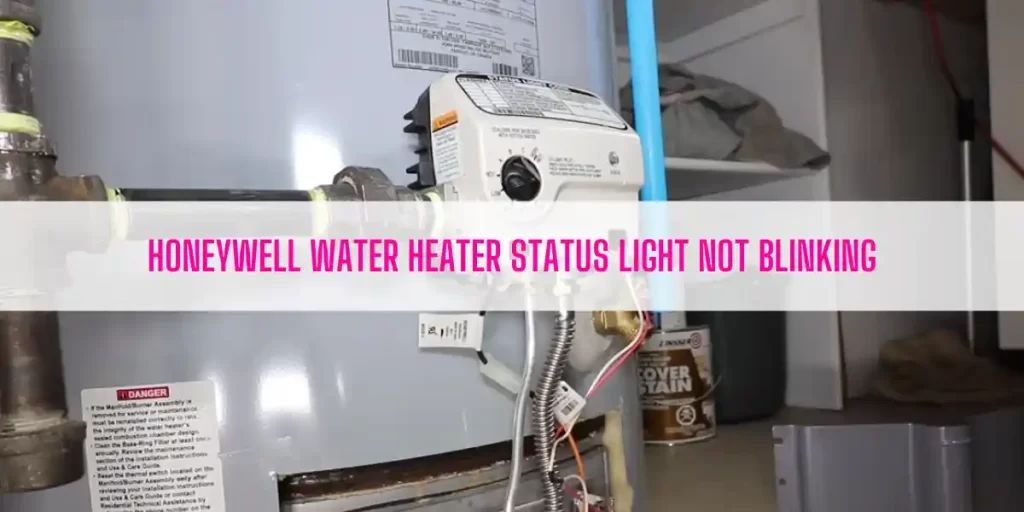
Bad thermopile or defective igniter are the two main culprits that cause the status light to not blink. That’s why you should inspect these two elements first and repair or replace them to let the status light blink again.
If repairing or replacing the thermopile or the igniter doesn’t bring any luck, there are other reasons behind this blinking issue. For example, the wiring problem, tripped thermal switch, and dirty base-ring filter are some caveats that can stop the status light from flashing.
Below, I will break down everything so that you can bring the unit to the operating state.
01. Pilot Won’t Lit
Every water heater uses a thermopile to produce the electric power it needs to power the gas valve. It will take at least 90 seconds for the thermopile to heat up to activate the gas control valve.
A newly installed water heater will take up to two to three attempts to light up the pilot. So, if you fail to light the pilot on your first try, you should try again to relight the pilot. While trying, look through the viewport to see whether the light comes on or not.
If you don’t know how to relight the pilot, check the steps I mentioned in the ‘How To Fix’ section below.
How To Fix:
Follow these steps to learn how to relight the pilot on a water heater with Honeywell Gas Control Valve:
- Turn the gas supply off to the unit by turning the gas control knob to the Off position. Leave the water heater in this state for 5-10 minutes to clear the unburned gas.
- Set the gas control or temperature knob to the Pilot position.
- Hold down the gas control knob and keep depressing the piezo igniter button at the same time. Keep pressing the igniter button while holding down the gas control knob until the status light starts to blink.
- Look through the viewport to see whether the pilot light comes on or not.
- Once the pilot light comes on, release the gas control knob and set it to your desired temperature setting.
If the pilot light doesn’t come on or the status light is not blinking after three attempts, you should check either the igniter or the thermopile. I will also cover how to inspect these two components in this article. So, keep scrolling.
02. Air In The Gas Lines
The status light on your Honeywell Gas Control Valve won’t blink if there is air in the gas line. If you want to light the pilot, you should purge the gas line.
How To Fix:
It’s very simple to bleed the air out of the gas line. In this case, what you need to do is- just set the gas control knob to the off position and leave your water heater in this state for 5 to 10 minutes. It will help clear out any unburned gas from the gas lines. Then, relight the pilot and the status light will start blinking.
03. Thermopile Is Bad
A defective thermopile is the culprit that prevents the status light on the gas control valve from blinking.
A thermopile on a water heater goes bad because of either a damaged thermopile or its wiring is at fault. Turns out, if the thermopile gets dirty, it will fail to provide the signal to the gas control valve. Consequently, the status light won’t come on.
How To Fix:
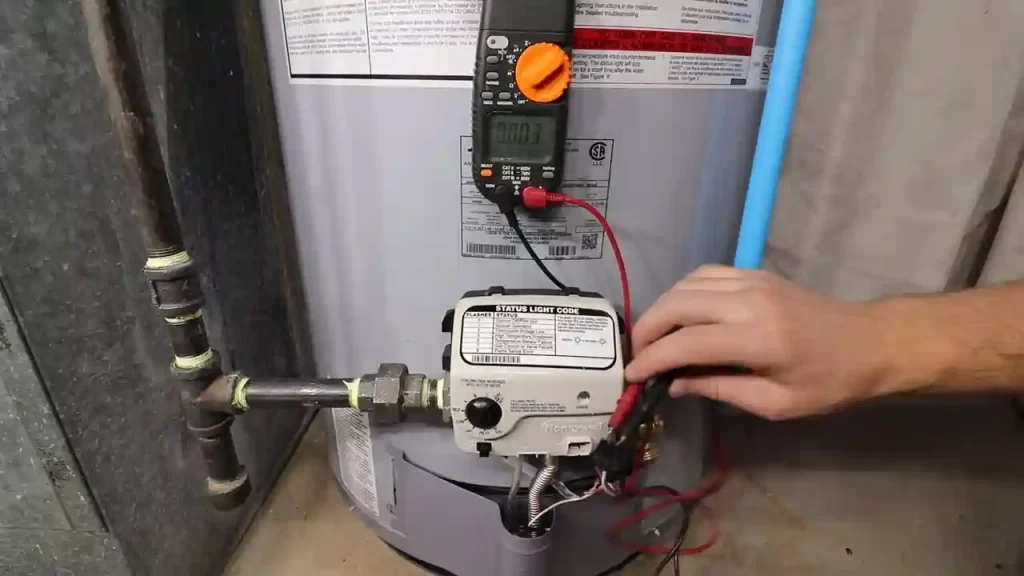
First off, test the thermopile electrically that will let you know whether it’s functioning properly or not. To test the thermopile, follow the steps described below:
- Shut the gas supply off to the unit.
- Set the gas control knob to the off position.
- Detach the thermopile wire that leads into the Honeywell Gas Control Valve.
- Now, get a multimeter and set it to the DC option. Then, attach the red positive lead to the red thermocouple wire and the black lead to the white wire.
- Turn the gas control knob to Pilot and keep pressing the igniter button until the voltage is reaching its maximum setting.
A functioning thermopile will give a voltage reading between 650 to 850 millivolts. If the reading goes out of range, you must replace the thermopile.
In this case, you can check out this tutorial to learn how to replace the thermopile:
04. Bad Igniter
If three consecutive attempts fail to relight the pilot and the status light doesn’t blink, igniter is the next component you must inspect.
Basically, the igniter won’t work if the igniter wire comes loose or it’s not inserted into the white connector firmly. Turns out, a dirty or bent igniter can cause the status light on the gas control valve to not blink.
Nonetheless, the igniter won’t function properly if the white connector is touching the metal pilot tube or the manifold tube.
How To Fix:
First off, ensure you insert the orange or the white igniter wire into the white connector firmly. If the wiring is tight enough, you should inspect the igniter.
In this case, remove the bottom access panel from the unit. Then, detach everything like the igniter wire, thermopile wire, and the pilot tube from the gas control valve. Next, unscrew the manifold door and pull out the burner assembly from the gas chamber.
Inspect the igniter visually on the burner assembly. If it gets bent or damaged, you must replace it with a new one.
Once you replace the igniter, install it on the burner assembly and reinstall the entire burner assembly into the gas chamber. Replace the manifold door and reconnect everything that you detached from the gas control valve.
Lastly, ensure the white connector is not touching the metal pilot tube. Then, relight the pilot again to operate the unit.
05. Wiring Issues
The status light won’t flash if there is a wiring problem. Wiring like loose thermocouple wires, igniter wires, and thermal switch wires cause the status light to not blink.
How To Fix:
To fix this issue, I highly recommend you call a qualified electrician to inspect those wirings. On the other hand, if you are handy, you can also do this task. But it will be best to let the professional handle the wiring issues.
06. Thermal Switch Gets Tripped
A tripped thermal switch is another caveat that prevents the status light from blinking. This switch will get tripped due to the following reasons:
- Flag wire connectors are not fully connected with the thermal switch
- Vent system gets restricted
- Presence of flammable vapors or liquids near the unit
- The thermal switch itself is at fault
How To Fix:
Ensure you attach the flag wire connectors to the thermal switch fully. Next, check the vent system for blockage. If there is any restriction in the venting, clean the vent piping with a vent cleaning brush.
If cleaning the vent pipe fails to stop the thermal switch from tripping, you should replace the thermal switch itself. In this regard, you can find this tutorial helpful:
Also, make sure there is no flammable object like gasoline, paint or thinner around the water heater.
07. Dirty Base-Ring Filter & Flame Arrestor
Dirty base-ring filters or the flame arrestor can smudge the flame light. It’s because sufficient air can’t enter the burner chamber due to the dirty base-ring filter and flame arrestor.
As a result, the igniter won’t come on or light the pilot light. And when the pilot light is off, how can you expect the status light to blink?
How To Fix:
Inspect both the base-ring filter and the flame arrestor for dirt and debris. If there is dirt around the base ring, use a vacuum cleaner with a brush attachment to suck away dirt & debris.
Next, check the flame arrestor and clean it if needed. In this case, use a household cleaning brush to clean the flame arrestor.
End-Note
No status light means your water heater doesn’t function properly. Fortunately, I mentioned all the culprits that cause the status light to not blink. Just follow the guideline and take the corrective action I described to fix the no-blinking issue.
Read Also:

Eric Alvarez is the head of content on LilDutchUncle.Com. He is an HVAC guy based in El Paso, Texas, United States. He obtained his Bachelor of Science degree from the University Of Texas at El Paso. Years of experience in the HVAC field have taught him many lessons, not the least of which is that the value of quality and knowledge far exceeds any promised initial savings. He has a good standing reputation for superior skills in heating, air conditioning, hot water tanks, and indoor air quality systems.