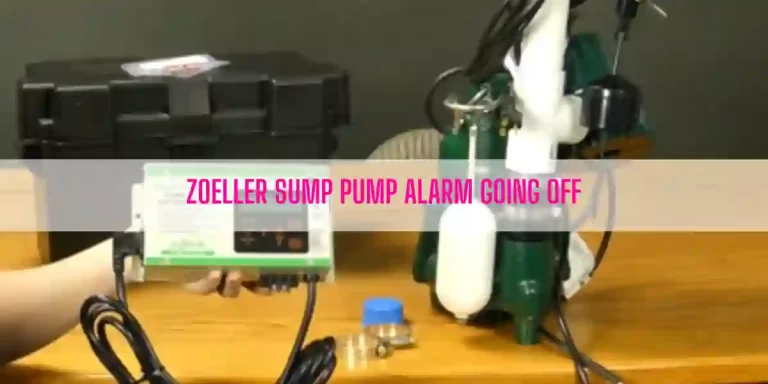
This is a complete guide on Liberty SJ10 Installation where I will walk you through 10 easy steps to complete the plumbing workflow.
Read: Liberty Pumps SJ10 Review
Table of Contents
- Tips You Must Follow Before Installing The Pump
- Liberty SJ10 Installation [A Step-by-Step Instruction]
- End-Note
Tips You Must Follow Before Installing The Pump
You must follow the below instructions before installing the SumpJet to get maximum output out of it.
- Say a ‘Big No’ to the garden hose to plumb the SumpJet as the garden hose, by-design, fails to hold municipal pressure indefinitely. Permanent piping methods like copper, PEX, or CTS CPVC are the go-to option to plumb and complete the installation of SumpJet. To get the up-to mark performance from SumpJet, the manufacturer recommends ¾” pipes to plumb the unit.
- You must use an additional check valve to gain superior backflow protection though SumpJet comes with an internal check valve for nominal backflow protection. The SJ10 from Liberty Pumps requires a RP/RPZ backflow protection device as per the Uniform Plumbing Code and other plumbing codes of some states including the State of Michigan.
- Never attach the discharge of SJ10 to the primary sump pump.
- Don’t connect the discharge line of SumpJet directly to the municipal drain.
- SumpJet features a factory-equipped inlet with a push-type connector- SharkBite and you should use it with PEX, CTS CPVC, or copper pipe.
Liberty SJ10 Installation [A Step-by-Step Instruction]
Before installing, adjusting, or servicing the SumpJet, be sure that you disconnect the electric pumps from the power source.
Now, go along with step-by-step instructions to complete the installation of SJ10:
1. Connect the SumpJet to the existing discharge pipe using the provided hose clamps. Set up the unit in such a position so that the float level will rise a few inches above the turn-on level of the primary sump pump.
Finally, tighten up the hose clamp on the discharge pipe to secure the connection.
2. Once you mount the SumpJet, prepare to hook the pump into the existing municipal water supply line.
Shut off the water supply and plumb the piping into the municipal water supply line. Then, install a RP/RPZ backflow protection per local plumbing codes.
Keep in mind; both the water supply and the discharge pipe require a check valve for removal of the unit that will make the servicing task easy. Don’t forget to install a dedicated shut-off valve on the water supply line within 6 ft of the pump.
3. Purge the water line before connecting it to the pump. It will help remove any kind of restrictions that may be in the piping.
4. You must cut the pipe or tube end square to attach the water supply line to SharkBite. Make sure there is no burr or scratch 1” from the cut end. Maintain the following tips when cutting the pipe:
- Use a marker pen to mark the pipe 1” from the cutting end to indicate proper insertion depth. If you use PEX tubing as a piping method, the tube liner in the end of the SharkBite must be used. On the other hand, you must remove the tube liner if you use CTS CPVC or copper piping.
- Insert the pipe you cut into the SharkBite through the release collar to rest against the grab ring. Push the pipe hard or firmly until it reaches the tube stop.
- To verify that you insert the pipe correctly, take a look at the depth mark and ensure it’s up to the end of the release collar.
5. If you take off the SharkBite fitting for connection to other types of ¾” NPT threaded fittings, you must remove all the sealing tape from the threaded inlet of SumpJet. If needed, use a small pick-type tool to remove the sealing tape.
Ensure dirt and debris fail to make their way into the valve body.
6. Calculate the total length of the discharge pipe you require from the pump to the exit point. Glue the discharge line into the socket elbow of SumpJet using schedule 40 PVC pipe. Complete all the discharge pipe and ensure you route the pipe to the yard outside the building.
7. Turn on both the municipal supply water and the shut-off valve. Check for leaks. Test the SumpJet by filling the sump pit with water from a garden hose that will help you determine whether the unit is functional or not.
8. Reconnect your primary sump pump to the electric connection.
9. You need to add additional holes and slots to make access for the SumpJet suction pipe and float road if sump cover is desired. Use the below template for adding extra holes and slots.
10. If you are unable to mount the SumpJet to the primary pump discharge line, use a piece of wood to mount the unit.
End-Note
Installing the SumpJet is super simple as it comes fully assembled.
What you need to do is just follow the instructions I mentioned throughout this guide, place the unit where you want it to set up and make the connection.
That’s it. Happy Plumbing!

Eric Alvarez is the head of content on LilDutchUncle.Com. He is an HVAC guy based in El Paso, Texas, United States. He obtained his Bachelor of Science degree from the University Of Texas at El Paso. Years of experience in the HVAC field have taught him many lessons, not the least of which is that the value of quality and knowledge far exceeds any promised initial savings. He has a good standing reputation for superior skills in heating, air conditioning, hot water tanks, and indoor air quality systems.

