A thermostat is responsible for regulating heat on an electric water heater. If it malfunctions, you will get no hot water from your water heater. To get hot water again, you must replace the defective thermostat. And this guide on Richmond Water Heater Thermostat Replacement will walk you through 7 simple steps to replace the thermostat like a pro.
Table of Contents
Richmond Water Heater Thermostat Replacement [7 Easy Steps]
Tools or Equipment You Need:
- A new thermostat. Ensure the new thermostat is the same type of thermostat you are going to replace. Remember that the upper thermostat is not the same as the lower thermostat.
- A #2 Phillips screwdriver
- Flat blade screwdriver
- A voltmeter
Once you get these pieces of equipment at your fingertips, walk through these steps to have the thermostat replaced like a pro:
1. Turn off the electric power to your water heater at the circuit breaker before servicing the water heater. Failure to do so may result in electric shock, personal injury, or loss of life.
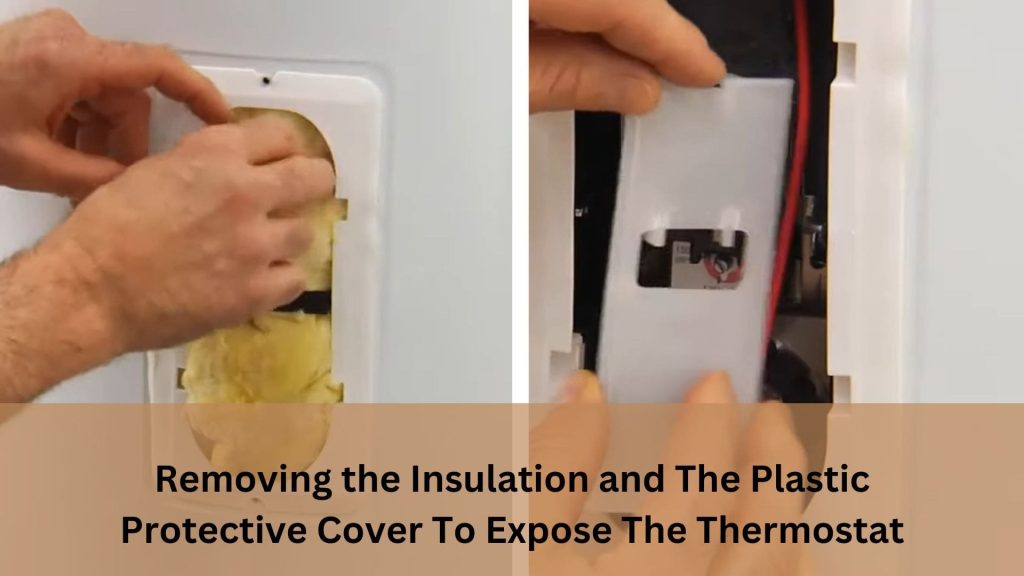
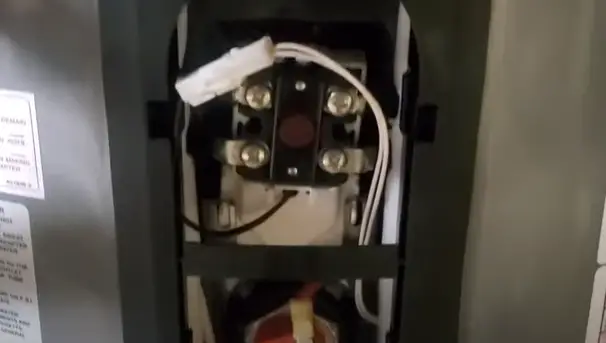
2. Remove either the upper or the lower access panel depending on the thermostat you are going to replace. If you want to replace the lower thermostat, use a screwdriver to unscrew the lower cover panel. Then, remove the insulation and the plastic protective cover to expose the thermostat.
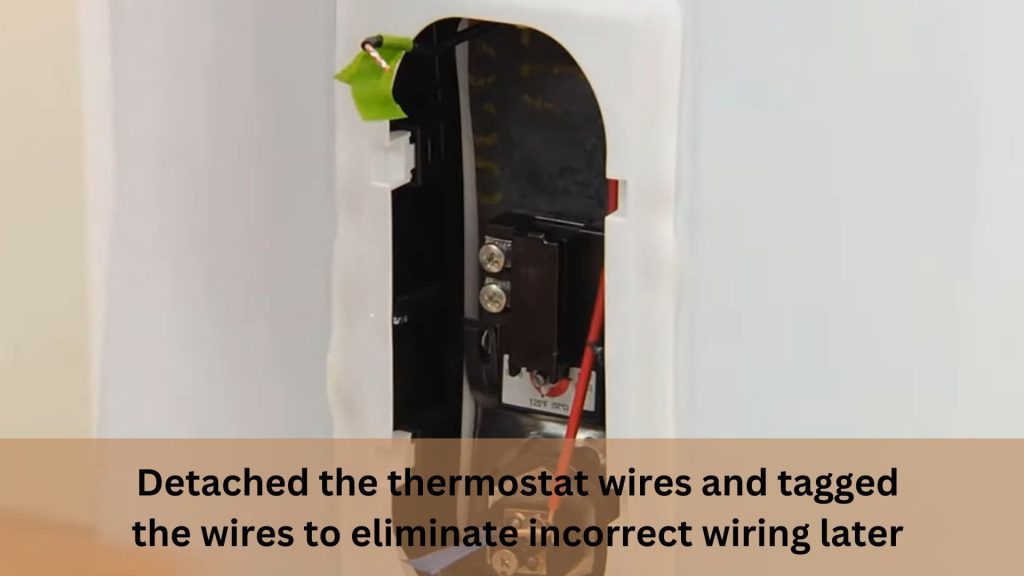
3. Detach the thermostat wires. Tag the wires before pulling them out from the screw terminals to correct the thermostat wiring later. You can also take a snapshot of the thermostat wiring so that you can eliminate incorrect wiring of the thermostat.
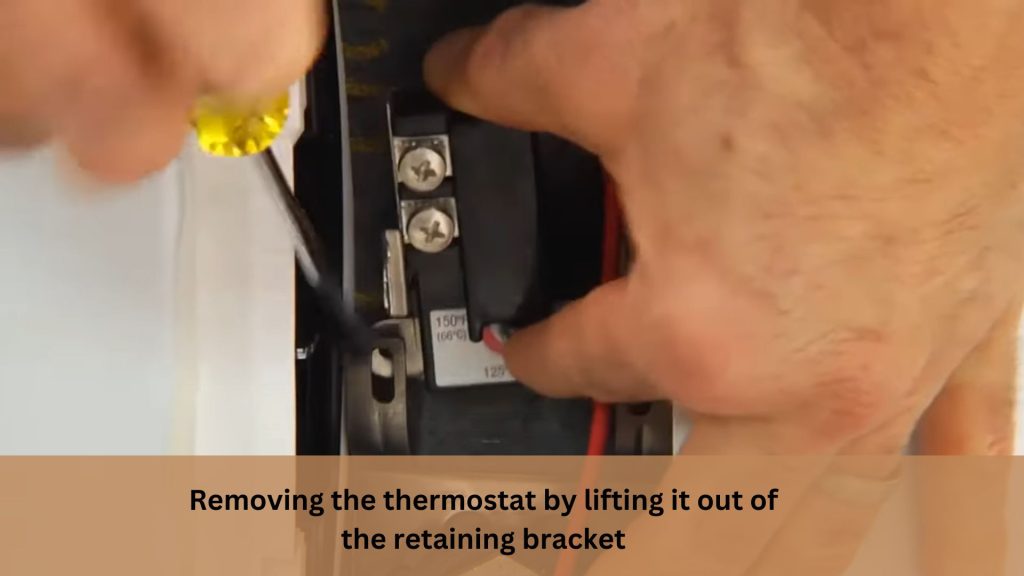
4. Remove the thermostat by lifting it out of the retaining bracket. Be careful not to pull out the retaining bracket too hard. Breaking the retaining bracket will require you to replace the entire water heater.
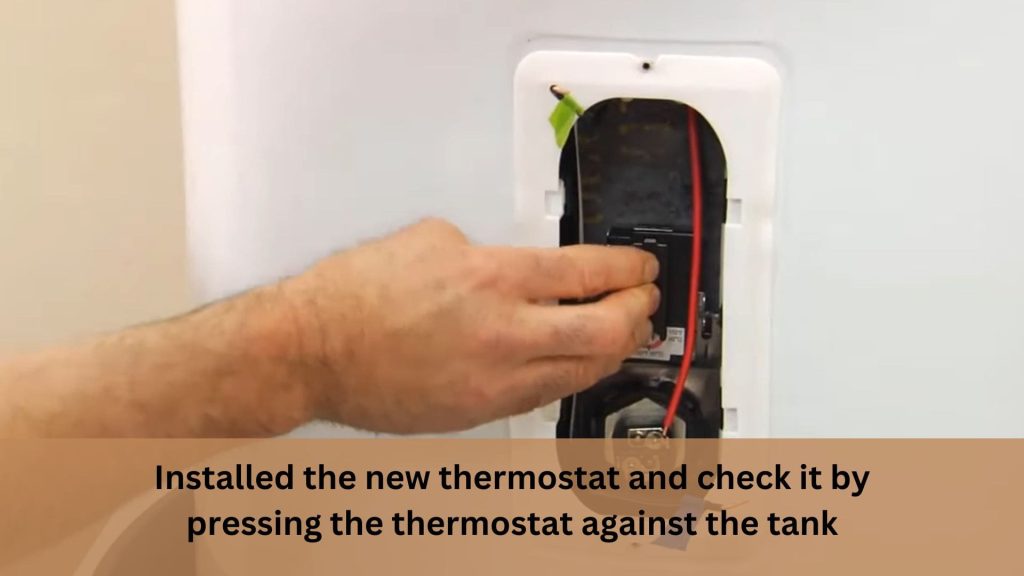
5. Install the new thermostat. Verify that the back of the thermostat is pressing tightly against the tank because that affects the accuracy of the temperature reading.
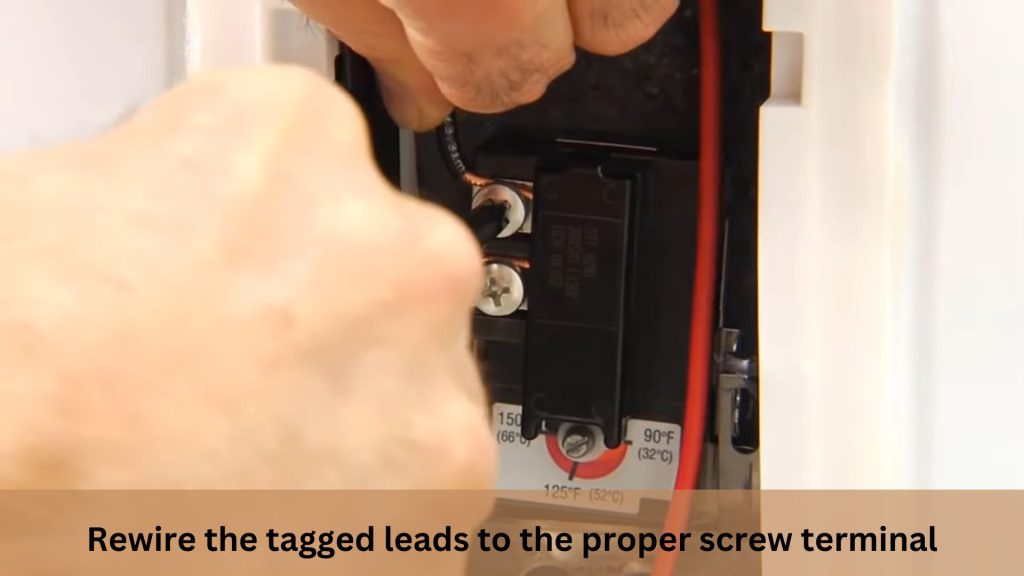
6. Rewire the tagged leads to the proper screw terminals. Double check the wire connections and ensure they are correct, firm, and tight. Replace the plastic protective cover.
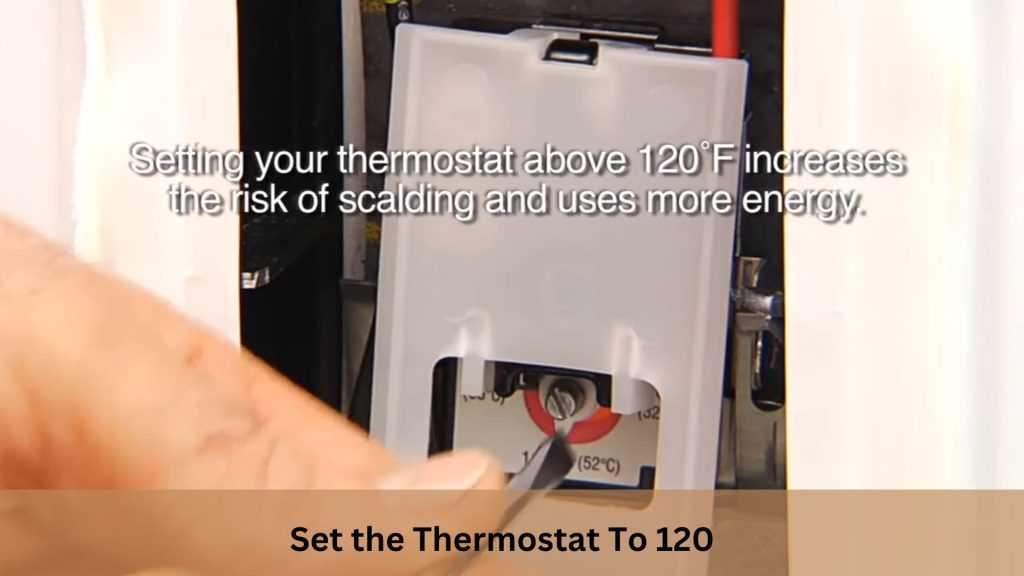
7. Finally, adjust the new thermostat so the water temperature doesn’t exceed 120 degrees Fahrenheit. I already published an article on Richmond Water Heater Temperature Adjustment. Read that article to learn how to adjust the temperature on Richmond Water Heater. Complete the replacement workflow by replacing the cover access panel. Then, restore the power to the water heater at the circuit breaker.
FAQs
How Much Does It Cost To Replace A Water Heater Thermostat?
The cost associated with replacing a thermostat is between $150-$200, when the part itself will cost you around $20. However, you can cut the repair cost by installing the thermostat yourself. And replacing a thermostat is a straightforward task. Just follow the 7 steps mentioned above and have the thermostat replaced like a champ.
How Do I Know If My Water Heater Thermostat Is Bad?
Here are some signs that will let you know if the thermostat is at fault:
- No hot water: If the upper thermostat is at fault, you will get no hot water as the upper thermostat is responsible for regulating the temperature.
- Insufficient hot water: Again, it indicates that the culprit is the upper thermostat.
- Too hot water: If you calibrate or set the upper thermostat incorrectly, you will get excessive hot water from your water heater.
- It takes a while to get hot water: If you turn on a hot water faucet but get hot water after a long time, I bet the lower thermostat is at fault.
- Reset button keeps tripping: If the reset button keeps popping out, the upper thermostat is likely the culprit as it regulates the heat.
Read Also:
End-Note
DIY replacement of the Richmond Water Heater Thermostat is simple. Just follow the step-by-step procedure I mentioned in this article and get the thermostat replaced like a pro. If you encounter any problem during the replacement process, feel free to contact a professional for further assistance.

Sohel Rana is an expert writer (Of course, the owner and founder of this blog) on plumbing, HVAC, and appliance repair & troubleshooting. Since 2020, he has written on these specific topics, though his writing journey began in 2018.
