Liberty Pumps Pro 380 Maintenance
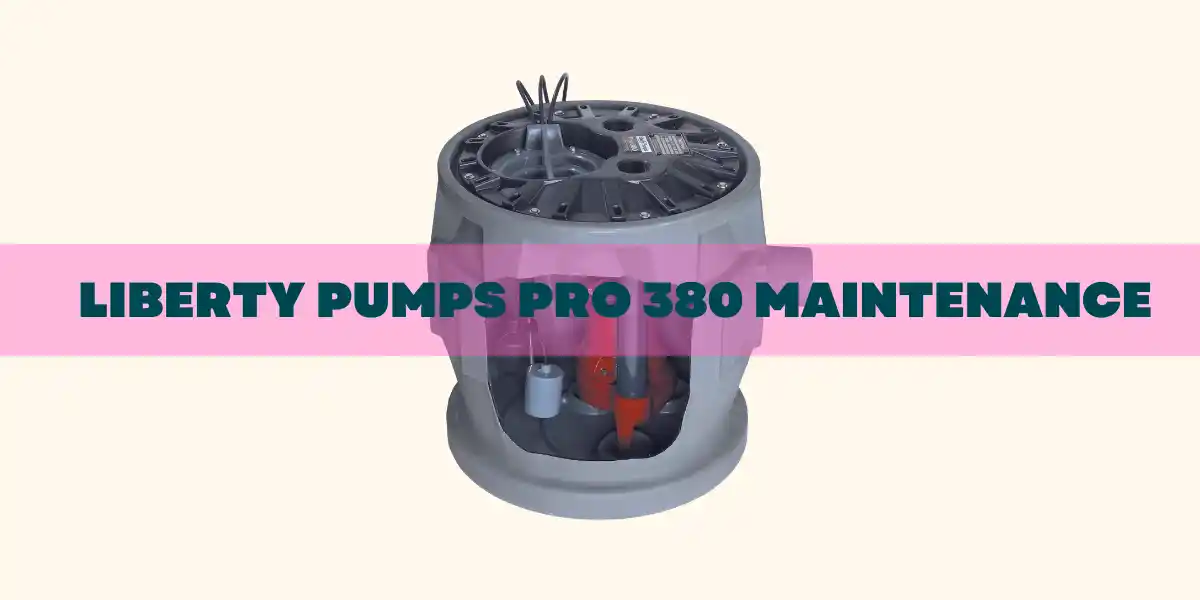
This is a complete guide on Liberty Pumps Pro 380 Maintenance where I will show you how to clean sump pit, pump impeller, float switch, and discharge line.
Table of Contents
Liberty Pumps Pro 380 Maintenance
Before starting the maintenance workflow, ensure you disconnect the pump from electricity.
Afterward, walk through the below steps to begin servicing your Liberty Pump Pro 380.
Sump Pit Cleaning
If you want the Liberty Pumps Pro 380 to work optimally, you should clean the pit & pump on a regular basis- every 2-3 months. However, I recommend you inspect & flush away the pit once a month if there are multiple bathrooms in the basement.
To clean the sump pit, use an impact driver and take off all the bolts that place the ejector system’s cover securely. Then, position the garden hose into the pit. Make sure you set the garden hose from the water heater to the sump pit.
Clean the stinks or buildup on the base of the pit or its walls. It will take you up to 45 minutes to break down all the gunks from the walls, base, and float.
You can also check out this tutorial to learn how to clean Liberty Pumps Pro 380 like a charm:
Pump Impeller Cleaning
Pump impeller is the next go-to component you must clean to let the unit operate trouble freely.
For impeller cleaning, remove the pump from the basin. Next, take off both the cutter and the cutter plate. Now, clean the area around the impeller. You can use a brush or shop-vac to remove all the debris that could jam the impeller.
Once you clean the impeller thoroughly, reassemble everything and reinstall the impeller.
Note: The center screw requires a 6mm hex drive to remove. It can also be heated to remove thread locking compounds.
Float Cleaning
It’s not rocket science to inspect and service the float of this sewage system from Liberty Pro. Rather, the QuickTree technology makes it easy to clean the float switch.
Regarding this, locate the QuickTree system under the access cover. Unbolt the access cover and remove the assembly (QuickTree) by lifting it out.
Now, inspect the float system and ensure there is no blockage in the switch. If needed, release the restrictions from the switch and ensure the float switch moves freely.
After cleaning the float system, re-assemble the QuickTree System into its holder to complete the installation.
Discharge Line Cleaning
Check the discharge pipe periodically and ensure there are no foreign objects in it. If there are restrictions in the discharge line, the pump won’t move any liquid. So, clean the discharge line as required and reconnect it with the system.
End-Note
Routine maintenance is a must for your Liberty Pro 380 to let it run like a champ. And this guide on Liberty Pumps Pro 380 Maintenance makes the workflow easy. Just follow the instructions and maintain the sewage pump like a pro.
Read Also:

Eric Alvarez is the head of content on LilDutchUncle.Com. He is an HVAC guy based in El Paso, Texas, United States. He obtained his Bachelor of Science degree from the University Of Texas at El Paso. Years of experience in the HVAC field have taught him many lessons, not the least of which is that the value of quality and knowledge far exceeds any promised initial savings. He has a good standing reputation for superior skills in heating, air conditioning, hot water tanks, and indoor air quality systems.

![How To Use Wayne Water Bug? [5 Easy Steps]](https://lildutchuncle.com/wp-content/uploads/2023/03/How-To-Use-Wayne-Water-Bug-768x384.webp)
![Zoeller Sump Pump Maintenance [Ultimate Guide]](https://lildutchuncle.com/wp-content/uploads/2023/03/Zoeller-Sump-Pump-Maintenance-768x384.webp)
