Comfort Zone Heater E1 Code [Complete Guide]
This is a complete guide on Comfort Zone Heater E1 Code, where I am going to break down:
- What does E1 code mean on Comfort Zone Heater?
- 7 reasons that cause the heater to pop up the E1 code?
- How to clear E1 code on Comfort Zone Heater?
- End-Note
Table of Contents
- What Does E1 Code Mean On Comfort Zone Heater?
- Comfort Zone Heater E1 Code: 7 Reasons & Recommended Solutions
- How To Clear E1 Code On Comfort Zone Heater?
- End-Note
What Does E1 Code Mean On Comfort Zone Heater?
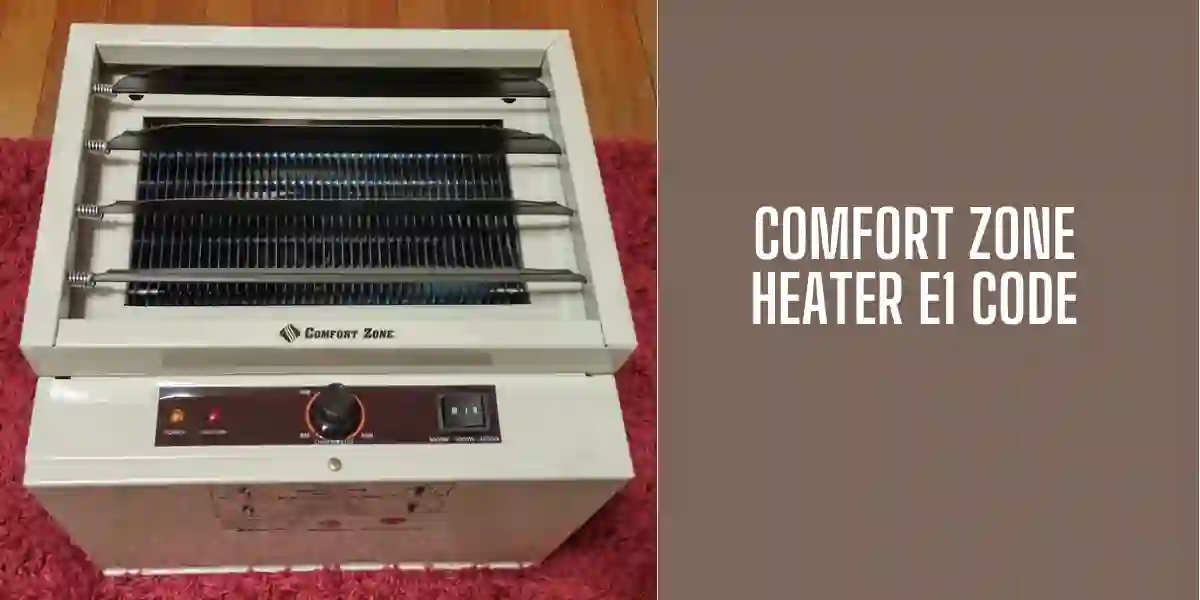
The error code E1 on Comfort Zone Heater means the overheat safety cut-out or high temperature limit switch gets tripped. It is a safety feature that shuts off your heater automatically if the unit overheats.
Besides, your Comfort Zone Heater will keep blinking the error code E1 if the fan blade isn’t spinning freely.
You can easily reset the error code by unplugging and plugging the unit.
But the best solution to this issue is to discover the reasons that cause the unit to overheat. That’s why the next chapter is going to reveal those culprits behind overheating. So, keep reading.
Comfort Zone Heater E1 Code: 7 Reasons & Recommended Solutions
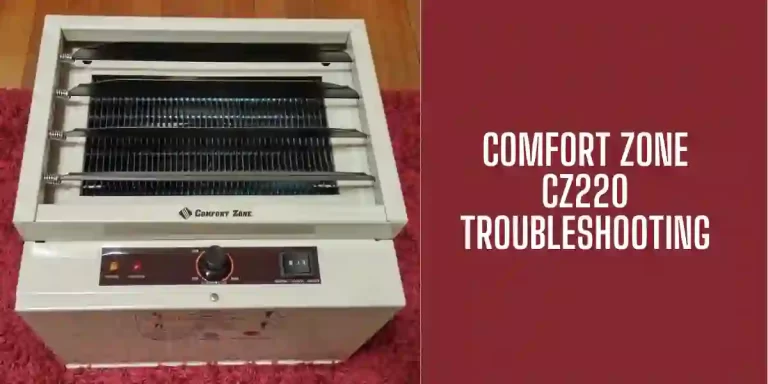
Your Comfort Zone Heater (CZ220) will pop up the error code on the display due to one of the following reasons:
- Insufficient Clearance Around Heater
- Obstructed Vent
- Fan Isn’t Operational
- Inadequate Copper Wire Gauge For Supply Connections
- Excessive Distance From Power Source
- Inadequate Current Rating On Breaker
- Improper Heater Shut Down
Now, let’s break down each of the culprits and their recommended solutions as well.
1. Insufficient Clearance Around Heater
Sufficient clearance around the heater is a must for better heat & air circulation. If you install the heater with insufficient clearance, the heater will fail to circulate the air properly.
As a result, the heater will overheat which triggers the overheat sensor and shuts the unit off, ending up with displaying the error code E1.
How To Fix:
Ensure you install the heater with enough clearance all-around:
- 6 feet minimum mounting from floor
- 8 inches minimum from rear of heater
- 13 inches minimum from side of heater
However, the mounting height (max) using the bracket will be 11 feet for gaining effective vertical airflow. On the other hand, if you mount the heater horizontally, the recommended ceiling height for better vertical airflow will be 8 feet.
2. Obstructed Vent
If the vents get clogged by dirt or there are objects adjacent to heater vents, the unit will fail to process air effectively. And the unit gets overheated in return and pops up the E1 code on the controller display.
How To Fix:
Keep the surrounding of the heater free from any objects. If there are any objects near the heater, remove them. Never block the intake or exhaust by columns or machinery. Turns out, make sure there is at least 24 inches distance from heater exhaust to any object.
3. Fan Isn’t Operational
Because of the non-operational fan, the internal parts of the unit get overheated and cause the overheat sensor to activate. The fan doesn’t operate as it should be due to these reasons:
- Fan blade gets jammed by foreign objects
- The plug-in electric connector of the Circuit Card Assembly comes loose
How To Fix:
First, disconnect power from the unit and remove the rear grille. Now, check the fan blade for dislodged objects that prevent its rotation and clear them if needed. At the end, reattach the rear grille.
Second, remove screws that hold the Hinged Bottom Cover to get access. Now, inspect the Circuit Card Assembly for loose or detach plug-in electric connectors. If needed, re-attach or tighten up the connector. Lastly, close the bottom cover once you secure the connection and re-install the screws.
4. Inadequate Copper Wire Gauge For Supply Connections
This is another reason that triggers the unit to display the error code E1. If the wire gauge for supply connections is inadequate, the fan will operate at reduced speed.
How To Fix:
I highly recommend you to call a certified electrician for consultation.
5. Excessive Distance From Power Source
Due to this reason, current loss will occur and the fan will rotate at reduced speed. As a result, the unit fails to circulate the airflow optimally and cause overheating.
How To Fix:
Again, I suggest you consult a licensed electrician to maintain the proper distance between the heater and the power source.
6. Inadequate Current Rating On Breaker
If you size up the breaker for the heater incorrectly, the unit will receive insufficient electric power or the breaker keeps tripping to shut off electric supply to the heater.
How To Fix:
Size up the breaker for your Comfort Zone Heater according to National & Local Electrical Codes. But the best bait is to take advice from a certified electrician for choosing the correct breaker for the heater.
7. Improper Heater Shut Down
Here improper shutdown means turning off the unit using the circuit breaker. If you turn off the unit in this way, it shuts off the electric supply to the unit completely.
But Comfort Zone Heater Like CZ225ER to operate the fan motor for a short time to cool down the heating element to prevent overheating condition. Otherwise, it will cause the unit to shut off and end up with popping up the error code E1.
How To Fix:
After using the heater to warm your room, turn it off properly using the Power Button. It will help the heater to operate the fan motor for 90 seconds to cool down the heating element.
How To Clear E1 Code On Comfort Zone Heater?
To clear E1 code on Comfort Zone Heater, go along with the following steps:
- Turn off the heater using the Power Button.
- Switch the breaker Off or remove the fuse if you install the heater on a fuse.
- Let the heater cool down by leaving it for 15 minutes.
- Flip the breaker to the Up position and wait 1 minute.
- Power on your heater following the operational instruction manual.
Note: This procedure will surely remove the E1 code from the controller display. But it might reappear again. For a long term solution, discover the reasons (I already mentioned them above) that cause the unit to pop up the E1 code and solve them.
End-Note
You can easily reset the error code e1 by turning off power completely to the unit. Then, leave the unit for 15 minutes to let it cool down. Finally, restore the power and turn on the unit.
However, for a permanent solution, it will be best to find out reasons that cause the heater to pop up the error message E1 and resolve them from the root.
Fortunately, I revealed all the culprits that cause the unit to showcase the error code E1. Follow the step-by-step troubleshooting guide to resolve the issues.
Good Luck!
Read Also:

Eric Alvarez is the head of content on LilDutchUncle.Com. He is an HVAC guy based in El Paso, Texas, United States. He obtained his Bachelor of Science degree from the University Of Texas at El Paso. Years of experience in the HVAC field have taught him many lessons, not the least of which is that the value of quality and knowledge far exceeds any promised initial savings. He has a good standing reputation for superior skills in heating, air conditioning, hot water tanks, and indoor air quality systems.

